Advertisement
Owner's Manual
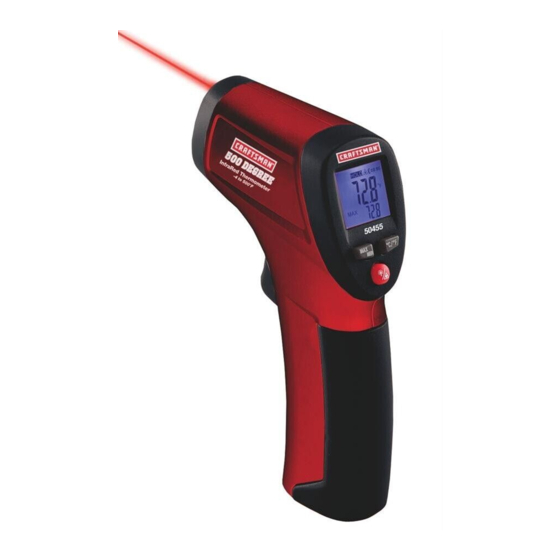
Non-Contact InfraRed (IR) Thermometer
MODEL 50455
CAUTION: Read, understand and
follow Safety Rules and Operating
Instructions in this manual before
using this product.
© Sears, Roebuck and Co., Hoffman Estates, IL 60179 U.S.A.
www.sears.com/craftsman
• Safety
• Operation
• Maintenance
• Español
081611
Advertisement

Related Manuals for Craftsman 50455


Summary of Contents for Craftsman 50455
- Page 1 Owner's Manual Non-Contact InfraRed (IR) Thermometer MODEL 50455 CAUTION: Read, understand and • Safety follow Safety Rules and Operating • Operation Instructions in this manual before • Maintenance using this product. • Español © Sears, Roebuck and Co., Hoffman Estates, IL 60179 U.S.A.
-
Page 2: Table Of Contents
TABLE OF CONTENTS Warranty Page 3 Safety Instructions Specifications Controls Display Description Battery Installation Operating Instructions Power Non-Contact (IR) Temperature Measurements Temperature Units Backlight and Laser Pointer IR Measurement Notes Field Of View Troubleshooting Service and Parts... -
Page 3: Warranty
FULL ONE YEAR WARRANTY FULL ONE YEAR WARRANTY ON CRAFTSMAN InfraRed Thermometer If this CRAFTSMAN InfraRed Thermometer fails to give complete satisfaction within one year from the date of purchase, RETURN IT TO THE NEAREST SEARS STORE OR OTHER CRAFTSMAN OUTLET IN THE UNITED STATES, and Sears will replace it, free of charge. -
Page 4: Controls
CONTROLS Meter Description Laser pointer IR sensor Measurement trigger LCD display Function buttons* Battery compartment Function Buttons Max/Min: Select Max or Minimum display. • °C/°F: Select temperature units • Backlight / Laser Pointer: For turning the LCD backlight or the Laser pointer ON/OFF •... -
Page 5: Operating Instructions
OPERATING INSTRUCTIONS Power 1. The meter is powered by one (1) 9V battery. IR Measurements 1. Hold the meter by its handle and point it toward the surface to be measured. 2. Pull and hold the trigger to turn the meter on and begin testing. The temperature reading, the flashing ‘SCAN’... -
Page 6: Field Of View
Field of View As the distance from the object increases, the spot size of the area measured becomes larger. The meter’s field of view is 6:1; in other words if the meter is 6 inches from the target (spot), the diameter of the target must be at least 1 inch.