Advertisement
Available languages
Available languages
Quick Links
Download this manual
See also:
User Manual
EPSON
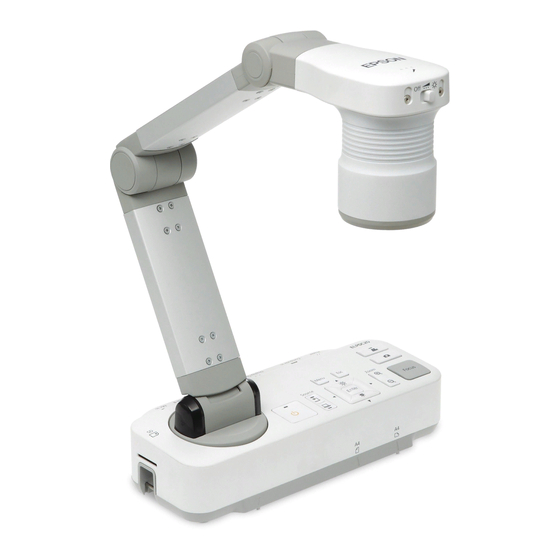
DC-20 Document Camera (ELPDC20)
®
Quick Start
Follow these instructions to display pages from books and documents, and
three-dimensional objects. To use other features, see the User's Guide on the
product's CD-ROM. It provides instructions for using the microscope adapter,
capturing still images, and using the included software.
Before using the product, make sure you read the safety instructions in the
User's Guide on the product's CD-ROM.
Setting up the product
1
Raise the camera arm.
2
Connect your projector. Use a VGA cable (included), a composite video
cable (check your projector for available ports), or an HDMI cable (not
included).
Composite video cable
3
Connect the power adapter.
*412373100*
*412373100*
VGA cable
HDMI cable
4
Press the
power button to turn on the document camera.
5
Turn on your projector. Then select the source (port) on the projector that
lets you display the camera image. On the document camera, press the
Source button, if necessary.
Using the product
1
Place your document on the table under the camera head. Align the
center of your document with the
camera.
2
Slide the lamp switch to illuminate the document.
Lamp switch
3
Press the Focus button on the document camera or the Auto Focus
button on the remote control. Your document is automatically focused.
4
To zoom in or out on part of the image, press the Zoom
Note:
You can also use the remote control to adjust the image.
When you're done using the product, turn it off and lower the camera arm
as shown.
mark on the side of the document
or
button.
Advertisement

Summary of Contents for Epson ELPDC20
-
Page 1: Quick Start
EPSON DC-20 Document Camera (ELPDC20) ® Quick Start Press the power button to turn on the document camera. Turn on your projector. Then select the source (port) on the projector that Follow these instructions to display pages from books and documents, and lets you display the camera image. -
Page 2: Limited Warranty
Document Camera box is selected.) to secure the cost of the replacement product in the event that you fail to return the defective one. If Epson authorizes repair instead of exchange, Epson will direct you to send your product to Epson or its authorized service center, where the product will be repaired and sent back to you. - Page 3 Caméra de documents EPSON DC-20 (ELPDC20) ® Installation rapide Appuyez sur le bouton d’alimentation pour mettre la caméra de documents sous tension. Suivez les directives ci-après pour projeter les pages d’un livre et de documents Mettez le projecteur sous tension. Sélectionnez ensuite la source d’image ou des objets en trois dimensions.
- Page 4 Ce que fera Epson pour remédier aux problèmes : Si votre produit doit être réparé durant la période où il Raccordez la caméra de documents à l’ordinateur au moyen d’un est couvert par la garantie limitée, veuillez appeler Epson au numéro inscrit dans le bas de cette déclaration...


