Table of Contents
Advertisement
Advertisement
Table of Contents

Related Manuals for Baby Lock Sashiko BLQK


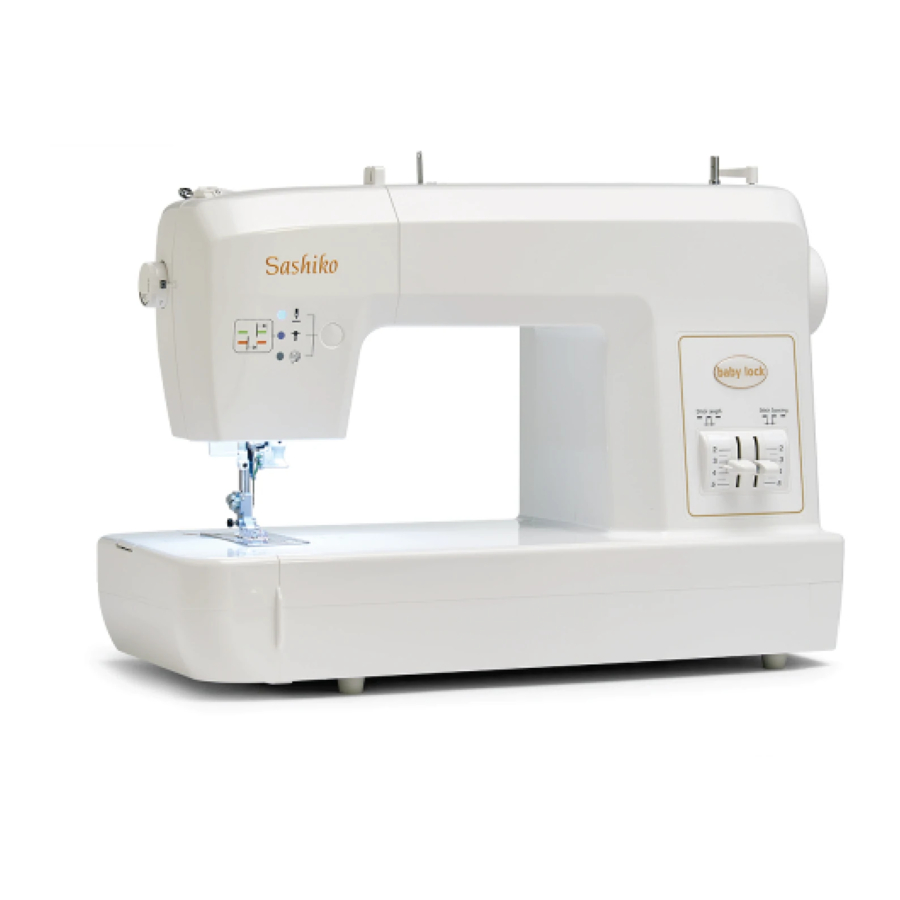
Summary of Contents for Baby Lock Sashiko BLQK
-
Page 2: Safety Instructions
"IMPORTANT SAFETY INSTRUCTIONS" When using sashiko machine, basic safety precautions should always be followed, including the following. "Read all instructions before using this sashiko machine." DANGER- To reduce the risk of electric shock. 1. The sashiko machine should never be left unattended when plugged in. Always unplug this sashiko machine from the electrical outlet immediately after using and before cleaning. - Page 3 In the event a malfunction occurs or adjustment is required, first follow the troubleshooting guide in the back of this operation manual to inspect and adjust the machine yourself. If the problem persists, please consult your local authorized Baby Lock retailer. For additional product information and updates, visit our website at www.babylock.com The contents of this manual and specifications of this product are subject to change without notice.
-
Page 4: Table Of Contents
Table of Contents INTRODUCTION Safety Instructions ..................... 1-2 Table of Contents ......................3 How Your Sashiko Operates ..................4 Important Notice ......................4 Accessories........................5 Optional Accessories..................... 6 OVERVIEW Principal Parts of the Machine..................7 Setting Up Your Sashiko ....................8 Turn Machine On/Off..................... -
Page 5: How Your Sashiko Operates
This will enable you to become more proficient in its use. Important Notice 1. The Baby Lock Sashiko stitching will not unravel, so it is not necessary to make tacking stitch. 2. Always stitch with fabric under the presser foot when machine is threaded. -
Page 6: Accessories
Accessories Your Baby Lock Sashiko has a built-in accessory compartment. To open, slide the “bin” located on the bottom right side of the machine toward the front, as shown in illustration. The accessories listed below are located either on the machine, inside the accessory compartment, or in the machine’s Styrofoam packing as indicated under the Location column. -
Page 7: Optional Accessories
Optional Accessories There are optional accessories available for the Sashiko machine. Contact your Baby Lock retailer for information on purchasing any of the following optional accessories: Baby Lock Description Parts Code # Item # Organ QKx1 Size 18 Needles (2) -
Page 8: Principal Parts Of The Machine
Principal Parts of The Machine 1. Presser foot lever 20. Thumb screw holes 2. Quilting guide fixing screw 21. Positioning button 3. Presser foot holder screw 22. Accessory compartment 4. Presser foot 23. Stitch spacing lever 5. Needle guard 24. Stitch length lever 6. -
Page 9: Setting Up Your Sashiko
Setting Up Your Sashiko After removing the packing materials from the box, gently lift your Baby Lock Sashiko by grasp- ing the handle provided on the top of the machine. Place the machine on a sewing table or any sturdy level surface that provides ample work space to the left of the machine. -
Page 10: Turn Machine On/Off
When restarting the machine, follow the necessary procedure to correctly operate the machine. Needle Your Baby Lock Sashiko uses a size 110/18 specialty needle, which is suitable for most fabrics. Use the Organ brand needles – system QKx1 (part #BLQK-N). -
Page 11: Thread
Most threads used on an ordinary sewing machine (cotton, silk, long-staple polyester, etc.) may be used on your Baby Lock Sashiko, but 100% long-staple polyester thread, cross wound on a cone, consistently provides the best stitching performance. Because of the thread movement through the bobbin system the thread must be of uniform thickness and high strength with a minimum amount of lint being produced. -
Page 12: Presser Foot Pressure Adjustment
Presser Foot Pressure Adjustment The presser foot pressure adjustment dial has been preset at the factory and rarely needs adjustment. You may find it necessary, however, to decrease the pressure for heavy fabrics or increase pressure for thin fabrics to feed more smoothly under the foot. -
Page 13: Stitch Length & Stitch Spacing Levers
Stitch Length & Stitch Spacing Levers Stitch spacing lever Stitch length lever The stitch length lever and the stitch spacing lever are conveniently located on the right side of the front panel. You will notice there are two sets of numbers ranging from 2 (shortest) through 5 (longest) for each lever. -
Page 14: Stitch Length Adjustment
Stitch Length Adjustment Slide the stitch length lever up or down to the desired setting by aligning the lever’s pointed extension with the marking Stitch Length indicated on the machine. The length is adjusted only for the stitch sewn on the top of the fabric. NOTE: The markings between each of the numbers 2 through 5 are half settings such as 2.5, 3.5, etc. -
Page 15: Stitch Spacing Adjustment
Stitch Spacing Adjustment Slide the stitch spacing lever up or down to the desired setting by aligning the lever’s pointed extension with the marking indicated on the machine. The spacing is adjusted Stitch Spacing only for the distance between the actual stitches sewn on the top of the fabric. -
Page 16: Positioning Button
Positioning Button The positioning button is located on the left front of the machine to the right of the three LED lights. This single button controls multiple machine functions. The LED lights have four (4) different colors to aid in determining which function you are currently using. The multiple positioning functions consists of the needle up or down position, loading or unloading the bobbin case position, changing the latch wire, and changing the needle. - Page 17 Positioning Button (Cont.) Needle down position to needle up position – press the positioning button one time and the needle will move to the up position. If the needle positioning button is pressed while the color of the LED light is green the hand- wheel will rotate one and a half turns creating an actual stitch.
-
Page 18: Winding The Bobbin
Winding the Bobbin 1. Slide the spool of thread onto the spool pin. (Fig. A) 2. Slide the correct size spool cap onto the spool pin. (Fig. B) Spool cap should be close in size to the thread spool, however should not be smaller. If the spool cap is small- er than the thread spool, thread may get caught in the slit on the end of spool and cause damage. -
Page 19: Loading Position
Loading Position Press and hold the positioning button for approximately 2 sec- onds and the machine will automatically move to the loading position. The yellow LED light will now be lit. The loading position will adjust the machine to enable one of the following procedures: 1. -
Page 20: Bobbin Tension Adjustment
Bobbin Tension Adjustment The Sashiko stitch has the correct thread tension when the Balanced tension actual stitch sewn on the topside of the fabric lays straight and shows no fabric puckering around the stitch. Underside of fabric Topside of fabric Bobbin thread is too loose The bobbin thread is too loose when thread loops form on the underside of the fabric. -
Page 21: Removing The Bobbin
Removing the Bobbin Before removing the bobbin case from the machine the needle should be placed in the up position by pressing the positioning button, the thread cut, and the fabric removed. (See page 18) 1. Press and hold the positioning button for approximately 2 seconds to set the machine to the bobbin loading position. -
Page 22: Pulling Up The Bobbin Thread
Pulling Up the Bobbin Thread 1. After inserting the bobbin into the machine, turn the handwheel towards you (counterclockwise) several times until the eye of the needle catches and lifts up the thread. (Fig. A) 2. Raise the presser foot. 3. -
Page 23: Beginning A Stitch
Beginning a Stitch 1. After loading bobbin into machine place fabric under the presser foot and lower the presser foot lever. (Fig. A) 2. Check to make sure the thread is still held in place by the thread cutter/holder. If thread was pulled out of holder upon placing fabric in position then grasp and gently pull thread back into holder. -
Page 24: Ending A Stitch
Ending a Stitch 1. When ready to end stitching stop the machine. (Fig. A) 2. Raise the needle to the up position by pressing the posi- tioning button. 3. Raise the presser foot and pull the fabric and thread- straight back behind the needle bar. (Fig. B) 4. -
Page 25: Securing Stitches
Securing Stitches The Sashiko stitching will not unravel when the thread is cut but the stitching can be pulled apart if the fabric pieces are pulled. To prevent this you will want to secure the stitches by leaving a long enough thread tail to be anchored. It is really a matter of preference as to how you would like to secure your stitches. -
Page 26: Straight Sewing
Straight Sewing Align the presser foot height adjustment dial with the notch on the machine to “0” for the straight sewing position. Place the fabric under the presser foot and lower the press- er foot lever. Be careful when positioning the fabric so the thread is not pulled out of the thread cutter/holder. -
Page 27: Curved Sewing
Curved Sewing Align the presser foot height adjustment dial with the notch on the machine to one of the numbers ranging from 1 through 3 for the curved sewing position. Place the fabric under the presser foot and lower the press- er foot lever. -
Page 28: Pivot Sewing
Pivot Sewing When the presser foot height adjustment dial is set at “0” to “1” the fabric cannot be pivoted without raising the presser foot. Follow the steps below for pivoting your fabric properly when straight sewing. 1. Press the positioning button to set the needle in the down position. -
Page 29: Pivot Sewing
Pivot Sewing (cont.) When the presser foot height adjustment dial is set at 1-1/2 to 3 the fabric can be pivoted without the need to raise the presser foot. Follow the steps below for pivoting your fabric properly when curved sewing. 1. -
Page 30: Sewing Bulky Seams
Sewing Bulky Seams When sewing heavy fabrics, the toe of the presser foot can lift up and may cause the stitch length or stitch spacing to be inconsistent. (Fig. A) The black button on the left side of the presser foot will lock the presser foot in a horizontal position if you push it in before lowering the presser foot. -
Page 31: Traditional Sashiko Designs
Traditional Sashiko Designs... - Page 32 Traditional Sashiko Designs...
-
Page 33: Quilting Guide
Quilting Guide To use the quilting guide, loosen the quilt guide fixing screw located on the back of the presser foot holder. Insert the straight end of the guide into the right side of the hole opening. Adjust the quilt guide to the width from the needle that you desire and then finger tighten the screw. -
Page 34: Replacing Needle
Replacing Needle 1. Press and hold the positioning button for approxi- Positioning mately 2 seconds to set the machine to the loading Button position. (Fig. A) REMINDER: Remove fabric and cut thread before putting machine into the loading position. 2. Lower the presser foot. (Fig. B) 3. -
Page 35: Replacing Latch Wire
Replacing Latch Wire 1. Press and hold the positioning button for approxi- Positioning mately 2 seconds to set the machine to the loading Button position. (Fig. A) REMINDER: Remove fabric and cut thread before putting machine into the loading position. 2. -
Page 36: Cleaning The Machine Surface
Cleaning the Machine Surface If the surface of the Sashiko machine gets dirty, lightly soak a cloth in mild detergent, squeeze it out firmly and then wipe the machine surface. After cleaning it once in this way, wipe the surface again with a dry soft cloth. -
Page 37: Cleaning The Shuttle Hook
Your Baby Lock’s major moving parts are well protected and do not need to be oiled. This is one of the areas your Baby Lock retailer will check when you take your machine in for its regular scheduled maintenance. -
Page 38: Safety Devices
Safety Devices The Sashiko machine is equipped with a stop machine safety system. When the system is activated by any of the following conditions; the orange LED light will flash on and off and the machine will not operate, including the foot control. 1. -
Page 39: Troubleshooting
Troubleshooting Before taking your machine in for service at your Baby Lock retailer, check the following: Cause Condition page(s) 1. Are electrical plugs properly connected? The machine fails to 2. Is foot control plug properly connected? start: 3. Is the main power switch on? 4. -
Page 40: Bobbin Case Thread Jam
Troubleshooting (cont.) Cause Condition page(s) 1. Is the feed dog free of lint? Fabric will not feed 2. Is the presser foot pressure dial set right for the through the machine: fabric type? 3. Is the needle plate secure on the machine? 4. - Page 43 BLQK EI-40-E タコニー 1,000 2009.08.