Dymo LabelManager® 280 User Manual
User guide 1
Hide thumbs
Also See for LabelManager® 280:
- Quick reference manual (15 pages) ,
- User manual (289 pages) ,
- User manual
Table of Contents
Advertisement
Advertisement
Table of Contents

Related Manuals for Dymo LabelManager® 280


Summary of Contents for Dymo LabelManager® 280
- Page 1 User Guide LabelManager ®...
- Page 2 No part of this document or the software may be reproduced or transmitted in any form or by any means or translated into another language without the prior written consent of Newell Rubbermaid, LLC. Trademarks DYMO, DYMO Label, and LabelManager are registered marks in the US and other countries. All other trademarks are the property of their respective holders.
-
Page 3: Table Of Contents
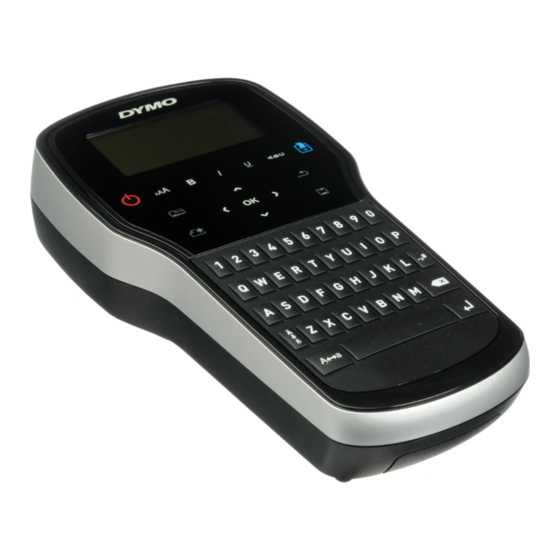
Installing DYMO Label Software ........ - Page 4 Figure 1 LabelManager 280 Label Maker USB port Back 17 Accented characters Power port 10 Save/Open 18 Navigation LCD display 11 Numeric keys 19 OK Cutter 12 Symbols 20 New label/Clear Italics 13 Backspace 21 Menu Underline 14 Return 22 On/Off Vertical text 15 Space bar 23 Text size...
-
Page 5: About Your New Label Maker
The label labels. maker uses DYMO D1 label cassettes in widths of 1/4”, 3/8”, or 1/2”. These label cassettes are available in a wide The charging adapter is only used for recharging the range of colors. -
Page 6: Inserting The Label Cassette
Your label maker comes with a starter label cassette. The The first time you turn on the power, you are asked to label maker uses DYMO D1 label cassettes in widths of select the language and label width. These selections 1/4”, 3/8”, or 1/2”... -
Page 7: Lcd Display
LCD Display Menu With DYMO’s exclusive graphical display, most of the Pressing displays the Format, Insert, Open, and formatting you add is visible instantly. Settings tabs. Use the options on these tabs to change the label appearance, insert clip art and symbols, open Feature indicators along the top and side of the LCD saved text and labels, and change the printer settings. -
Page 8: Changing The Text Size
Changing the Text Size Adding Borders Six text sizes are available for your labels: You can highlight the text by adding a border style. The text sizes available depend on the label width you have selected. For single-line labels: Label Width Text Size Available 1/4”... -
Page 9: Creating Fixed-Length Labels
Using Clip Art, Symbols, and Special Creating Fixed-Length Labels Normally, the length of the label is automatically Characters determined by the length of the text. However, you can Clip art, symbols, punctuation, and other special choose to set the length of the label for a specific characters can be added to your labels. -
Page 10: Adding Clip Art
Adding Clip Art Adding Accented Characters The label maker includes the clip art shown below. The label maker supports the extended Latin character set. You can add accented characters in two ways: Press and then the alpha character. Press and hold the alpha character. After pressing the alpha character, all of the available ↔... -
Page 11: Using Auto-Numbering
Using Auto-Numbering To change the label width setting You can print a series of up to 10 labels at a time using Press , select , and then press auto-numbering. Select the current label width, and then press You can add numeric (0,1, 2...9), uppercase (A, B, C...Z), >... -
Page 12: Inserting Saved Text
The selected label is opened in the edit area. To clean the cutter blade Remove the label cassette. Inserting Saved Text Press and hold the cutter button to expose the cutter You can insert the text of a saved label into the current blade. -
Page 13: Using The Label Maker With Your Computer
All of the label printers that are installed on your computer are displayed. Select the LabelManager 280 label maker. You are now ready to print labels from DYMO Label software. For more information, see Using DYMO Label Software on the next page. -
Page 14: Using Dymo Label Software
LabelManager 280 User Guide Viewing the Label Maker Status The label maker status is displayed in the DYMO Label software Print area. The following table describes the possible states of the label maker. Label maker is connected and battery pack is charging Label maker is connected and battery pack is charging;... -
Page 15: Troubleshooting
Locate the split on the label backing. Gently pinch the label lengthwise, folding toward the printed side of the label. The label backing will separate. Carefully peel away the backing from the label. If you need further assistance, visit the DYMO Web site at www.dymo.com. -
Page 16: Documentation Feedback
The crossed-bin symbol marked on your device indicates you should use these systems. If you need more information on the collection, reuse, and recycling of this product, please contact your local or regional waste administration. You can also contact DYMO for more information on the environmental performance of our products. -
Page 17: Safety Precautions For Lithium-Ion Rechargeable Battery Pack
To reduce the risks associated with fire and explosion, which if not avoided, could result in serious injury or death: Danger of explosion if a battery is incorrectly handled, charged, disposed or replaced. Replace only with the same or equivalent type recommended by DYMO. When charging the battery, use dedicated chargers and follow the specified conditions. ...