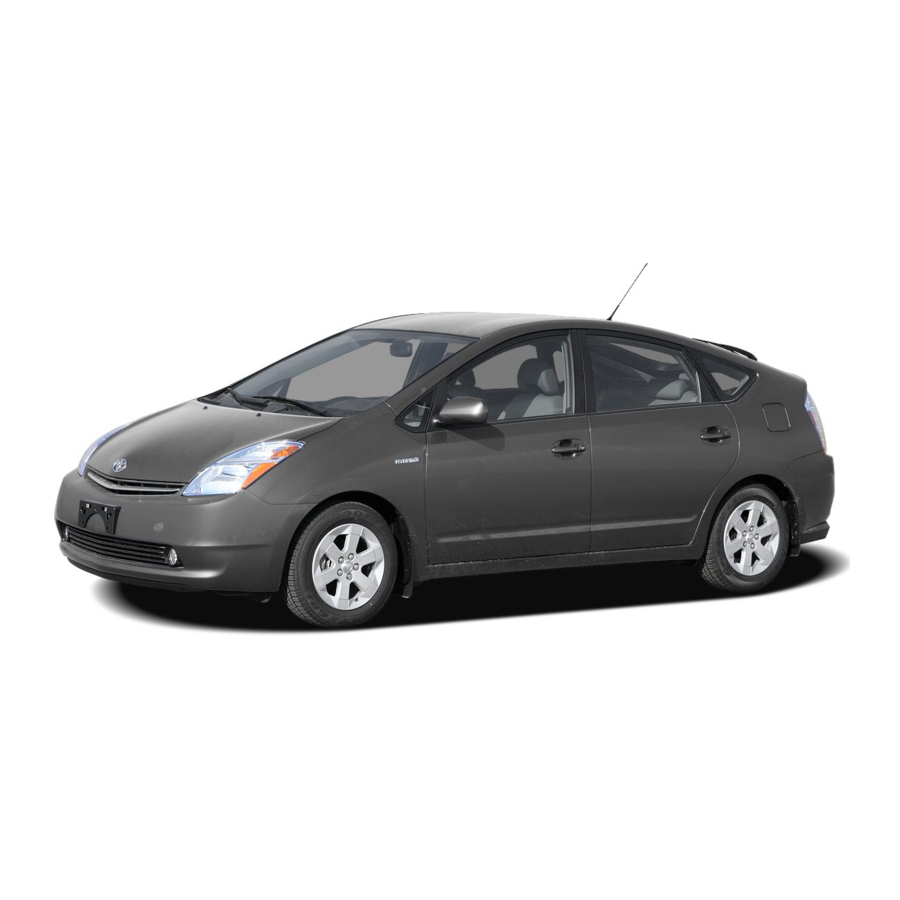
Toyota PRIUS 2008 Quick Reference Manual
Powered by hybrid synergy drive
Hide thumbs
Also See for PRIUS 2008:
- Quick reference manual (535 pages) ,
- Manual (512 pages) ,
- Connection setup (5 pages)
Summary of Contents for Toyota PRIUS 2008
-
Page 1: Quick Reference Guide
Customer Experience Center 1-800-331-4331 POWERED 2008 Quick Reference Guide MN 00505-QRG08-PRI Printed in the USA 8/07... - Page 2 Your dealership and the entire staff of Toyota Motor Sales, U.S.A., Inc. wish you many years of satisfied driving in your new Prius. A word about safe vehicle operations This Quick Reference Guide is not a full description of Prius operations.
-
Page 3: Table Of Contents
Jump starting Rear air vent Seat belts Seat belts-Shoulder belt anchor Spare tire & tools Tire Pressure Warning System Programmable by customer. For dealer-programmable features, please visit your Toyota dealer. HomeLink is a registered trademark of Johnson Controls, Inc. ®... -
Page 4: Hybrid Synergy Drive System
BASIC HYBRID VEHICLE OPERATION Key fob Hybrid Synergy Drive System The Hybrid Synergy Drive System utilizes a computer Master key controlled gasoline engine and electric motor to provide the most efficient combination of power for the vehicle. To conserve energy, when the brakes are applied, braking force generates electricity which is then sent to the traction battery. - Page 5 BASIC HYBRID VEHICLE OPERATION Smart Key system (if equipped) Smart Key system cancel switch Push NOTE: To conserve battery power, t urn the Smart Key system “OFF” when not using the vehicle for prolonged periods of time. For more battery saving information, Owner’s Manual for more details.
-
Page 6: Keyless Entry
BASIC HYBRID VEHICLE OPERATION Keyless entry Turning the Hybrid System ON Start function Locking operation Push Unlocking operation Insert key.* Depress the brake pedal and push the “POWER” button briefly and firmly. The “READY” light will blink. After a few seconds, when the light remains ON and a beep sounds, you may begin driving. -
Page 7: Parking & Turning Off The Hybrid System
BASIC HYBRID VEHICLE OPERATION Shifting Parking & turning OFF the Hybrid System Park button Shift position Shift lever Park button Reverse (buzzer sounds) Neutral When the vehicle is at a complete stop, keep brake pedal depressed and push Park button Drive above the shift lever. -
Page 8: Instrument Panel
OVERVIEW Instrument panel Without navigation system With navigation system 1, 2 Headlight, turn signal and front fog light controls Audio system Wiper and washer controls 12V DC Power outlet “POWER” button Park button Clock Electronic shift lever “AUDIO” switch (multi-information display control) Ignition key (key fob) slot “CLIMATE”... -
Page 9: Instrument Cluster
OVERVIEW Instrument cluster Electric power steering system warning Smart Key system warning Turn signal indicator Headlight high beam indicator Headlight indicator Service indicators and reminder Speedometer Slip indicator Fuel gauge Odometer and two trip meters Automatic headlight leveling system warning Indicator symbols Cruise control indicator Brake system warning... -
Page 10: Engine Maintenance
OVERVIEW Fuel tank door opener and cap Hood release Pull Pull up Driver seat Store Turn Pull up latch and raise hood Engine maintenance NOTE: Tighten until one click is heard. If the cap is not tightened enough, Check Engine “ ”... - Page 11 * can be programmed to operate ® garage doors, estate gates, security lighting, etc. Refer to the Owner’s Manual for more details. For programming assistance, contact the Toyota Customer Experience Center at 1-800-331-4331, or Lane change Left turn visit http://www.homelink.com...
-
Page 12: Tilt Steering Wheel
FEATURES/OPERATIONS Seat adjustments-Front Tilt steering wheel Angle Lock release lever Hold wheel, push lever down, set angle and return lever. Note: Do not attempt to adjust while the vehicle Position Seatback angle is in motion. Seats-Head restraints Windows Front Rear Driver side Down Window lock... -
Page 13: Cruise Control
FEATURES/OPERATIONS Air Conditioning/Heating Steering wheel switches Type 1 functions Auto A/C ON/OFF Temperature selector Air intake selector Windshield vent Rear window and outside rearview mirror Type 2 functions defogger Cruise control (if equipped) Turning system ON/OFF System ON/OFF With navigation system Setting a speed Resume /Increase speed... - Page 14 FEATURES/OPERATIONS Audio CD PLAYER To scan tracks on a disc Touch “SCAN” icon on the Type 1 display. Push again to hold selection. Audio CD changer (Type 2 only) -To load one disc Push “LOAD” and insert one disc. -To load multiple discs Push and hold “LOAD” until you hear a beep.
-
Page 15: Cup And Bottle Holders
FEATURES/OPERATIONS Luggage storage box Cup and bottle holders Cup holder-Front Cup holder-Rear Unlock Unlock Telephone controls (Bluetooth Bottle holder ® (if equipped) Front door Display Microphone Power outlets Instrument panel (12V) Center console box (12V) Steering wheel telephone switches The Hybrid System must be in “ACC” or “IG-ON.” Parking brake Voice command... -
Page 16: Door Locks
SAFETY AND EMERGENCY FEATURES Door locks Emergency flashers Lock Unlock Push Doors-Child safety locks Rear air vent Rear door Moving the lever to “LOCK” will allow the door to be opened only from the outside. Seat belts Note: The air vent on the right side of the rear seatback is designed to assist in cooling the Hybrid vehicle battery. -
Page 17: Jump Starting
SAFETY AND EMERGENCY FEATURES Jump starting Jump start terminal Exclusive jump start terminal cover The jump start terminal is in the fuse box. To access the terminal, open the fuse block cover and the jump start terminal cover. Connecting jumper cables Recommended connecting point (1) Connect positive (red) jumper cable to the jump... -
Page 18: Spare Tire & Tools
Spare tire & tools Tool location Wheel nut wrench Jack handle Jack Spare tire Removing the spare tire (1) Remove the luggage storage box. (2) Loosen the bolt and remove it. (3) Remove the jack box. Refer to the “Owner’s Manual” for tire changing and jack positioning procedures.


