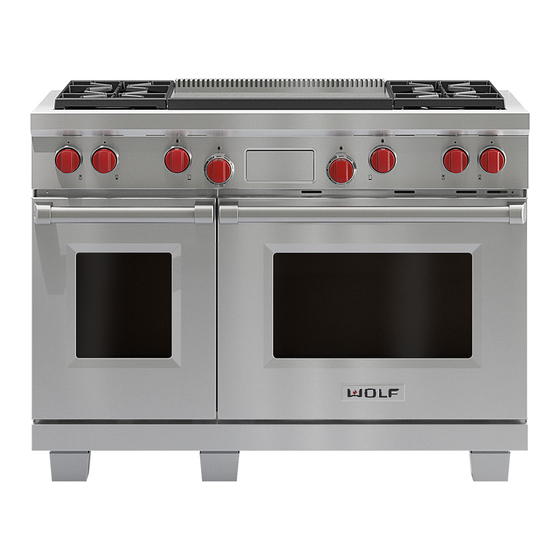
Wolf DF304 Installation Manual
Dual fuel ranges
Hide thumbs
Also See for DF304:
- Use & care information manual (56 pages) ,
- Installation instructions manual (21 pages) ,
- Use & care manual (20 pages)
Table of Contents
Advertisement
Advertisement
Table of Contents

Related Manuals for Wolf DF304


Summary of Contents for Wolf DF304
- Page 1 Dual Fuel Ranges Installation Guide...
- Page 2 WARNING most up-to-date information. death if precautions are not followed. Throughout this guide, dimensions in IMPORTANT NOTE: parentheses are millimeters unless otherwise specified. Save these instructions for the local IMPORTANT NOTE: electrical inspector. Wolf Customer Care 800.222.7820...
-
Page 3: Important Instructions
Verify the anti-tip device has been properly to the illustration below. installed and engaged. Ensure the anti-tip device If service is necessary, contact Wolf factory certified service is re-engaged when this appliance is moved. Refer with the model and serial number. For the name of the... -
Page 4: Installation Requirements
Electrical Supply grounded, 240/208 V AC, 60 Hz Service 50 amp dedicated circuit Total Amps 42.5 Max Connected Load 10.2 kW Min Supply Wire L1, L2—8 AWG, ground—10 AWG neutral—12 AWG RATING PLATE Rating plate location. Wolf Customer Care 800.222.7820... -
Page 5: Gas Supply
3. If this information does not agree with the type of with natural or LP gas should be used. gas available, check with the local gas supplier. Wolf natural gas ranges will function up to 10,250' (3124 m) GAS SUPPLY REQUIREMENTS... - Page 6 (305) DUAL FUEL RANGE WIDTH OPENING WIDTH 30" Range 30" " (762) (216) 36" Range 36" " (914) (343) 48" Range 48" 24" (1219) (610) 60" Range " 31" (1530) (787) Wolf Customer Care 800.222.7820...
- Page 7 INSTALLATION Preparation Before moving the range, protect any finished flooring and OVEN DOOR REMOVAL secure oven door(s) closed to prevent damage. Insert the hinge pin into the appropriate hinge. To lighten the load or to fit through a door way, the oven Remove the lower kickplate assembly to access the door(s) can be removed.
- Page 8 ANTI-TIP BRACKET tions packaged with the riser. The riser must be installed WIDTH before the range is installed. 30" Range " 36" Range " (14) 48" Range " 60" Range " ANTI-TIP BRACKET Anti-tip bracket location. Wolf Customer Care 800.222.7820...
- Page 9 INSTALLATION Anti-Tip Bracket INSTALL BRACKET ANTI-TIP BOLT ADJUSTMENT Drywall application After properly positioning the anti-tip Once the bracket is secure, adjust the anti-tip bolt so the bracket, mark holes, then use a Philips screwdriver or a low top of the washer is "...
-
Page 10: Electrical Connection
Connect the red appliance wire to the red (L2) power supply wire in the electrical box. Connect the ground appliance wire to the green/ground house grounding wire in the electrical box. Wolf Customer Care 800.222.7820... -
Page 11: Troubleshooting
Wolf, Wolf & Design, Wolf Gourmet, W & Design and the color red as applied to knobs are registered trademarks and service marks of Wolf Appliance, Inc. Sub-Zero, Sub-Zero & Design, Dual Refrigeration, Constant Care, The Living Kitchen, Great American Kitchens The Fine Art of Kitchen Design, and Ingredients are registered trademarks and service marks of Sub-Zero, Inc. - Page 12 WOLF APPLIANCE, INC. P.O. BOX 44848 MADISON, WI 53744 WOLFAPPLIANCE.COM 800.222.7820 822583 REV-A 4 / 2013...