Table of Contents
Advertisement
Advertisement
Table of Contents

Related Manuals for Meade Deep Sky Imager


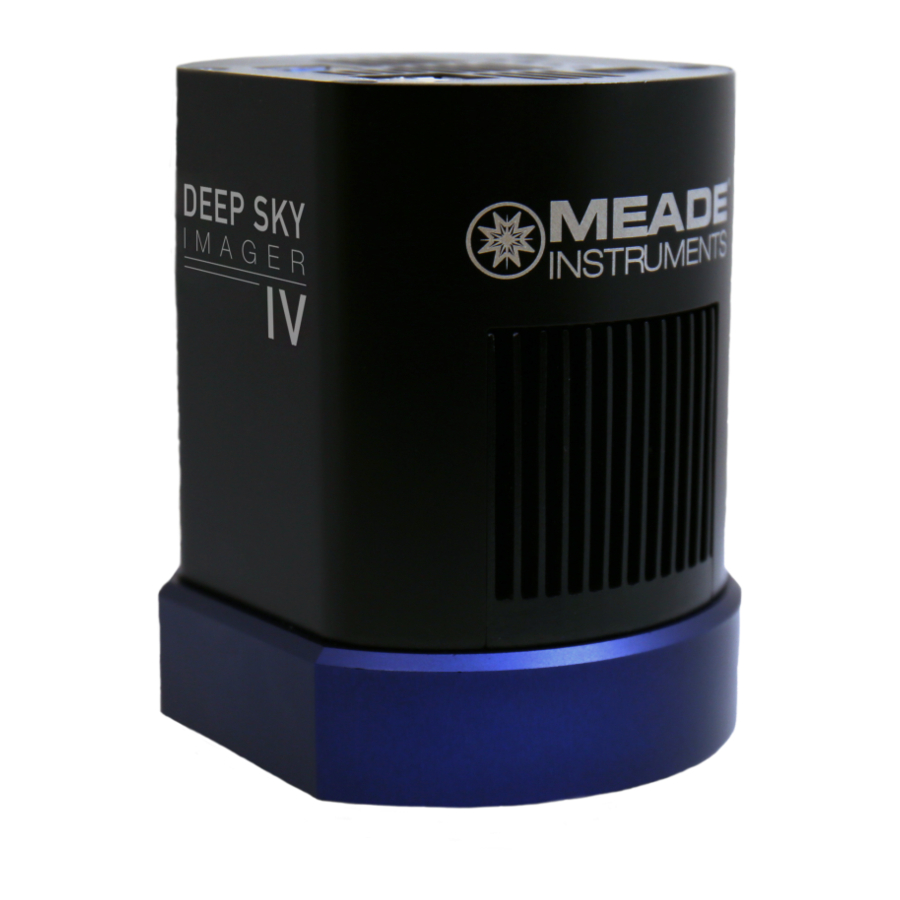
Summary of Contents for Meade Deep Sky Imager
- Page 1 Deep Sky Imager ™ The Basics Color Black and White Pro II Pro II Pro III...
-
Page 2: Parts Listing
Parts Listing When first opening the packing box, note carefully the following parts: • Deep Sky Imager camera • Parfocal ring • USB cable • DB-9 to RJ-11 adapter ® • LX200 serial cable ® • Autostar #497 serial cable •... - Page 3 Install the Autostar Suite Software The following procedure is also found on the printed Quick Start Guide supplied with this product. Before you can operate the Deep Sky Imager camera, you must install the Autostar Suite software. Do not plug the USB cable into your PC at this time. You will be asked to do so later in this installation.
- Page 4 PC configurations. 6. The driver is installed. Click “Finish.” The camera driver is now installed and your PC will now be able to recognize the Deep Sky Imager whenever you connect it to the PC.
- Page 5 You can open other programs of the Suite by going to the Image menu and selecting the desired program, or You can run Envisage from Start/All programs/Meade/Envisage. You can open the Operating Instruction manuals or the Meade General Catalog by selecting them from the Main Menu screen of the CD ROM.
- Page 6 Deep Sky Imager camera to an ETX Telescope: • While looking at the back of the telescope, orient the Deep Sky Imager camera into the eyepiece holder so that the USB cable points to the left of the telescope’s optical tube. ®...
- Page 7 Open the Envisage Program ® To open the Envisage Imaging program, go to the Image menu of the Planetarium program and select Deep Sky Imager Imaging. The Envisage program will display.
- Page 8 Envisage Controls 1& 3& 2&...
- Page 9 Key to Envisage Controls 1. Gain and Offset sliders 2. Preview and Exposure controls 22. Magic Eye Focus 3. Auto Exp (Exposure) controls 23. CCD Temperature 4. Monochrome check box 24. File Name [grayed out for B&W model] 25. File Open and Settings menu 5.
- Page 10 Once you have connected your camera to the computer and opened the Envisage program, you’ll want to start taking pictures. Follow the steps below to start taking simple pictures with your Deep Sky Imager camera. We recommend that the first time you take pictures, you do so during daylight hours. Point your telescope at a stationary landmark, such as a building, telephone pole or so forth—trees and other objects that move slightly...
- Page 11 Start Taking Pictures more... 6. An image should be already displayed on the screen (39). Use the focuser on your telescope to focus the object. See “Magic Eye Focus,” page 25 for more information about focusing. If you are having a lot of problems focusing your image, see “The Parfocal Ring,”...
- Page 12 (these are the default settings). • When you press Start, the Deep Sky Imager camera begins taking images and continues to take images until you press stop. The Envisage program uses the first 10 images it takes as a baseline to compare with the images it takes subsequently.
- Page 13 What Happens When You Press Start • The Envisage program is continually resaving the composite image. If the Save Every Composite Image box is selected, in the Save Option dialog the program will save every image that added to the composite image (see page 22 for more information).
- Page 14 How to take a picture of a terrestrial object, the Moon or a planet 1. Insert camera into the telescope as previously described. 2. Click on the Live tab (17). 3. Click Auto Exp (3). The program will find a good exposure automatically. Set the image balance according to your taste using the Contrast (21) and Color Balance (8) [color models only] controls.
- Page 15 Click OK when it is covered. 8. The imager begins taking dark frames (see “Dark Frames” page 34, for more information). The Dark Frames are saved in the directory: C:Meade Images/Dark. The program will display how long the Dark Frame exposures will take.
- Page 16 Stop to abort. You will now have an image that you can post on the web or submit to one of the Deep Sky Imager user groups. Experiment with Contrast, Shadow Enhance, Histogram sliders and Dark Subtract, and you will begin to take images like an expert.
- Page 17 The Parfocal Ring It is extremely useful to have the Deep Sky Imager camera and a telescope eyepiece be parfocal—it will save you time when you need to refocus. Parfocal means setting two or more eyepieces to the same focus. (In this case, one eyepiece is a camera.) In other words, if you focus one eyepiece in your telescope, then you remove it and replace it with a parfocal eyepiece, the parfocal eyepiece will require little, if any, refocusing.
- Page 18 Do not tighten the eyepiece holder thumbscrew. Make sure the Deep Sky Imager camera slides down as far as it will go into the eyepiece holder. 3. Point the telescope at a terrestrial object that has a lot of contrast with the surrounding area and if possible, has a distinctive edge (like a building, for example).
- Page 19 Automatic Adjustment Controls Gain and Offset sliders (1): Similar to a TV set’s contrast and brightness controls. These controls are automatically set after you pick an Object (10) type and click on the Auto Exp button (3). Most users will seldom, if ever, need to set these controls manually.
- Page 20 Automatic Adjustment Controls Color sliders [not available for the Black and White model]. Experiment with these sliders to change to change the image color. Sharp [not available for the Black and White model or DSI III] provides a sharper image, but the colors are less saturated.
- Page 21 Image Processing Controls Setting Menu (25): Click on the Setting Tab to display the Setting fields. These are field that may be filled in by the user, if so desired. It also contains the directory paths for the Images and Dark frames directories.
- Page 22 Image Processing Controls Object Name (11): Type in a name for the object. Each time the Envisage program begins to accumulate a new composite image, it renumbers the image in a new tab, using your original name. For example, if you named the first image “Building,” the next images will be named “Building 2,”...
- Page 23 Image Processing Controls Image Acquire Status bars (15): Display while the Deep Sky Imager camera is taking pictures. Also a box displays the images format (e.g., jpeg), type of operation, time-lapse sequence or other pertinent information.. Image Directory field and Browse button: Click on the Settings menu (25) to display a dialog box.
- Page 24 File Settings Tab File Open menu (25): Allows you to open a file you have previously created. Click on this button and your directory list displays. Choose the desired file and it opens as a tab above the Image Display window. See diagram below.
- Page 25 Magic Eye Focus The Magic Eye Focus (22) displays a 3-D surface plot of the intensity of the image centered on the crosshairs of the tracking box (see page 28). As you adjust the focus, the peak of the plot will grow or shrink and the edges will grow steeper or less steep. Best focus is achieved at maximum peak and steepness.
- Page 26 Connecting your Telescope and Telescope Controls To connect to your telescope, see the printed instruction sheet that was including with Autostar Suite. Once the telescope is connected, you may use the following controls (28): Use the Arrow keys to move the telescope. Click on an Arrow to move in that direction at Guide Speed.
- Page 27 Time-Lapse Settings Envisage software allows you to take time-lapse images of an object. This means you can set the software to take an image, wait and then take another image after a period of time goes by, and continue the process for however long you desire.
- Page 28 Deep Sky Imager Camera Program Advanced Concepts...
- Page 29 Tracking Boxes and Centroids Drawing a tracking box allows you to track (that is, to follow) a bright spot that is surrounded by a dark area. This is very much like your telescope’s tracking feature. A centroid is the spot where the crosshairs meet. You can use the centroids to help you center an object in a box.
- Page 30 Histogram Display and Controls The Histogram controls allow you more control of the brightness, contrast and mid- range tones of your Deep Sky Imager camera. Experiment with these controls. Select an easily focused terrestrial image and adjust the Histogram sliders. You will notice the Live image growing brighter or darker, and even notice mid-tones becoming more visible.
- Page 31 Autoguider and Telescope Controls For users familiar with the product, the Deep Sky Imager camera functions in a manner similar to the Meade Pictor 201XT CCD Autoguider. An autoguider helps keep an object centered so that a 35mm camera can take long exposures of an image.
- Page 32 Autoguider and Telescope Controls 7. In the “FL IN MM” field (focal length in millimeters), type in the focal length, in millimeters, of your guide scope. 8. Locate a star using your telescope’s alignment and Go To procedures. Focus and prepare the imager as described earlier in this manual.
- Page 33 Autoguider and Telescope Controls Other Features Center Target: Click Center Target to move the yellow circle to the center of the screen. The telescope models will follow (some telescopes will move more slowly than others). Set Target: Click Set Target and click on a position on the screen. The target will move to the this position. Corr (Correction) Gain: Sets how aggressive the correction operates.
- Page 34 A similar process is needed for the Deep Sky Imager which can be thought of as a canvas for a fine painting, only in this case the canvas is the silicon surface of the imager. This silicon surface is uneven in a different way.
-
Page 35: Dark Frames
Dark Frames is a useful feature for if you’re taking exposures longer than 1 second. Longer exposures and temperature can create noise in your Deep Sky Imager camera called dark current artifacts. The Dark Frames feature allows you to subtract out some of this noise from your pictures. - Page 36 7. Check the Dark Sub check box (6). The Dark Frames feature is automated, so Dark Frames will automatically be applied to any pictures you now take. Remove the lens cap from your telescope or uncover your Deep Sky Imager camera. Begin taking pictures as previously described in “Start Taking Pictures.”...
- Page 37 Make a Movie of the Rotation of Jupiter You should become familiar with autoguiding/auto tracking and calibration procedures as described in “Autoguider and Telescope Controls,” page 31. 1. Click on the Save Process button to open the dialog box. 2. Set the file type. Choose “jpeg” if just wish to create a movie, or select “tif” if you wish to process the frames in another image editing software program, such as Photoshop.
- Page 38 Color Filters and the Black and White Imager The Black and White Deep Sky Imager model is shipped with a slide that will hold optional CCD RGB color filters, allowing you to tint, or tint and combine your black and white images. Meade offers one such filter set, the Meade CCD RGB Filter set, which includes a red, green, blue and IR filter.
- Page 39 Color Filters and the Black and White Imager 2. Thread the nosepiece into place and firmly tighten. Push the slide into housing Attach nosepiece. 3. Gently push the slide into slide housing on the camera. Notice that you can feel each filter “click” in place as you move the slide across the camera.
- Page 40 4. Start autotracking Follow the directions in the manual on page 31 and set up your Meade Telescope for autotracking/Guiding. Be sure the Imager pull down in the Telescope tab is set to the imager you are using for drizzle. The imagers are identified by name.
- Page 41 Drizzle Tutorials 5. Select 2 stars The first star selected will be the shift star this is the position that will be shifted for subsequent images. This is also the star that will be used for telescope tracking. The second star is to determine the rotation angle from the first star.
- Page 42 Drizzle Tutorials Once the star reaches the first target position the yellow cross will move to the lower right corner. The target position will move to the next position each time the selected star reaches it. The next position is the lower left corner and the last position is the upper left corner.
- Page 43 Drizzle Tutorials 2. Select images Select the first image in the list and after a few seconds it should appear in the live display. You can use the arrow keys and go up an down the list and the image will appear. Inspect each image and click on the Remove button to take the bad images out of the list.
- Page 44 Drizzle Tutorials Click on the first file and then select the tracking stars. They don’t have to be the same ones selected when the images were taken. After the selection you can use the arrow down key to check the tracking of the 2 stars.
- Page 45 By selecting File->Open you can load any image file and perform a histogram stretch and shadow enhance(gamma) and then save the file in the currently selected file type by selecting File->Save. The file is always saved in the default image directory which is C:\Meade Images by default.
- Page 46 Developed by NASA for the Hubble Space Telescope, Drizzle has features that dramatically increase the resolution and field of view of the Deep Sky Imager Pro's CCD chip. When the object being imaged would normally need a bigger chip camera, the astrophotographer can enable the Drizzle feature, which produces an effective 4.9 mega pixel camera from the Deep Sky Imager Pro's 640x480 CCD chip with Meade AutoStar...
- Page 47 Description of Drizzle In the Drizzle Settings dialog box you have three options, “Drizzle Resolution,” “Extended View,” and “Pixel Fraction.” Here is what happens as you change each setting:...
- Page 48 Description of Drizzle Drizzle Resolution By increasing the Drizzle Resolution number (maximum value 2), the image resolution is higher creating bigger image scale. It looks like the image is simply enlarged, but in fact by taking multiple undersampled dithered shots of the object it reconstructs the image at higher resolution. Notice the Drizzle Size increase from 640x480 to 1248x936, and the final image size being 1248x936.
- Page 49 Description of Drizzle Extended View Extended view increases the value to a maximum of 2 (effectively making a 2x2 mosaic). We move the telescope in small precision movements, pause to take an image, and then repeat the action to make a seamless mosaic.
- Page 50 Description of Drizzle Pixel Fractions By adjusting the Pixel Fraction size to a value smaller than 1 (minimum setting is .20), the size of the pixel fraction that is downloaded from each pixel is set as the exposure is made. Using a smaller pixel fraction will increase the image resolution.
- Page 51 Description of Drizzle...
- Page 52 Altazimuth configuration, or in a roughly polar aligned telescope. Using this feature, you can do a quick alignment of your Meade telescope in Altaz, turn on the Envisage, select Drizzle, and draw a box around each of two stars in the field. The resulting image will not show rotational star trails.
- Page 53 New Features in this Release Multiple Cameras: The latest software release now supports guiding and imaging with multiple cameras: You can connect up to 5 and use any combination of DSI, DSI Pro, DSI II, DSI Pro II or LPI. But you must use a USB 2.0 interface and, if necessary, a powered hub.
- Page 54 Additional Features Imager Naming. The new software will prompt you to name your Deep Sky Imager the first time you run Envisage with the imager plugged in. Keep the name short and descriptive. This name will stay with that imager even on a different computer.
- Page 55 DSI II Features The following features are only available with DSI II models. Otherwise, the DSI II color model functions the same as the DSI, and the DSI Pro II functions the same as the DSI Pro. Resolution: 748 x 577 pixels. The DSI II models have almost twice the resolutions as the other models. CCD Temperature (41): Reads the temperature at the camera when you take dark frames.
- Page 56 Finally, Some Important Tips The following are some tips we have discovered that are very useful. Perform these procedures in the daytime, unless otherwise mentioned. • Make sure you connect to the correct ports on your computer. Use a USB 2.0 interface. •...
- Page 57 Software unused to the place of purchase for a full refund. Information in this document is subject to change without notice and does not represent a commitment on the part of Meade Instruments Corp. The software and/or databases described in this document are furnished under a license agreement. The software and/or databases may be used or copied only in accordance with the terms of the agreement.
- Page 58 9/07 (800) 626-3233 www.meade.com...