
Related Manuals for LG W2253V


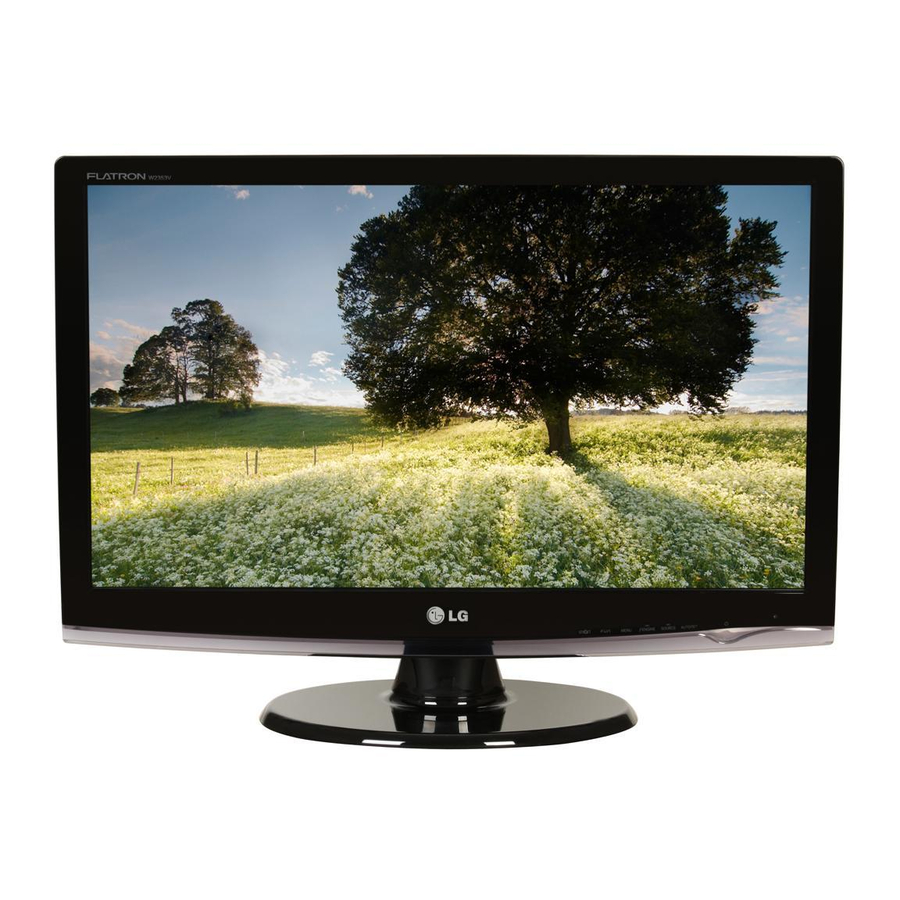
Summary of Contents for LG W2253V
- Page 1 sule to lead the Important Precautions betbre nsi_lgthe product. Keep the Uselr's G uide(CD)it1an accessibleplace for futu,re,:efelrence. See the label attachedon the productand give the informationto yo_u ° deNer whenyou ask for service.
- Page 2 This unit has been engineered and manufactured to ensure your personal safety, however improper use may result in potential electrical shock or fire hazards. order to allow the proper operation of all safeguards incorporated in this display, observe the following basic rules tbr its installation, use, and servicing.
- Page 3 Donotuse thisdisplay near w ater s uch asnear a bathtub, washbowl, kitchen sink, l aundry tub,inawetbasement, ornear a swimming pool. Displays areprovided withventilation openings inthecabinet toallow therelease ofheat g enerated during o peration. Ifthese openings areblocked, built-up h eat can cause f ailures which may result i nafirehazard. Therefore, NEVER: •...
-
Page 4: Connecting The Stand
• Before setting up the monitor, ensure that the power to the monitor, the computer system, and other attached devices is turned off. Connecting the stand 1. Placethe monitor with its front facin9 downward on a soft cloth, Assemble the Stand Base(Front, Rear) into the Stand Body in the correct direction, StandBody... -
Page 5: Disassembling The Stand
Disassembling the stand Put a cushion or soft cloth on a flat 2. Place the monitor face down on surface, the cushion or soft cloth, 3. Change your lock on the product as it follows and turn it in the arrow direction, If you can't release the stand base even the locking rib is at a release position, Please push the indicated rib down and retry it, 4o Pull out the stand to remove,... -
Page 6: Positioning Your Display
• Before setting up the monitor, ensure that the power to the monitor, the computer system, and other attached devices is turned off. Positioning your display 1. Adjust the position of the panel in various ways for maximum comfort, • Tilt Range: -5°-15 ° _5°... -
Page 7: Using The Computer
Using the Computer 1. Make sure to turn off the computer and product. Connect the cable as below sketch map form 0 to (_) . Connect DVI-DCable Connect D-subCable (PC) Connect D-subCable (Mac) Connect HDMI Cable (_) Power C ord (_ SignalCable D-sub HDMI... -
Page 8: Using The Cable Holder
Using the cable holder (This feature is not available in all models.) Cable holder... -
Page 9: Front Panel Controls
Front Panel Controls Qn_r_! n_ti_n srnOrt B utton Use this button to enter CINEMA MODE,AUTO BRIGHT,TIME CONTROL, LIVE SENSOR,SMART items,for more information,refer to page A16. DSUB and DVI input,use this button to enter EZ Fun Button ZOOMING,4:3 IN WIDE,PHOTO EFFECT items. HDMI input,use this button to enter 4:3 IN WIDE, PHOTO EFFECT,VOLUME items. -
Page 10: Auto Image Adjustment
21k Buttons Use these buttons to select or adjust functions in the On Screen Display. V" Button For more information, refer to page A19 -A20. ( ,_.ENGINE _ ENGI_E Use this button to make either D-Sub,DVI or HDMI ,4_ Button connector active. -
Page 11: Screen Adjustment
Screen Adjustment Making adjustments to the image size, position and operating parameters of the display is quick and easy with the On Screen Display Control system. A short example is given below to familiarize you with the use of the controls. The following section is an outline of the available adjustments and selections you can make using the OSD. - Page 12 The following table indicates all the On Screen Display control, adjustment, and setting menus. CINEMA MODE To focus on the moving picture selected. AUTO BRIGHT To control screen brightness automatically. TIME CONTROL To mind user using time. LIVE SENSOR To control touch key distance. SMART To control smart key menu.
- Page 13 You were introduced to the procedure of selecting and adjusting an item using the OSD system. Listed below are the icons, icon names, and icon descriptions of the all items shown on the Menu. Press the MENU Button, then the main menu of the OSD appears. Main Menu coLoR SETUP...
- Page 14 PICTURE DSUB/DVl input BRIGHTNESS To adjust the brightness of the screen. CONTRAST To adjust the contrast of the screen. GAMMA Set your own gamma value. : -50/0/50 On the monitor, high gamma values display whitish images and low gamma values display high contrast images. HDMI input BLACK LEVEL You can set the offset level.
- Page 15 TRACKING HORIZONTAL To move image left and right. VERTICAL To move image up and down. CLOCK To minimize any vertical bars or stripes visible on the screen background. The horizontal screen size will also change. PHASE To adjust the focus of the display. This item allows you to remove any horizontal noise and clear or sharpen the image of characters.
- Page 16 LANGUAGE SETUP To choose the language in which the control names are displayed. To adjust position of the OSD window POSITION on the screen. WHITE If the output of the video card is different BALANCE the required specifications, the color level may deteriorate due to video signal distortion.
- Page 17 The OSD screen will a ppear when y ou touch t he smart button on the right bottom of the monitor. TIME CONTROL CINEMA MODE It focuses better on the moving picture in selected area. *This function is operated only if the fortemanager is installed to pc.
- Page 18 The OSD screen will a ppear when y ou touch t heFun button onthe left b ottom o fthe monitor. DSUB/DVI input P_OTO EFFECT HDMI input PHOTO EFFE_ EZ ZOOMING EZ Zoom lowers the display's resolution in single-step increments. Depressing the button once lowers the resolution by one step;...
-
Page 19: Photo Effect
Toselect the color o fthe screen. PHOTO EFFECT ,NORMAL: ThePhotoEffectfundionisdisabled. • GAUSSlAN BLUR : This option is to add the effect to the screen that the dark and sharp image becomes brighter and more blurred. • SEPIA : This option changes the screen to be Sepia tone. The Sepia tone is brown color tone. - Page 20 The OSD screen will a ppear when y ou touch the JIENGINE button on the left bottom of the monitor. MOVIE Select this when you are watching a video or movie. iiiiiiiiiiiiiiiiiiiiiiiiiiiiii iiiiiiiiiiiiiiiiiiiiiiiiiiiii DSUB/DVI input INTERNET Select this when you are working on the _E_iNE document (Word etc.) HDMI input...
- Page 21 DSUB/DVI input DEMO This is usedfor advertisingin the store. The screen will be dividedto show the standard mode on the left andvideo mode on the rightso that the consumerscan check the difference after applying the video mode. SPORTS Selectthis when you watchinggeneralsports. USER You can manually adjust ACE or RCM (only for DSUB/DVl input), HUE or SATURATION (only for...
- Page 22 Check the following before calling for service. @Is the power cord of the • Checkand see if the power cord isconnected display connected? properlyto the power outlet. • Pressthe Power button. @Is the power indicator light on? @Is the power indicator •...
- Page 23 @Display Position is • Pressthe AUTO/SETbuttonto automatically incorrect. adjustyour displayimagetothe ideal setting. If the resultsare unsatisfactory, a djust the image position usingthe H position and V position icon in the on screen display. @On the screen • Pressthe AUTO/SETbuttonto automatically adjustyour displayimageto the ideal setting.
- Page 24 @The screen color is • Check ifthesignal cable isproperlyconnected mono or abnormal. and usea screwdriverto fastenif necessary. • Make surethe video card is properlyinserted in the slot. • Setthe colorsetting higherthan 24 bits (truecolor) at Control Panel - Settings. @The screen blinks. •...
- Page 25 Display 21.5 inches (54.6 cm) Flat Panel Active matrix-TFT LCD Anti-Glare coating Visible diagonal size: 54.6 cm 0.248*0.248 mm pixel pitch Sync Input Horizontal Freq. 30 - 83 kHz (Automatic) Vertical Freq. Analog,Digital • 56 - 75 Hz (Automatic) HDMI • 56 - 61 Hz (Automatic) Input Form Separate TTL, Positive/Negative SOG (Sync On Green)
- Page 26 Display 23.0 inches ( 58.4 cm)FlatPanel Active matrix-TFT Anti-Glare coating Visible diagonal size: 58.4 cm 0.266*0.266 mm pixel pitch Horizontal Freq. 30 - 83 kHz (Automatic) Sync Input Vertical Freq. Analog,Digital : 56 - 75 Hz (Automatic) HDMI: 56 - 61 Hz (Automatic) Input Form Separate TTL, Positive/Negative _i_/i_i_iii...
-
Page 27: Preset Modes (Resolution)
Preset Modes (Resolution) DSUB/DVI Timing 720 x 400 31.468 640 x 480 31.469 640 x 480 37.500 800 x 600 37.879 800 x 600 46.875 1024 x 768 48.363 1024 x 768 60.123 1152 x 864 67.500 1280x1024 63.981 1280x1024 79.976 1680x1050 65.290... - Page 28 Digitally yours [][][][]o_oo...