Table of Contents
Advertisement
Advertisement
Table of Contents

Summary of Contents for Zotac MAG
- Page 2 ZOTAC. Products and corporate names mentioned in this manual may not be registered trademarks or copy- rights of their respective companies, and are used for identification purposes only.
-
Page 3: Table Of Contents
................4 ......... Positioning your ZOTAC MAG ................5 Installing the stand ................. 5 ......Mounting your ZOTAC MAG to a monitor .............. 5 Setting up your ZOTAC MAG ................6 Connecting to a display ..............6 ..... Connecting to USB devices .............. -
Page 4: Product Specifications
Product Specifications Chipset • NVIDIA ION series ZOTAC MAG Dimensions • 7.32 inch x 7.44 inch x 1.50 inch (186mm x 189mm x 38mm) Microprocessor support • Intel ATOM 230/330 CPU • 533MHz FSB Operating system support • Supports Windows XP 32-bit/64-bit, Windows Vista 32-bit/64-bit, and Windows 7 32-bit/64-bit •... -
Page 5: Safety Information
Safety information Your ZOTAC MAG is designed and tested to meet the latest standards of safety for information technology equipment. However, to ensure your safety, it is important that you read the following safety instructions. Setting up your system •... -
Page 7: Getting To Know Your Zotac Mag
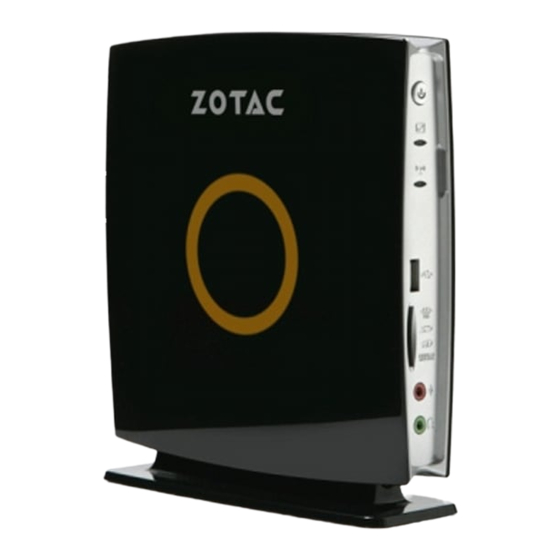
Getting to know your ZOTAC MAG Headphone/Audio Front view Refer to the diagram below to identify the components on the front of the system Out jack - The stereo headphone jack (3.5mm) is used to connect the system’s audio output to amplified speakers or head- phones. -
Page 8: Positioning Your Zotac Mag
Fig. 1 Mounting your ZOTAC MAG to a monitor You can also mount the ZOTAC MAG to the back of a monitor that features VESA- compliant mounting holes (VESA 75 or VESA 100 mounting patterns). To do so: Secure the VESA mount to your monitor with four screws (HNM/M4x8) (fig. 3). -
Page 9: Setting Up Your Zotac Mag
Setting up your ZOTAC MAG Connect the peripherals before using your ZOTAC MAG. Connecting to USB devices Connect USB devices such as keyboards (varying with areas), mice and print- ers to the USB ports on the system rear panel. Connecting to a network device Connect one end of a network cable (RJ45 connector) to the LAN port on the system rear panel and the other end to a hub, switch or router. -
Page 10: Installing Drivers And Software
Install system drivers to gain full functionality of the ZOTAC MAG hardware and features. Installing system drivers Before you can use the full features of the ZOTAC MAG, the system drivers must be installed. The following types of operating systems are supported by the ZOTAC MAG driver CD: •... -
Page 11: Using Your Zotac Mag
Using your ZOTAC MAG Configuring wireless connection Follow the instructions below to connect to a wireless network: Important: For security concerns, Do NOT connect to an unsecured network, otherwise, the transmitted information without encryption might be visible to others. Double-click the crossed wireless network icon (image) on the notification area. -
Page 12: Using A Dynamic Ip
If you use your TV with an HDMI connector as an audio output device, connect it to your ZOTAC MAG and follow the steps below to configure audio settings: Note: The screenshots shown in this section are for the Windows® Vista operating system. - Page 13 Product warranty or service will not be extended if: (1) the product is repaired, modified or altered, unless such repair, modification or alteration is authorized in writing by ZOTAC International (MCO) Limited, or (2) the serial number of the product is damaged or missing.


