Apogee DA-16X User Manual
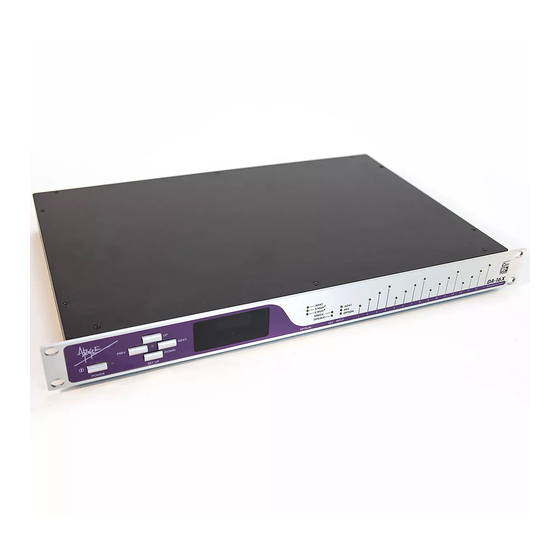
16-channel 24 bit, 192 khz, d/a converter
Hide thumbs
Also See for DA-16X:
- Specifications (2 pages) ,
- Review manual (3 pages) ,
- Brochure (7 pages)
Table of Contents
Advertisement
Quick Links
Advertisement
Table of Contents

Related Manuals for Apogee DA-16X


Summary of Contents for Apogee DA-16X
- Page 1 16-channel 24 bit, 192 kHz, D/A Converter User’s Guide v2.0 - January 2005...
- Page 3 16-channel 24 bit, 192 kHz, D/A Converter User’s Guide V2.0 - January 2005...
-
Page 4: Fcc Warning
Copyright Notice The Apogee DA-16X is a computer-based device, and as such contains and uses software in ROMs. This software, and all related documentation, including this User’s Guide contain proprietary informa- tion which is protected by copyright laws. -
Page 5: Service Information
This warranty is void if Apogee determines, in its sole business judgment, the defect to be the result of abuse, neglect, alteration or attempted repair by unauthorized personnel. -
Page 6: Declarations Of Conformity
Cet appareil numérique de la classe B respecte toutes les exigences du Règlement sur le matérial brouilleur du Canada. Declaration of Conformity – CE Apogee Electronics Corporation hereby declares that the product, the DA-16X, to which this declaration relates, is in material conformity with the following standards or other normative documents: • EN50081-1/EN55022; 1995 •... - Page 7 The serial number is located on the rear panel of the unit. We suggest you record the serial number in the space provided below. Refer to it whenever you call an authorized Apogee Electronics repair facility or the manufacturer. Please be sure to return your com- pleted warranty card immediately! DA-16X Serial No._______________________________________________________...
-
Page 9: Table Of Contents
User’s Guide Table of Contents Introduction ........................2 Signal Flow Diagram ....................2 Getting Started Quickly ....................3 Connecting Power ....................3 Reset ........................3 QuickStart ......................3 Navigating the Front Panel ..................4-6 Power Switch ......................4 Setup buttons ......................4 Primary Parameter Loop/Channel Cal Mode Loop ..........4 CLOCK SOURCE ....................5 SAMPLE RATE... -
Page 10: Introduction
flexibility and quality. C777 Clocking used by Big Ben The DA 16-X uses Apogee’s C777 clocking technology. Famous for keeping Big Ben on time, the C777 utilizes an entirely digital process that Apogee has developed with the most advanced Direct Digital Synthesis (DDS) technology and DSP-based digital filtering. -
Page 11: Getting Started Quickly
DA-16X – User’s Guide APOGEE ELECTRONICS Getting Started Quickly USING THIS MANUAL In this manual, “parameters” are defined as the characteristics of operation, such as CLOCK SOURCE or AES format, and are capitalized in this manner : CLOCK SOURCE. “Values” are defined as the choices available for each parameter – for example, the parameter CLOCK SOURCE has the values INTernal,WC and INPUT Values are italicized in this manner: S/PDIF. -
Page 12: Navigating The Front Panel
DA-16X – User’s Guide APOGEE ELECTRONICS Navigating the Front Panel Power Switch - The POWER switch may be configured to operate in the manner best suited to the installa- tion of the unit; for example, if the DA-16X is installed in a rack with a Master power switch, the unit may be configured to power on when the Master switch is turned on. -
Page 13: Wc Ratio
Lock exclamation point lights, the stability of the clock source is questionable, and should be verified. Thanks to SureLock, Apogee’s intelligent clock continuity algorithm, the DA-16X will output a stable clock signal even if the selected CLOCK SOURCE is interrupted. When SureLock is engaged, the arrow section of the Lock exclamation point flashes to indicate a loss of the clock source, while the Narrow LED and blue point light solidly to... -
Page 14: Optical Format
DA-16X – User’s Guide APOGEE ELECTRONICS Navigating the Front Panel - continued When modifying calibration levels, the Sample Rate display depicts the “wheels of gain”, which rotate clockwise to indicate increasing level and counterclockwise to indicate decreasing level, something like a volume knob. -
Page 15: Standard And Advanced Option Routing
To toggle between Standard and Advanced Option routing modes, press and hold the UP button while powering on the unit; when Standard routing is enabled, “Apogee DA-16X” scrolls across the Sample Rate Display; when Advanced Option routing is enabled, “Apogee DA-16X 2.0” scrolls across the Sample Rate Display... -
Page 16: Advanced Option Routing Example: Additional Digital I/O
DA-16X – User’s Guide APOGEE ELECTRONICS Standard and Advanced Option Routing - continued Advanced Option Routing – Additional Digital I/O With Advanced Option routing, the AD and DA-16X offers additional digi- tal I/O to Digidesign HD or Firewire-based audio systems. As depicted in the routing diagram at left, when an X-HD card is installed in both an AD and DA-16X, it becomes possible to route the DA-16X’s AES or... -
Page 17: Advanced Option Routing Example: Expanded Interface Choices
DA-16X – User’s Guide APOGEE ELECTRONICS Standard and Advanced Option Routing - continued Advanced Option Routing – Expanded Interface Choices When an X-Option card is installed in a DA-16X, Advanced Option routing offers the possibility to connect a second interface using the DA-16X’s digital I/O. -
Page 18: Connections On The Rear Panel
9-16. Apogee’s DA8-IFC breakout cable can connect here to provide 8 XLR male connecters (pin- out Figure 3) . 3) OPTION - This slot is reserved for Apogee’s X-Series Option cards, which provide additional digital input formats, such as FireWire or Digidesign HD. -
Page 19: Internal Adjustments
APOGEE ELECTRONICS Internal Adjustments MIDI FIRMWARE UPDATE CONNECTOR To allow the greatest flexibility in the field, Apogee now employs a firmware update method using stardard Midi protocol. You’ll need the following items to update the firmware of your Apogee device: •... -
Page 20: Power Switch Calibration
DA-16X – User’s Guide APOGEE ELECTRONICS Internal Adjustments - continued POWER SWITCH SETTINGS JUMPER P13 DESCRIPTION (as seen from front) When AC power is applied to the input, the unit does not power up immediately; to power on the unit,the POWER button must be pressed. - Page 22 • Analog out 9-16 Balanced, DSUB 25pin connector. OPTION SLOT • One x-type card can be installed, for Firewire, HD and or other future format connectivity Due to on-going development Apogee reserves the right to change all information and specifications without notice.
- Page 24 DA-16X USER’S GUIDE - v2.0 - January 2005 Text conceived and delivered by: Roger Robindore Graphics and product illustration by: Sean McArthur...