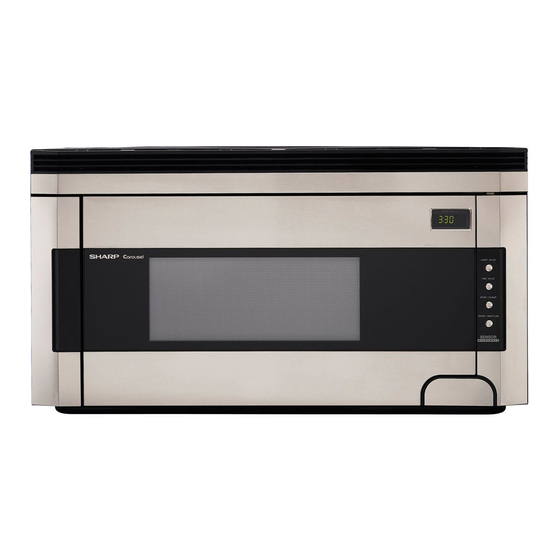
Sharp R-1514 Installation Instructions Manual
Carousel series over the range microwave oven/hood system
Hide thumbs
Also See for R-1514:
- Supplemental service manual (33 pages) ,
- Specifications (2 pages) ,
- Installation instructions manual (40 pages)
Table of Contents
Advertisement
Quick Links
O V E R T H E R A N G E M I C R O WAV E O V E N / H O O D S Y S T E M
INSTALLATION INSTRUCTIONS
Please read all instructions thoroughly before installing the Microwave Oven/Hood System.
If a new electrical outlet is required, its installation should be completed by a qualified electrician before
the Microwave Oven/Hood is installed. See 3 ELECTRICAL GROUNDING INSTRUCTIONS on page 2.
1
MOUNTING SPACE
This Microwave Oven/Hood requires a mounting space on a
wall as shown in Figure 1. It is designed to be used with standard
12-inch wall cabinets.
If the space between the wall cabinets is 36 or 42 inches, a Filler
Panel Kit can be used to fill the gap. The metal filler panels come
in 3-inch wide pairs. One set is needed for a 36-inch opening and
2 sets for a 42-inch opening. See page 8 for ordering information.
The Filler Panel Kit should be installed before the Microwave Oven/
Hood is installed.
2
WALL CONSTRUCTION
This Microwave Oven/Hood should be mounted against and supported by a flat vertical wall. The wall must be flat for proper
installation. If the wall is not flat, use spacers to fill in the gaps. Wall construction should be a minimum of 2" x 4" wood studding and
3/8" or more thick dry wall or plaster/lath. The mounting surfaces must be capable of supporting weight of 110 pounds—the oven
and contents—AND the weight of all items which would normally be stored in the top cabinet above the unit.
The unit should be attached to a minimum of one 2" x 4" wall stud.
To find the location of the studs, one of the following methods may be used:
A. Use a stud finder, a magnetic device which locates the nails in the stud.
B. Use a hammer to tap lightly across the mounting surface to find a solid sound. This will indicate stud location.
The center of the stud can be located by probing the wall with a small nail to find the edges of the stud and then placing a mark
halfway between the edges. The center of any adjacent studs will normally be 16" or 24" to either side of this mark.
®
Two people are recommended to install this product.
Figure 1
12"
15.5"
At least 2"
Backsplash
1
30"
30" or more from
cooking surface
66" or more
from floor
Advertisement
Table of Contents

Summary of Contents for Sharp R-1514
-
Page 1: Installation Instructions
® O V E R T H E R A N G E M I C R O WAV E O V E N / H O O D S Y S T E M INSTALLATION INSTRUCTIONS Please read all instructions thoroughly before installing the Microwave Oven/Hood System. Two people are recommended to install this product. -
Page 2: Electrical Grounding Instructions
1. If you have any questions about the grounding or electrical instruc- tions, consult a qualified electrician or serviceperson. 2. Neither Sharp nor the dealer can accept any liability for damage to the oven or personal injury resulting from failure to observe the correct electrical connection procedures. -
Page 3: Installation Hardware
If there is any damage, do not operate the oven and contact your dealer or SHARP AUTHORIZED SERVICER. 3. Turn oven on the side. See Figure 5. -
Page 4: Ventilation System (Preparing Oven For Installation)
VENTILATION SYSTEM (PREPARING OVEN FOR INSTALLATION) This Microwave Oven/Hood is designed for adaptation to three types of hood ventilation systems. Select the type required for your installation. Recirculating — non-vented, ductless. Follow installation procedure (A). Recirculating requires the use of the Charcoal Filter, which has already been installed in the oven. - Page 5 (C) VERTICAL EXHAUST: Outside Ventilation 1. Remove and save 2 screws from back edge and 3 screws from the top center of the Fan Cover Bracket. Remove Fan Cover Bracket by sliding it in the opposite direction of the arrow on the Fan Cover Bracket as shown in Figure 11. 2.
-
Page 6: Oven Installation
OVEN INSTALLATION THIS OVEN CANNOT BE PROPERLY INSTALLED WITHOUT REFERRING TO THE MOUNTING INSTRUCTIONS FOUND ON BOTH TEMPLATES. THE NEXT STEP IS TO READ AND FOLLOW MOUNTING INFORMATION ON BOTH TOP CABINET AND WALL TEMPLATES. NOTE: THIS OVEN SHOULD BE ATTACHED TO AT LEAST ONE WALL STUD. See WALL CONSTRUCTION on page 1. MOUNTING SCALE PLATE Attached 2 Scale Plates !, with tape (not included). - Page 7 10 PREPARATION AND USE OF THE CARTON TO ASSIST IN THE INSTALLATION OF THE MICROWAVE OVEN Utilization of the carton may make installation easier. 1. Place carton upside down. See Figure 20. 2. Using cutting line around the carton, cut into two pieces (A) and (B). See Figure 21. 3.
-
Page 8: Checklist For Installation
ACCESSORIES Check with your dealer or order directly from the SHARP Accessories and Supplies Center. Call toll-free 1-800-642-2122. 1. CHARCOAL FILTER (RK-240). Filter is used when hood exhaust is recirculated only. 2. FILLER PANEL KIT. This is available for use when the oven is installed in a 36” or 42” wide opening. The metal filler panels come in 3-inch wide pairs.


