Advertisement
INSTALLATION MANUAL
Be sure to read this installation manual thoroughly prior to installation and making connections. If installation
methods or non-standard parts not specified in this installation manual are used, accidents or injury may
result.
Professional techniques and experience are required in order to install this system. It is recommended that
you contact the place of purchase for installation to be carried out. After reading the installation manual
thoroughly, keep them in a safe place for later reference.
To dealers:
Give this installation manual to the customer after installation and all connections have been completed.
Contents
Contents
Before
installation
Installation
Connections
REAR CAMERA
MODEL
System Connection Example
1
2
2
4
5
6
11
12
Advertisement

Related Manuals for Eclipse BEC105


Summary of Contents for Eclipse BEC105
-
Page 1: Table Of Contents
REAR CAMERA MODEL INSTALLATION MANUAL Be sure to read this installation manual thoroughly prior to installation and making connections. If installation methods or non-standard parts not specified in this installation manual are used, accidents or injury may result. Professional techniques and experience are required in order to install this system. It is recommended that you contact the place of purchase for installation to be carried out. -
Page 2: Components
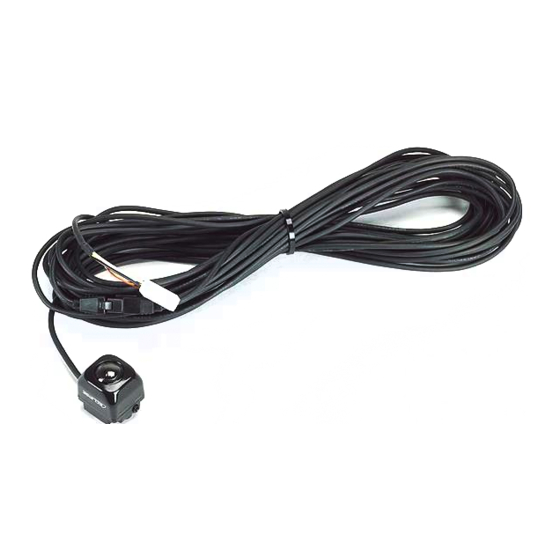
Components Components Check that all of the following components are present Check that all of the following components are present Rear Camera Components Rear camera Bracket Screw Double-sided tape (M3x6)x 2 (Spare) x 1 Cable rail Harness affixing tape Waterproof cushion *The rear camera cable includes a 3-pin intermediate connector (male-female) to improve ease of installation. - Page 3 • • This unit is intended for operation in DC 12volt, • • Bundle cables and harnesses with electrical tape negative-grounded vehicles only. Never use it in or wire ties to prevent them from interfering with 24- volt vehicles such as heavy trucks or diesel moving parts.
-
Page 4: Points To Note After Installing The Rear Camera
oints to note after installing the rear camer oints to note after installing the rear camer - Method of use - • • Do not place too much reliance on the back-eye camera. • • The backeye camera is meant to be used as a supplementary aid to help in avoiding obstructions. •... -
Page 5: Installation Diagram
Installation Diag Installation Diag Rear camera Rear camera cable... -
Page 6: Installing The Rear Camera
Installing the Rear camer Installing the Rear camer Notes on installation • The cables should be secured with tape or a similar securing method to prevent any obstructions while driving. If they get wound around components such as the steering wheel, shifting lever or brake pedal, accidents may result. - Page 7 Decide on the installation position for the rear camera. - If installing underneath a rear spoiler (example) - Note the following when deciding on the Rear camera installation position for the rear camera. • Provisionally attach the rear camera with tape and adjust its angle (see page 11) in a position to view the rear of the vehicle.
- Page 8 - If installing underneath a rear spoiler (example) - Install the rear camera to the bracket. Bracket • Install so that the "ECLIPSE" logo is facing upward. Screw Front of vehicle (M3x6)x 2 Rear camera...
- Page 9 – If installing directly to the back door (example) – nstall the rear camera to the bracket. Bracket • Install so that the "ECLIPSE" logo is facing upward. Front of vehicle Screw (M3x6)x 2 Rear camera –...
- Page 10 Route the rear camera cable while securing it Clamp with the cable rails, commercially-available cable tie,and commercially-available clamp. Cable tie • Front of vehicle The cable rails should be cut to appropriate lengths. Clamp • Confirm that the rear camera cable does Front of vehicle not get pulled and that the cable ties and clamps do not come off when the back door...
-
Page 11: Camera Angle Adjustment
Camer a Angle Adjustment Camer a Angle Adjustment • When adjusting the camera images, apply the vehicle's parking brake and be sure to chock the wheels of the vehicle so that the vehicle will not move, otherwise accidents or injuries may occur. After connecting the rear camera cable to the main unit, connect the battery cable. - Page 12 System connection e xample System connection e xample • Never cut the insulation on the power cable or use it to power any other equipment. If the rated current capacity of the power cable is exceeded, fire and electric shocks may result. •...