Table of Contents
Advertisement
Available languages
Available languages
MICROWAVE OVEN BUILT-IN TRIM KIT
UL listed for use over any electric or gas built-in electric oven, up to 30" (76.2 cm) wide
GARNITURE ENCASTRÉE POUR FOUR À MICRO-ONDES
Homologations UL pour utilisation au-dessus de tous les fours encastrés électriques ou gaz, jusqu'à 30" (76,2 cm) de largeur
MICROWAVE OVEN SAFETY ...................................................1
INSTALLATION INSTRUCTIONS..............................................2
Tools and Parts .......................................................................2
Location Requirements ...........................................................2
Required Cutout Dimensions..................................................2
Trim Kit Frame Dimensions.....................................................2
Electrical Requirements ..........................................................3
Prepare Microwave Oven........................................................3
Prepare Cutout/Cabinet Opening ...........................................3
Install the Microwave Oven.....................................................4
Install Trim Kit Frame ..............................................................5
We have provided many important safety messages in this manual and on your appliance. Always read and obey all safety
messages.
This is the safety alert symbol.
This symbol alerts you to potential hazards that can kill or hurt you and others.
All safety messages will follow the safety alert symbol and either the word "DANGER" or "WARNING."
These words mean:
WARNING
All safety messages will tell you what the potential hazard is, tell you how to reduce the chance of injury, and tell you what can
happen if the instructions are not followed.
W10434122A
INSTALLATION INSTRUCTIONS
Built-In Trim Kit Models MK2167, MK2160
INSTRUCTIONS D'INSTALLATION
Garniture encastrée pour modèles MK2167, MK2160
Table of Contents / Table des matières
MICROWAVE OVEN SAFETY
Your safety and the safety of others are very important.
DANGER
SÉCURITÉ DU FOUR À MICRO-ONDES .......................................... 7
INSTRUCTIONS D'INSTALLATION ................................................... 7
Outillage et pièces............................................................................ 7
Exigences d'emplacement............................................................... 7
Dimensions nécessaires de l'ouverture d'encastrement................. 8
Dimensions du cadre de la trousse de garniture............................. 8
Spécifications électriques ................................................................ 8
Préparation du four à micro-ondes.................................................. 9
Préparation de l'ouverture d'encastrement ..................................... 9
Installation du four à micro-ondes ................................................. 10
Installation du cadre de la trousse de garniture ............................ 11
You can be killed or seriously injured if you don't immediately
follow instructions.
You can be killed or seriously injured if you don't follow
instructions.
Advertisement
Table of Contents

Related Manuals for KitchenAid KCMS1655BSS


Summary of Contents for KitchenAid KCMS1655BSS
-
Page 1: Table Of Contents
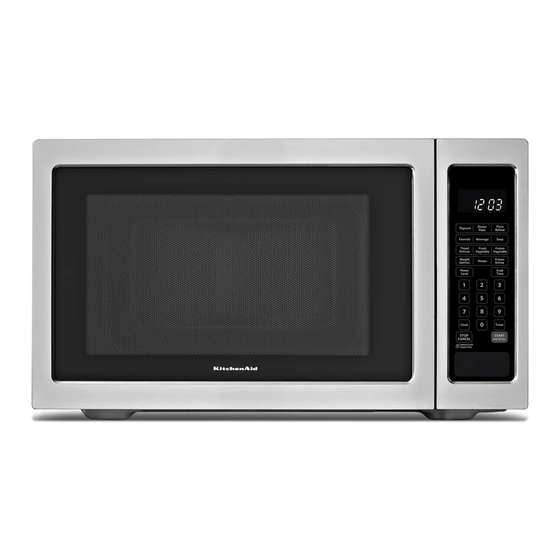
MICROWAVE OVEN BUILT-IN TRIM KIT INSTALLATION INSTRUCTIONS Built-In Trim Kit Models MK2167, MK2160 UL listed for use over any electric or gas built-in electric oven, up to 30" (76.2 cm) wide INSTRUCTIONS D’INSTALLATION GARNITURE ENCASTRÉE POUR FOUR À MICRO-ONDES Garniture encastrée pour modèles MK2167, MK2160 Homologations UL pour utilisation au-dessus de tous les fours encastrés électriques ou gaz, jusqu’à... -
Page 2: Installation Instructions
INSTALLATION INSTRUCTIONS Tools and Parts Required Cutout Dimensions Tools Needed Gather the required tools and parts before starting installation. " Read and follow the instructions provided with any tools (57.8 cm) listed here. " (2.7 cm) Measuring tape Drill Pencil 7/64"... -
Page 3: Electrical Requirements
Electrical Requirements Prepare Microwave Oven 1. Unplug microwave oven before proceeding with installation. WARNING 2. Remove any loose items inside microwave oven. 3. Gently turn microwave oven onto its top, with the door facing forward (toward installer). 4. Align the two rails on the microwave oven bottom, as shown, making sure the flanges are forward and pointing up. -
Page 4: Install The Microwave Oven
3. Align the center arrows on the bottom duct with the centerline drawn in Step 1 above. Install the Microwave Oven 1. Gently return microwave oven to its upright position. 2. Position microwave oven near cutout opening. WARNING Electrical Shock Hazard Plug into a grounded 3 prong outlet. -
Page 5: Install Trim Kit Frame
5. Slide the microwave oven back and into place. The mounting 2. Holding the trim kit frame in place, use 7/64" drill to drill four holes of the rail flanges and bottom duct flange will align pilot holes into the front facing of the cutout/cabinet through against the bottom front facing of the cutout/cabinet opening. - Page 6 Notes...
-
Page 7: Sécurité Du Four À Micro-Ondes
SÉCURITÉ DU FOUR À MICRO-ONDES Votre sécurité et celle des autres est très importante. Nous donnons de nombreux messages de sécurité importants dans ce manuel et sur votre appareil ménager. Assurez-vous de toujours lire tous les messages de sécurité et de vous y conformer. Voici le symbole d’alerte de sécurité. -
Page 8: Dimensions Nécessaires De L'ouverture D'encastrement
Dimensions nécessaires de l'ouverture Spécifications électriques d'encastrement AVERTISSEMENT " (57,8 cm) " (2,7 cm) t h W 17"(43,2 cm) " (58,7 cm) min. Risque de choc électrique " (43,5 cm) max. Brancher sur une prise à 3 alvéoles reliée à la terre. "... -
Page 9: Préparation Du Four À Micro-Ondes
Préparation du four à micro-ondes Préparation de l'ouverture d'encastrement 1. Débrancher le four à micro-ondes avant de poursuivre l'installation. 1. Déterminer et marquer l’axe central sur le plancher de 2. Retirer les articles à l'intérieur du four à micro-ondes - le cas l’ouverture d'encastrement. -
Page 10: Installation Du Four À Micro-Ondes
4. Marquer l'emplacement des trois trous de montage à travers l'espace d'évacuation inférieur sur le plancher de l'ouverture Installation du four à micro-ondes d'encastrement. 1. Remettre le four à micro-ondes à l'endroit avec précaution. 2. Placer le four à micro-ondes à proximité de l’ouverture d'encastrement. -
Page 11: Installation Du Cadre De La Trousse De Garniture
5. Réinsérer le four à micro-ondes dans la cavité pour le remettre 2. Tout en maintenant le cadre de trousse de garniture en place, en place. Les trous de montage des extrémités de tringles et utiliser un foret de 7/64" pour percer quatre avant-trous dans du rebord de l'espace d'évacuation inférieur s'alignent contre l'avant de l'ouverture d'encastrement à... - Page 12 W10434122A SP PN W10434127A 261800308596 © 2012. 3/12 All rights reserved. Printed in China Tous droits réservés. Imprimé en Chine...