
Related Manuals for Corsair H50 - ANNEXE 2


Summary of Contents for Corsair H50 - ANNEXE 2
-
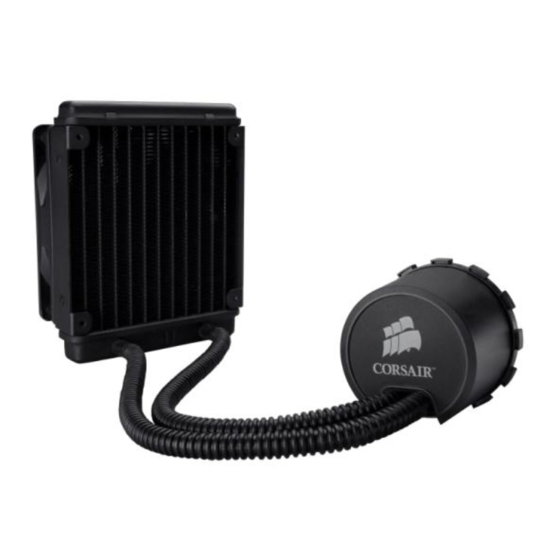
Page 1: O V E R V I E W
H 5 0 I n s t a l l a t i o n O v e r v i e w This guide will show you how quick and easy it is to install Corsair’s Hydro Series H50 High-Performance CPU Cooler Version 1.0 February, 2010... - Page 2 H50 Installation Overview Install Fan and Radiator Select the fan mounting point on your specific case. Insert the 4 fan screws through case and through the 4 holes on the H50 fan. Then, insert the 4 screws into the corresponding holes on the H50 radiator and tighten the screws evenly.
- Page 3 H50 Installation Overview Attach Backplate to Motherboard Install the back plate onto the motherboard using the adhesive tape. Be sure to orient the plate correctly for the CPU you are using.
- Page 4 H50 Installation Overview Attach Mounting Bracket—Intel Align the 4 screws from the locking ring with the 4 mounting holes of the back plate. Tighten each screw only 1-2 turns, leaving room to move the cooler. Apply the cooler to the CPU. Twist the cooler to align the tabs on the bracket into the grooves on the cooler...
- Page 5 H50 Installation Overview Attach Mounting Bracket - AMD The attachment method is the same for AMD processors as it is for Intel processors.
-
Page 6: Tighten Screws
H50 Installation Overview Tighten Screws [big picture ] Tighten the screws in an “X” pattern to distribute the pressure evenly across the CPU. - Page 7 H50 Installation Overview Connect Fan and Pump Connect the fan and pump connectors to available headers on your mother- board. Now, your installation is complete!
- Page 8 A detailed H50 installation video can be found here: http://www.corsair.com/cinema/movie.aspx?id=1233870 FAQ on the H50 can be found here: http://forum.corsair.com/v3/showthread.php?t=79974 © February, 2010, Corsair Memory, Incorporated. All rights reserved. All trademarks and registered trade- marks are the property of their respective owners in the United States and/or other countries.