Table of Contents
Advertisement
Quick Links
JE2043
OPERATING MANUAL
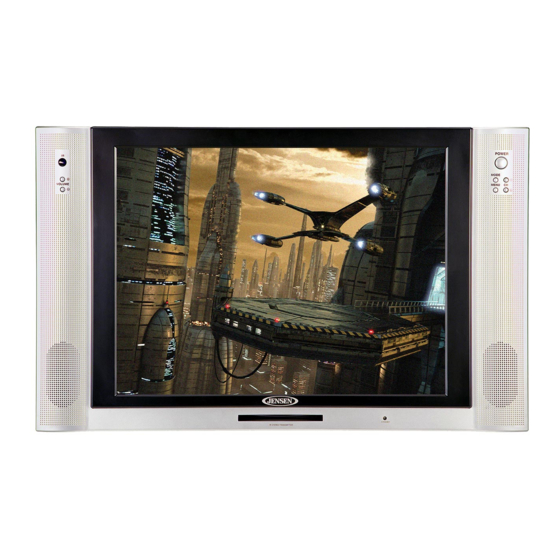
20" 4:3 DIGITAL LCD-TV
20
Please keep this operating manual for future references.
Important Notes :
1. Before operating the unit, please read these instructions carefully.
2. Retain this manual for future reference.
3. Do not remove any WARNING stickers on the unit.
4. You are advised to follow the instructions carefully when operating the unit.
5. Do not use any chemical solvent, cleaning agent or corrosive detergent to
clean away dirt on the surface of the screen. By doing so, you may cause
irreversible damage to the surface of the TFT screen. To clean off dirt or
fingerprints, we recommend the use of a soft damp lens cleaning cloth.
6. Using spare parts from another manufacturer may caused permanent damage
to the unit.
7. Install unit in a dry location away from condensation.
8. Ensure no metal or foreign materials are dropped in between the display screen
and enclosure.
9. Do not use anything to block the cooling assemblies on the unit.
10. Ensure the plugs are properly plugged in before operating the unit.
11 Should the LCD panel be broken, do avoid all human contact with the broken
glass or fluid leaking out from the enclosure. If come into contact, do flush and
clean affected areas with plenty of water. Seek medical attention immediately.
12. When operating the display unit, do avoid touching or pressing on the LCD
glass panel. Excessive force may cause irreparable damage to the LCD
screen.
Pub.05-10
Advertisement
Table of Contents

Related Manuals for Jensen JE2043


Summary of Contents for Jensen JE2043
- Page 1 2. Retain this manual for future reference. 3. Do not remove any WARNING stickers on the unit. JE2043 4. You are advised to follow the instructions carefully when operating the unit. 5. Do not use any chemical solvent, cleaning agent or corrosive detergent to clean away dirt on the surface of the screen.
-
Page 2: Table Of Contents
Safety Precautions: CONTENTS: 1. Ensure the plug is securely plugged into the main socket before operating 1. INTRODUCTION the unit. Overview ------------------------------------------------------------------------- 2. Ensure the Voltage on the main socket is the same as specified on the unit. Product Specifications -------------------------------------------------------- 3. -
Page 3: Introduction
CONTENTS: 1. INTRODUCTION: Overview : PC Adjust Setting ----------------------------------------------------------- New technology in LCD monitors allows the enjoyment of a higher quality picture 7. ANNEX A display and higher brightness; lighter in weight and slimmer body design, power saving capabilities and low radiation, giving you a safe, relaxing and environmental- LCD Maintenance -------------------------------------------------------------- friendly visual enjoyment. - Page 4 Contents/Accessories : 2. Product Specifications: (Please check the content of the Package.) 1. 20" Television / monitor for Mobile use 2. 12V DC Power 3. High Performance, 4:3 LCD Panel 4. High Brightness 500 nit 5. High contrast ratio 500:1 6.
-
Page 5: Front Panel Control
2. Front Panel Controls: 3. Remote Control Function : (When using the remote control, point it towards the IR sensor.) PANEL CONTROL : Battery Usage Caution: 1. POWER : Power On/Off 6. VOLUME : Increase Volume 2. MODE : Mode Select 7. -
Page 6: Installation Guide
4. INSTALLATION GUIDE: When Connecting to a TV Cable: 1. Remove Antenna Socket cover. 2. Plug the cable to the input socket on the unit. 3. Connect the cable that comes along with the unit to the one you are using when needed. -
Page 7: Vga Input
5. Basic Functions : * VGA Input: * POWER SIGNAL: This unit provides VGA (Computer) input connector. 1. When POWER indication LED on unit turns RED in color indicating power is connected. 1. Connect computer VGA output to the monitor VGA input using VGA cable. 2. -
Page 8: Volume Setting
* Volume Setting: * Mute: 1. Press "Volume +/- " ( ) button on TV front control panel or remote control to 1. Press "MUTE" button on remote control to mute speakers. "MUTE" will display on adjust volume level. screen. 2. - Page 9 6. OSD Settings: TV Setting : Press "MENU" button, osd menu will display on screen, press "SET " button to This monitor provide "OSD" setting, enable you to customize the setting for monitor. Noted: Before adjust settings, ensure all the video source is in correct mode. select "TV setting", and press "ENTER"...
- Page 10 6. OSD Settings: 7. OSD Settings: This monitor provide "OSD" setting, enable you to customize the setting for monitor. This monitor provide "OSD" setting, enable you to customize the setting for monitor. Noted: Before adjust settings, ensure all the video source is in correct mode. Noted: Before adjust settings, ensure all the video source is in correct mode.
-
Page 11: Osd Settings Management Setting
6. OSD Settings: OSD Settings: This monitor provide "OSD" setting, enable you to customize the setting for monitor. Management Setting : Noted: Before adjust settings, ensure all the video source is in correct mode. Press "MENU" button, osd menu will display on screen, press "SET "... - Page 12 9. SPECIFICATIONS: 8. ANNEX B: Panel Type Active Matrix LCD-TFT Troubleshooting: If the unit fails to operate normally, try solving the problems using the guide below. If the Display Size 20" (Diagonal) problem persists, switch off the unit and ask the dealer or customer services officer for Aspect Ratio assistance.
- Page 13 asaelectronics.com...