
Related Manuals for Genius EFACE 1325R


Summary of Contents for Genius EFACE 1325R
-
Page 1: Table Of Contents
English Table of Contents eFace 1325R Features Set up the device Setting the LED On/Off and Frequency Using Instant Messenger Application CrazyTalk CamSuite PRO 6-16 CrazyTalk CamSuite PRO with IM Application 17-22 Trouble shooting for web camera... -
Page 2: Eface 1325R Features
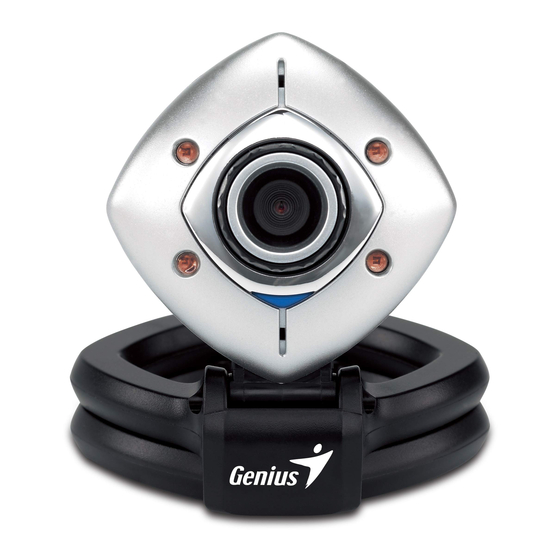
1325R Features Experience the night vision infrared and driverless web camera, eFace 1325R! Hook it up to a USB port and start video chatting right away during the day or evening! 1. SnapShot Button Press the snapshot button to take... -
Page 3: Set Up The Device
Windows XP SP2, Vista or Mac 10.4.9 and above without using a device driver. 1. Make sure your PC OS system is Windows XP SP2, Vista or Mac 10.4.9 and above. 2. Plug in the eFace 1325R to a USB port. -
Page 4: Setting The Led On/Off And Frequency
Manager Icon in the system tray. Genius Manager Icon Place the cursor on the Genius Manager Icon, and click the right button. Then you can select if you want the LED on or off and the Frequency at 50Hz or 60Hz. NOTE 60Hz: USA, Canada, Japan, South Korea, Taiwan, etc. -
Page 5: Using Instant Messenger Application
If you don’t have it, refer to the website: http://messenger.msn.com to download. b. Sign onto MSN Messenger service. c. Choose a friend on the contact list and click “OK” to confirm. d. Double-click on your friends, who are available to chat. Click on the webcam icon. - Page 6 Sign onto AOL Instant Messenger. c. Click on “Show Messenger Lists” and choose the friend you want to start with video chat. d. Your friend will then receive an invitation message. When your friend confirms to talk, the video chat will start.
-
Page 7: Crazytalk Camsuite Pro
Using CrazyTalk Cam Suite PRO As an added bonus, the bundled program - CrazyTalk Cam Suite PRO enriches your video chatting with a lot of fun by following these advanced features. Capture still image and video in different resolutions and upload to YouTube directly. - Page 8 Shows live desktop activity for online presentation, distant training, and software operation. Notifies you what happens in front of the webcam while you are away. With the Enable Video Chat feature, you may decrease the loading of your system by stopping sending the video data to your IM partner.
- Page 9 English Capture You may click Snapshot or Record button to capture and share an image or a video of yourself from your webcam. Camera on/off Mixer for music/sound Sketch and Text Background Music Voice Morph Preview Snapshot button Delete Still image resolution...
- Page 10 English Avatar Live You can use the selected avatar to have video chats with your friends. Avatar You can use default avatars or press more to create your own avatars. Emoticons You are able to add different emotive expressions to your avatar along with the sound effect.
- Page 11 Preview You may click the Preview button to launch the preview window Magic Mirror You can utilize your own face applied different effects by Magic Mirror and to have video chats with your friends. Morph You can change the selected face morph to your face.
- Page 12 English Media Share You can share media files without delay during video chats. You may playback multiple media files and have your friends view them simultaneously. The media files can be video files (Mpeg, AVI, WMV) or image files (JPG, BMP, GIF).
- Page 13 Toggle to Loop button if you want to play the files selected in loop. Drag the Slider bar to browse the frame of the file currently playing. Desktop Share There are three ways to show your desktop activities to your friends when having a video chat.
- Page 14 This function will record movements which are visible to the webcam. An e-mail containing snapshots will be sent to you to notify such event had taken place. The recorded video will be saved in the Gallery folder for you to check later.
- Page 15 HD space setting Since the recorded videos will occupy hard drive space, you can stop recording when HD space is at certain level. You can adjust when you want to stop recording by dragging the slider. Email notification with snapshot Check the Email notification with snapshot checkbox if you want the snapshot to be sent to you by e-mail.
- Page 16 English Enable Video Chat With the Enable Video Chat feature, you may decrease the loading of your system by stopping sending the video data to your IM partner. • This icon indicates that the video chat feature is enabled. •...
- Page 17 Avatar Live function. This is to set the Delay time per slide (second) for each image to last for specific seconds under Media share function.
-
Page 18: Crazytalk Camsuite Pro With Im Application
English CrazyTalk Cam Suite PRO with IM Application Window Live Messenger 1. Install CrazyTalk Cam Suite PRO and Window Live Messenger. 2. Click Tools/Audio and video setup to open the Audio and Video Setup wizard. - Page 19 English 3. Check next button. 4. In Step 1, leave the dropdown list unchanged and click Next button.
- Page 20 English 5. In step 2, select CamSuite Virtual Audio in the dropdown list. Click Next button. 6. In step 3, select CamSuite Virtual Camera in the dropdown list. Click Finish button.
- Page 21 English Skype 1. Install CrazyTalk Cam Suite PRO and Window Live Messenger. 2. Click Tools/Options... to open the option dialog box. 3. Select the Sound Devices and set the Audio In to CamSuite Virtual Audio.
- Page 22 English 4. Select the Video and set the Select webcam to CamSuite Virtual Camera. 5. Click Save button. Your messenger then receives its audio and video sources from Cam Suite.
- Page 23 Now, your MSN Messenger and Skype are connected to CrazyTalk Cam Suite PRO. Execute this software and you will have effects including Avatar Live, Magic Mirror, Media Share and Desktop Share that can be seen during your video conference after turn on the Enable Video Chat feature...
-
Page 24: Trouble Shooting For Web Camera
• Connect the web camera directly to a USB port on your computer. Make sure the web camera is connected to the USB port at the back of your computer. Some USB ports at the front of computers may not supply sufficient power for your web camera.