Advertisement
Quick Links
In the Box
External Power Pack for
Mini TRV (battery included)
INSTALLATION INSTRUCTIONS:
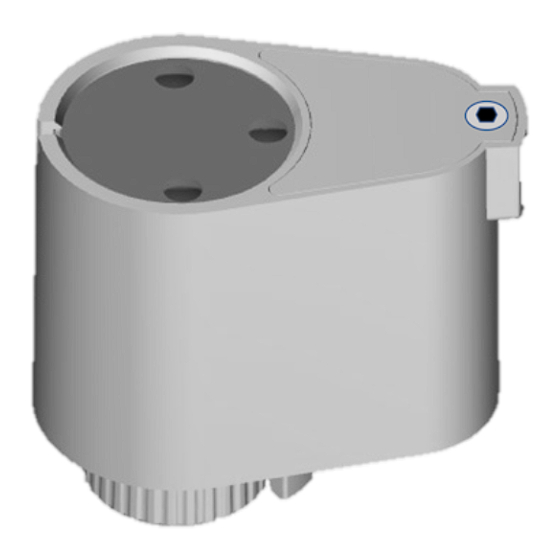
1. Remove External Power Pack assembly
from the carton (exploded view).
Battery compartment cover
Power
Pack
Housing
Battery
contact
door
4. Insert the battery contact door into TRV
housing, snap into place.
REMOVE AND REPLACE BATTERY:
1. Unscrew the battery compartment cover
using a 2mm hex wrench and set aside.
Battery
Hex Wrench
compartment screw
4. Replace battery compartment cover and
tighten hex screw.
Tools Required
2mm
Installation/
Hex Wrench
Quick-start Guide
2. Remove the TRV battery door and 2 AA
batteries from the TRV housing.
TRV
Battery
5. Slide the Power Pack housing over the
TRV until the clips snap into place.
Battery
contact door
2. Remove the battery from Power Pack
housing.
Battery
Cover
Hold battery
compartment
cover closed to
relieve tension
on the screw
Hold battery
The replacement battery MUST be
compartment
type ER34615 which is available
cover closed to
relieve tension
from several online resellers.
on the screw.
Do Not over-
tighten screw.
Installation/Quick Start Guide
External Power Pack (ATVA408)
SAFETY INSTRUCTIONS:
Read these instructions carefully before installing and using the External
Power Pack and keep this guide in a safe place for future reference.
• Verify compatibility with the associated thermal radiator valve (TRV)
actuator before installation.
• Make sure there is at least 1-inch (25.4mm) clearance between the
External Power Pack and the existing radiator, piping and radiator
housing.
• Follow all applicable codes and regulations in the municipality where
this product is installed.
Salus accepts no responsibility for damage caused by not following these
instructions
batteries
TRV battery
door
Power Pack
locking clips
Battery
Observe battery polarity.
3.
Slide the battery contact door out of the
External Power Pack housing.
AA
6.
Position the assembly with 1-inch
clearance from any obstructions.
1" (25.4mm)
clearance
3. Insert new battery (type ER34615 only),
observing polarity.
Caution! Do not short
circuit battery terminals.
Dispose of battery
responsibly.
Battery
contact
door
Negative (-)
terminal on
bottom
Advertisement

Summary of Contents for Salus ATVA408
- Page 1 Hex Wrench Mini TRV (battery included) Quick-start Guide Salus accepts no responsibility for damage caused by not following these instructions INSTALLATION INSTRUCTIONS: 2. Remove the TRV battery door and 2 AA Slide the battery contact door out of the 1.
- Page 2 No oral or written information or advice given by Salus or a Salus- authorized representative shall modify or extend this warranty. If any term is held to be illegal or unenforceable, the legality or enforceability of the remaining terms shall not be affected or impaired.