Lenovo Active Pen 3 LP-251 Manual and Pen Button Configuration Guide
- Safety, warranty & quick start manual (27 pages)
Advertisement
- 1 Product overview
- 2 Install the battery
- 3 Default Device Functions
-
4
Customize Device Functions
- 4.1 Customize the Top button functions (for unit with top button only) using Windows 10 Pen & Windows Ink
- 4.2 Customize the button functions using Lenovo Pen Settings App (or Wacom Pen App)
- 4.3 Top Pen Button Press Options after the unit is paired to PC
- 4.4 Presentation Mode
- 4.5 Top and Bottom Barrel Button Functions
- 4.6 Hover Click
- 4.7 Radial Menu Settings
- 4.8 Radial Wedges
- 5 Documents / Resources
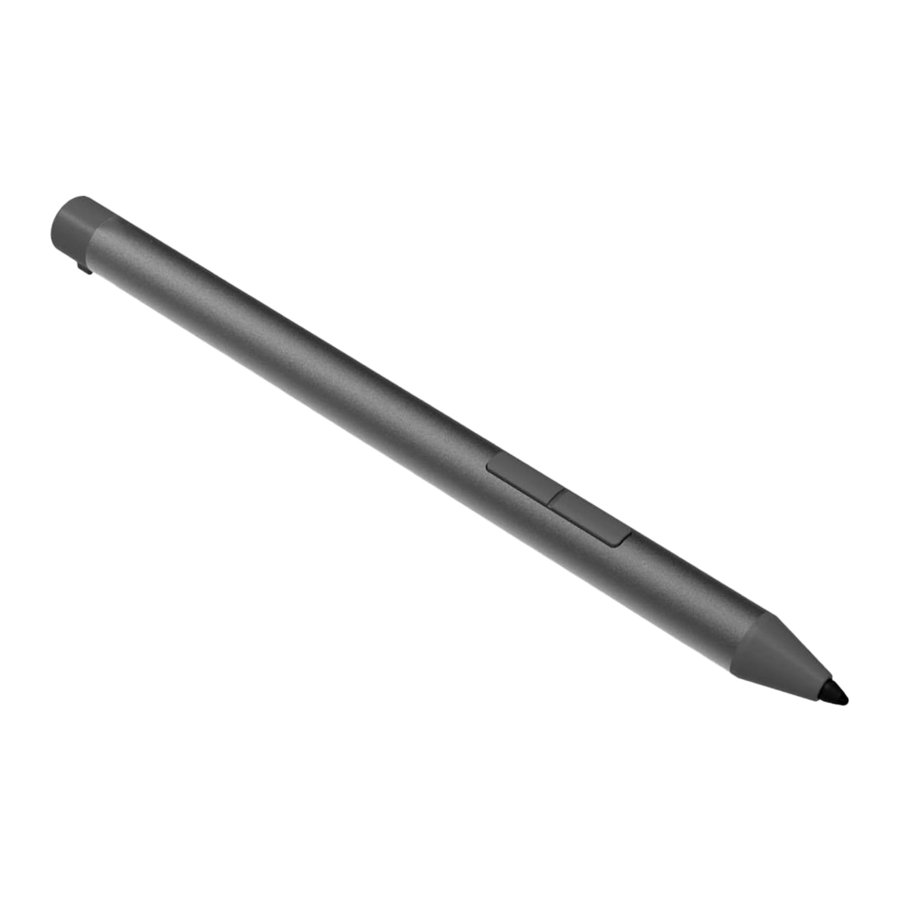
Product overview
This guide introduces how to customize the button functions of the Lenovo Active Pen, Lenovo Active Pen 2, Lenovo Pen Pro, Lenovo Garage Pen and ThinkPad Pen Pro.
https://support.lenovo.com
| Product name | Model |
| Lenovo Active Pen 3 | LP-251 |

- Lenovo logo
- Upper button
- Lower button
- Tip
Install the battery
Install the battery as shown below.

![information]() All pictures and illustrations in this document are for your reference only and may differ from the final product.
All pictures and illustrations in this document are for your reference only and may differ from the final product.- If your pen is not responsive, please try switching pen protocols. Hold both buttons consecutively for 25 seconds to switch between pen protocols (WGP & AES).
 All pictures and illustrations in this document are for your reference only and may differ from the final product.
Default Device Functions
- Top barrel button:
Hold the top barrel button and tap the screen: Right-click - Bottom barrel button:
Hold the bottom barrel button to erase the object in supported applications: Erase - Top button (for Pen with top button only after paired to your PC):
- Click once: Open the home page of Windows Ink Workspace
- Double click: Send screenshot to OneNote
- Press and hold: Activate Cortana
Customize Device Functions
The top button (for Pen with top button only) can be customized by Windows 10 Settings Pen & Windows Ink or Lenovo Pen Settings App (or Wacom Pen App).
The barrel buttons can only be customized by Lenovo Pen Settings App (or Wacom Pen App).
Customize the Top button functions (for unit with top button only) using Windows 10 Pen & Windows Ink

Note: The screenshot is only for reference. It might be different depending on the Windows version.
- Pair Pen as a Bluetooth device to your PC.
To pair a pen with your PC, select the Start button, then select Settings > Devices > Bluetooth & other devices. Hold down the Top button on your pen for seven seconds until the LED indicator flashes in white to turn on pairing mode, then choose the pen from the list of devices and select Pair. - Configure Top Button in Pen Shortcut.
- Customize what your pen does and how it works with your PC. Choose which hand you write with or what your PC does when you click or hold down the pen's shortcut button.
- To change settings, select the Start button, then select Settings > Devices > Pen & Windows Ink.
- Configure top button Click once, Double-click, Press and hold from drop-down list to choose one of the functions: Windows Ink Workspace, One Note, Sticky Notes, Drawings, Sketch, Cortana, or any other app. Example: Configure 'Click once' as Windows Ink Workspace
- To open the Windows Ink Workspace when you click the pen button, select the drop-down list under Click once. Choose the workspace from the first drop-down list, then choose what part of the workspace you want to open in the second drop-down list.
- To open the workspace even when your PC is locked, turn on Click once to open my Windows Ink Workspace notes even when the device is locked.
Customize the button functions using Lenovo Pen Settings App (or Wacom Pen App)
The Lenovo Pen Settings App (or Wacom Pen App) should be installed on your Lenovo or ThinkPad PC that supports pen features.
To install the App, go to http://www.lenovo.com/support, fill in your PC model to go to the PC page, download and install the App at Drivers & Software Session.

Note: The screenshot is only for reference. It might be different depending on the APP version.
Top Pen Button Press Options after the unit is paired to PC
| Single Press | Double Press | Long Press |
|
|
|
Note: The functions in above Table may be slightly different depending on the App version.
Presentation Mode
If "ON", the driver will automatically send a Page Down when the button is Single Pressed and a Page Up when the button is Double Pressed if Microsoft PowerPoint is presenting.
Top and Bottom Barrel Button Functions
- Left Click – Execute a Left mouse click at the cursor location
- Right Click – Execute a Right mouse click at the cursor location
- Middle Click – Execute a Middle mouse click at the cursor location
- Double Click – Execute a Double Left mouse click at the cursor location
- 4th Click – Execute a Mouse 4th Click at the cursor location
- 5th Click – Execute a Mouse 5th Click at the cursor location
- Modifier – Open a dialog that allows the user to choose a modifier button (alt, ctrl, shift, Win) to send to the system when the button is executed
- Radial Menu – Display the radial menu at the cursor location
- Erase – Send erase commands to the system to make the button behave as an eraser
- Barrel Button – Send a "Barrel Button" command to the system to invoke the system or app defined behavior. Most apps treat this as a right click.
- Keystrokes – Allow the user to record keystrokes for playback later.
- Open/Run App – Allow the user to choose an executable, document or other file to be opened/ran.
- Ink Workspace – Open the Ink Workspace sidebar
- Sticky Notes – Open the Sticky Notes app
- Sketchpad – Open the Sketchpad app
- Screen Sketch– Open the Screen Sketch app
- Cortana – Invoke the Cortana speech recognition app
- Disable
Note: The functions above may be slightly different depending on the App version.
Hover Click
- If disabled, the Barrel Button function is executed when the button is pressed while tapping the Pen tip against the screen.
- If enabled, the Barrel Button function is executed immediately when the button is pressed while pen is detected.
Radial Menu Settings
The Radial Menu is a function that can be triggered by a Barrel Button. It will display a floating pop-up menu on the user's screen that can provide customized functionality with a single click and tap.

Note: The screenshot is only for reference. It might be different depending on the APP version.
Radial Wedges
By default, the 8 pie pieces of Radial Wedges are set to the following values (from top, clockwise):
- Play/Pause
- Volume Up
- Next Track
- Screen Sketch
- Mute
- Sketchpad
- Previous Track
- Volume Down
Each Radial Wedge can be programmed for a different function:
- Open/Run App – Allows the user to choose an executable, document or other file to be opened/ran.
- Default Web Browser – Launches the default Web browser.
- Default Email App – Launches the default E-Mail app
- Play/Pause – Sends a Play/Pause media keystroke to the system
- Next Track – Sends a next track media keystroke to the system
- Previous Track – Sends a previous track media keystroke to the system
- Volume Up – Turns up the volume one click
- Volume Down – Turns the volume down one click
- Settings – Launches the Wacom CPL App
- Switch Application – performs an application switch
- Ink Workspace – Opens the Ink Workspace sidebar
- Sticky Notes – Opens the Sticky Notes app
- Sketchpad – Opens the Sketchpad app
- Screen Sketch – Opens the Screen Sketch app
- Cortana – Invokes the Cortana speech recognition app
- Page up
- Page Down
- Back
- Forward
- Copy
- Paste
- Undo
- Redo
Note: The functions above may be slightly different depending on the App and the Windows version.

Documents / Resources
References
![support.lenovo.com]() Lenovo Support | Drivers, Troubleshooting, Warranty, Repair | Lenovo Support US
Lenovo Support | Drivers, Troubleshooting, Warranty, Repair | Lenovo Support US![www.lenovo.com]() Lenovo Support | Drivers, Troubleshooting, Warranty, Repair | Lenovo Support US
Lenovo Support | Drivers, Troubleshooting, Warranty, Repair | Lenovo Support US

Download manual
Here you can download full pdf version of manual, it may contain additional safety instructions, warranty information, FCC rules, etc.
Download Lenovo Active Pen 3 LP-251 Manual and Pen Button Configuration Guide
Advertisement
Thank you! Your question has been received!


Need Assistance?
Do you have a question about the Active Pen 3 LP-251 that isn't answered in the manual? Leave your question here.