Advertisement
- 1 Introduction
- 2 Important Safety Information
- 3 LOCATION
- 4 FRONT VENT
- 5 LEVELING INSTRUCTIONS
- 6 SHELF INSTRUCTIONS
- 7 PREPARING THE ENCLOSURE
- 8 REQUIRED TOOLS
- 9 FEATURES
- 10 CONTROL PANEL
- 11 NOTE ON LIGHT SYSTEM
- 12 SETTING THE CLOCK
- 13 SETTING THE LIGHT TURN ON TIME
- 14 SETTING THE LIGHT TURN OFF TIME
- 15 SETTING THE RUNNING CYCLE
- 16 GROWING TIPS
- 17 DOOR REVERSAL INSTRUCTIONS
- 18 CLEANING
- 19 VACATION
- 20 ERROR CODES
- 21 TROUBLESHOOTING
- 22 Documents / Resources
Introduction
Welcome to the Danby family. We are proud of our quality products and we believe in dependable service. We suggest that you read this owner's manual before plugging in your new appliance as it contains important operation information, safety information, troubleshooting and maintenance tips to ensure the reliability and longevity of your appliance.
Visit www.Danby.com to access self service tools, FAQs and much more. For additional assistance call 1-800-263-2629.
Note the information below; you will need this information to obtain service under warranty.
You must provide the original purchase receipt to validate your warranty and receive service.
Need Help?
Before you call for service, here are a few things you can do to help us serve you better.
Read this owner's manual:
It contains instructions to help you use and maintain your appliance properly.
If you receive a damaged appliance:
Immediately contact the retailer or builder that sold you the appliance.
Save time and money:
Check the troubleshooting section at the end of this manual before calling. This section will help you solve common problems that may occur.
Important Safety Information
SAFETY REQUIREMENTS
This appliance is not intended for use by persons (including children) whose physical, sensory or mental capabilities may be different or reduced, or who lack experience or knowledge, unless such persons receive supervision or training to operate the appliance by a person responsible for their safety.
Children should be supervised to ensure that they do not play with the appliance.
To avoid risk of electric shock, do not operate this appliance in an area that is likely to accumulate standing water. If this condition develops, disconnect the power supply before stepping into the water.
Do not store or use combustible materials such as gasoline or other flammable vapors or liquids in the vicinity of this or any other appliance.
Do not cover or block the intake and exhaust openings.
This appliance is intended for indoor, residential applications only. Do not use this appliance outdoors. Do not use this appliance for commercial or industrial applications.

Risk of child entrapment. Before throwing away an old appliance:
- Remove the door or lid.
- Leave shelves in place so that children may not easily climb inside.
GROUNDING INSTRUCTIONS
This appliance must be grounded. Grounding reduces the risk of electrical shock by providing an escape wire for the electrical current.
This appliance has a cord that has a grounding wire with a 3-prong plug. The power cord must be plugged into an outlet that is properly grounded. If the outlet is a 2-prong wall outlet, it must be replaced with a properly grounded 3-prong wall outlet. The serial rating plate indicates the voltage and frequency the appliance is designed for.

Improper use of the grounding plug can result in a risk of electric shock. Consult a qualified electrician or service agent if the grounding instructions are not completely understood, or if doubt exists as to whether the appliance is properly grounded.
Do not connect the appliance to extension cords, adapters or together with another appliance in the same wall outlet.
Do not splice the power cord. Do not under any circumstances cut or remove the third ground prong from the power cord.
If the power supply cord is damaged, it must be replaced by the manufacturer, its service agent or similar qualifi ed person in order to avoid hazard.
For lighting equipment with cords please ensure that the cords:
- Are not concealed or extended through a wall, floor, ceiling, or other parts of the building structure,
- Are not located above a suspended ceiling or dropped ceiling,
- Are not permanently affixed to the building structure,
- Are routed so that they are not subject to strain and are protected from physical damage,
- Are visible over their entire length, and
- Are used within their rated capacity as determined for the maximum temperature of the installed environment specified in the instructions.
SAVE THESE INSTRUCTIONS!
LOCATION
Two people should be used when moving the appliance.
Select a location with a strong level fl oor that can support the weight of the appliance and the plants grown inside.
Avoid direct sunlight and heat. Direct sunlight may affect the acrylic coating of the appliance or the growing cycle of the plants. Nearby heat sources can overheat the unit and cause high internal temperatures that may harm the plants.
Ensure that the appliance is turned off and unplugged before any changes are made to the light system.
The LED light panel is not water proof. Do not spray water on the surface, sides or back of the light panel.
Do not look directly at the LED light with the naked eye as this can cause retinal damage.
The LED panel cannot be exposed to corrosive materials.
The LED panel is for indoor growing only. This appliance is intended for household use only. It is not designed for outside installation including anywhere that is not temperature controlled.
Do not touch the surface of the light system while the power is connected as it can get hot.
Do not use the LED panel during a thunderstorm to avoid a surge that could damage the light system.
Keep the door closed during operation.
Only use genuine spare parts from Danby or those that have been CSA, UL or CE approved.
Recommended ambient operating temperature is between 13°C - 23°C (55°F - 73°F). Recommended operating humidity is below 80%.
This appliance is 60.5 cm (23.8 inches) wide by 87.5 cm (34.4 inches) high by 65 cm (25.6 inches) deep.
FRONT VENT
This appliance is front breathing. Do not block the front air vent as this will result in high operating temperatures, higher energy usage and possible system overheating and failure.
LEVELING INSTRUCTIONS
There is an adjustable foot on the bottom of the appliance that can be turned up or down to ensure that the appliance is level. To level the appliance:
- Turn the leveling foot counter-clockwise until the top of the foot is touching the bottom of the chassis.
- Slowly turn the leveling leg clockwise until the appliance is level.


SHELF INSTRUCTIONS

Do not cover the shelves with aluminum foil or other material as this will impede air fl ow inside the cabinet and can adversely affect internal temperature.
Before removing a shelf, make sure that the light system is unplugged.
To remove the shelves:
- Fully extend the shelf.
- Lift the front of the shelf.
- Hold the shelf track, push the shelf in and then up to release it from the rear dampers.


To change the position of the shelf glides:
- Remove the shelf as per the above instructions.
- Extend the shelf glide fully.
- Remove the rear screw first, then remove the front screw.
- Install the shelf glide in a new position by installing the screws in the pre-drilled holes. Do the same for the glide on the other side of the appliance.
- Reinstall the shelf and plug in the light system.


PREPARING THE ENCLOSURE

Gloves and safety goggles should be worn during installation.
It is not recommended to install the appliance into a corner or directly beside a wall. The door will need to be opened more than 90° to allow full extension of the shelves. If it is necessary to place the unit next to a wall or in a corner, leave at least 2-4 inches (510 cm) of space between the wall and the appliance to allow for the door opening.
The cabinet opening must be at least 24 inches (61 cm) wide by 35 inches (88.9 cm) high by 25 inches (63.5 cm) deep.
Note: The listed depth requirement is assuming that the electrical outlet is located in the adjacent cabinetry or fl ush mounted in the rear wall, not surface mounted inside the enclosure.
If the electrical outlet is located inside adjacent cabinetry, cut a 1.5 inch (3.8 cm) diameter hole to admit the power cord. If the cabinet wall is metal, the hole edge must be covered with a bushing or grommet.
REQUIRED TOOLS

- Safety goggles
- Gloves
- Tape measure
- Carpenter square
- Level
- Flashlight
- Electric drill with hole bit
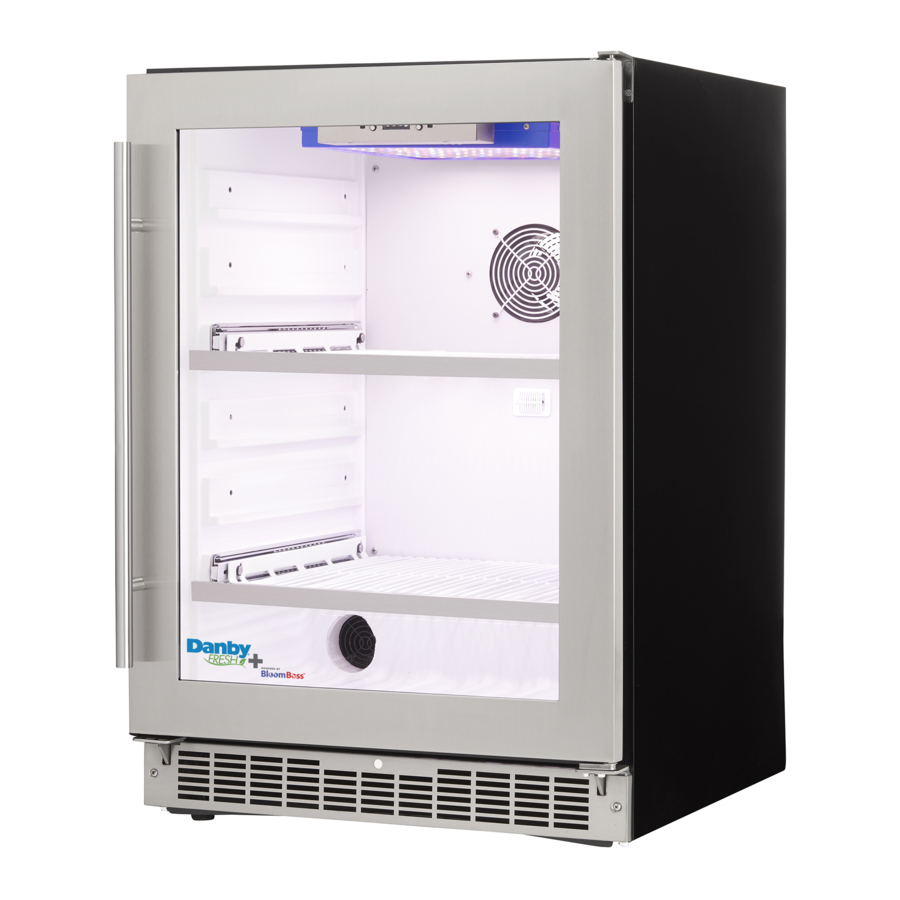
FEATURES

- LED light box
- Control panel
- Air outlet / Fan
- GFCI outlet
- Wire shelves
- LED light strip (on bottom of shelf)
- Seed trays and humidity domes (x6)
- Front mounted exhaust
- Adjustable foot
- Air inlets (top and bottom of door)
CONTROL PANEL

- Power button
- Used to turn the appliance on or off.
- Powering off the appliance clears all light programming.
- Clock button
- Press once to check the running cycle time.
- Press and hold for 3 seconds to set the clock.
- Display screen
- Time display screen.
- R indicator: Light will flash when setting the running cycle time.
- N indicator: Light will flash when setting the light on time.
- F indicator: Light will flash when setting the light off time.
- Light on button
- Press once to check the light on time.
- Press and hold for 3 seconds to set the light on time.
- Use to increase the number when setting a function.
- Light off button
- Press once to check the light off time.
- Press and hold for 3 seconds to set the light off time.
- Use to decrease the number when setting a function.
R N F indicator: illuminated to signify that light running mode is in operation.
NOTE ON LIGHT SYSTEM
The light box on the ceiling of the cabinet and the light strips on the under side of the shelf are connected to the same control panel. Setting light on and light off times in the control panel will control both sets of lights.
If you only wish to run the light box on the ceiling of the cabinet, unplug the wire leading to the lights on the shelf.
If you only wish to run the lights on the shelf, unplug the wire leading to the light box.
Always ensure that the light system you wish to run is plugged into the control panel.
SETTING THE CLOCK
When the appliance is first plugged in, the display will flash until the clock is set with the current local time.
The first two digits on the display screen will flash. Press the light on or light off buttons to set the correct hour. Press the clock button to confirm the selection.
The second two digits on the display screen will flash. Press the light on or light off buttons to set the correct minute. Press the clock button to confirm the selection.
To change the current time, press and hold the clock button for 3 seconds. When the first two digits on the display start to flash, use the steps above to reset the current time.
The hour range can be set between 0 - 23. The minute range can be set between 0 - 59.
SETTING THE LIGHT TURN ON TIME
Press and hold the light on button for three seconds until the N indicator light is flashing.
The first two digits on the display screen will flash. Press the light on or light off buttons to set the desired hour that the lights should turn on. Press the clock button to confirm the selection.
The second two digits on the display screen will flash. Press the light on or light off buttons to set the desired minute that the lights should turn on. Press the clock button to confirm the selection.
Press the light on button once to display the current light on setting. The display will return to the current time after 3 seconds.
The hour range can be set between 0 - 23. The minute range can be set between 0 - 59.
SETTING THE LIGHT TURN OFF TIME
Press and hold the light off button for three seconds until the F indicator light is flashing.
The first two digits on the display screen will flash. Press the light on or light off buttons to set the desired hour that the lights should turn off. Press the clock button to confirm the selection.
The second two digits on the display screen will flash. Press the light on or light off buttons to set the desired minute that the lights should turn off. Press the clock button to confirm the selection.
Press the light off button once to display the current light off setting. The display will return to the current time after 3 seconds.
The hour range can be set between 0 - 23. The minute range can be set between 0 - 59.
When finished settling the light turn off time, the R N F indicator lights illuminate to signify that light running mode is currently in operation.
SETTING THE RUNNING CYCLE
The running cycle determines how many days the lights will cycle on and off once they are programmed. The default value is 0, meaning the lights will only complete the programming cycle once.
Press and hold the light on and light off buttons at the same time for three seconds until the R indicator light is flashing.
The first two digits on the display screen will flash. Press the light on or light off buttons to set the desired number of days that the cycle should run. Press the clock button to confirm the selection.
The running cycle can be set between 1 - 60 days.
After a maximum of 60 days, the lights will return to default programming and the running cycle must be reset.
When finished setting the running cycle, "End" will show on the display screen.
GROWING TIPS
- Keep pots or planters in the provided drip tray to avoid water spillage.
- Plants grow best when the ambient room temperature is between 13°C - 23°C (55°F - 73°F).
- Keep the growing environment clean. Clean the drip try and the inside of the cabinet at least once a month to avoid the growth of mold and mildew.
- If powdery, white mildew forms on plants they can be sprayed with a solution of hydrogen peroxide and water. Use 1 teaspoon of 17% - 35% food-grade hydrogen peroxide to 1 liter of water and only spray the soil as this can cause rot if sprayed on leaves or flowers.
- Do not overwater plants, especially seedlings as they can drown. There is space between the particles of soil that is filled with oxygen. Soil that is constantly wet will not carry enough oxygen and the plants will not be able to breathe.
- As a general rule, soil should be damp but not wet. Check the seed packet for specific information on watering instructions.
- In general, for most herbs and vegetables, the following light cycles are recommended:
- Growth Cycle: 18 hours on / 6 hours off for approximately 20 - 30 days.
- Bloom Cycle: 12 hours on / 12 hours off for approximately 20 - 30 days.
- Most herbs and vegetables have a maturity date between 45 - 90 days. How long the plants take to mature will depend on the type of plants being grown. Check the seed packet for specific information on growth cycles, germination and flowering times.
Seeds must be germinated before they will grow and bloom. For best results in germination, consult the tips below.
- Spread potting soil evenly in a pot or tray.
- Spread seeds evenly over the surface of the soil.
- Add enough water so that the soil is damp but not sodden. Using a spray bottle to add water is recommended to avoid over-watering seeds.
- The use of a humidity dome over the seeds is recommended to trap heat and humidity around the seeds.
- Place the pot or tray in a dark place. The bottom of the Danby Fresh Grower is ideal for this purpose.
- Leave the humidity dome in place for 2 - 3 days or until sprouts are visible.
- Remove the humidity dome and place the pot or tray on the wire shelf in the Danby Fresh Grower.
- Set the desired light cycle based on the information on the seed packet using the instructions.
- Water your plants as required based on the information on the seed packet.
- Most microgreens reach maturity within 1 - 2 weeks.
Note: Danby Products Ltd. will accept no liability for lost plants or weak harvests based on inappropriate use of the light cycle system.
DOOR REVERSAL INSTRUCTIONS
If the default door opening on the appliance is inconvenient, follow the steps below to change the direction of the door swing.
- Remove the two screws that secure the hinge axis to the lower right hinge. Slide the door outward from the bottom to remove it from the upper right hinge.

- Remove the upper right hinge from the cabinet.

- Remove the screw hole covers from the upper left side of the cabinet and install the upper left hinge. Place the screw hole covers in the screw holes on the upper right side of the cabinet.

- The lower left hinge is pre-installed on the cabinet. The lower right hinge does not need to be removed.

- To reinstall the door, it must be flipped 180° from its original position. Install the door by sliding it onto the top hinge pin, then replace the door axis by placing the hinge pin in the bottom of the door and securing it to the lower left hinge.


- Lower right hinge
- Axis screws
- Hinge axis
- Upper right hinge
- Hinge screws
- Upper left hinge
- Lower left hinge
CLEANING
Ensure the appliance is unplugged before cleaning.
- To clean the inside of the appliance, use a soft cloth and a solution of a tablespoon of baking soda to one quart of water or some mild detergent.
- Clean the outside with a soft, damp cloth and some mild detergent.
Note: Do not use cleaners containing ammonia or alcohol on the appliance. Ammonia or alcohol can damage the appearance of the appliance. Never use any commercial or abrasive cleaners or sharp objects on any part of the appliance.
VACATION
It is not advisable to leave the appliance running during a vacation. Plants require daily watering and monitoring to ensure they do not overheat or dehydrate. Be sure to empty, turn off and unplug the appliance before leaving for vacation.
ERROR CODES
The appliance may emit an alarm and display an error code on the display screen. This is generally due to temperatures inside the cabinet being too high or too low. High temperatures can dehydrate and burn plants. Low temperatures can freeze plants and stunt growth.
Error Code "HI"
An alarm will sound and the error code "HI" will appear on the display when the internal temperature of the appliance is higher than 32°C (90°F) for more than 10 minutes. If the temperature inside the cabinet drops below 30°C (86°F) for more than 5 minutes, the alarm and error will stop and the appliance will resume normal functioning. Press any key on the control panel to silence the alarm.
Error Code "LO"
An alarm will sound and the error code "LO" will appear on the display when the internal temperature of the appliance is lower than 17°C (63°F) for more than 10 minutes. If the temperature inside the cabinet rises above 19°C (66°F) for more than 5 minutes, the alarm and error will stop and the appliance will resume normal functioning. Press any key on the control panel to silence the alarm.
TROUBLESHOOTING
Danby Consumer Care: 1-800-263-2629
Hours of operation: Monday to Thursday 8:30 am - 6:00 pm Eastern Standard Time Friday 8:30 am - 4:00 pm Eastern Standard Time Information in this manual is subject to change without notice.
| PROBLEM | POSSIBLE CAUSE |
| No power |
|
| Alarm sounding and "HI" on the display |
|
| Alarm sounding and "LO" on the display |
|

Documents / Resources
References
Download manual
Here you can download full pdf version of manual, it may contain additional safety instructions, warranty information, FCC rules, etc.
Download Danby Fresh DFG58D1BSS - 5.8 cu. ft. Herb Grower Manual
Advertisement
Thank you! Your question has been received!

Need Assistance?
Do you have a question about the Fresh DFG58D1BSS that isn't answered in the manual? Leave your question here.