Advertisement
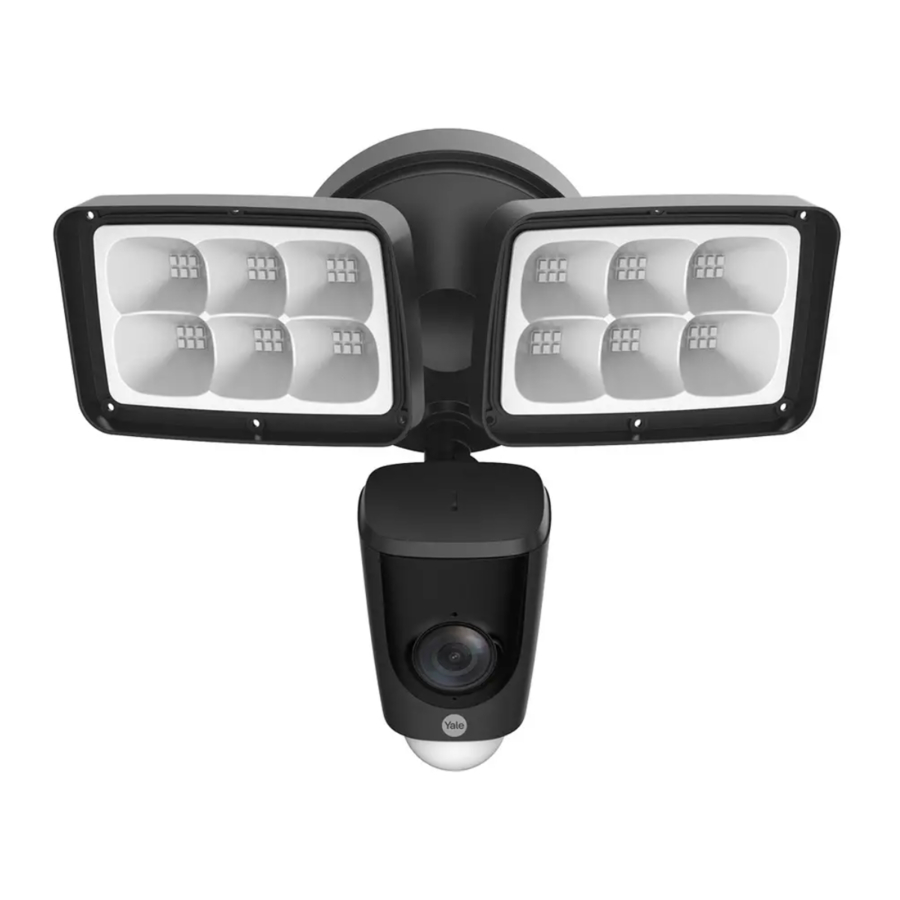
Identifying the parts

Note
In the fixing pack, there are 3 wall plugs, and 3 self-tapping screws.
Assembly

Application
When mounted at 3 m (10 feet) off the ground, with the PIR lens parallel to the ground, the motion detector is optimized to detect human - sized objects at up to 10 m (33 feet).

Camera Introduction


Note: Press and hold the reset button for 10 s to reset the camera.
The pattern of the LED indicator is included in the following table.
| LED Indicator Status | Device Status |
| Off |
|
| Red light on |
|
| Green light flashing |
|
| Green light on |
|
| Red light flashing |
|
| Green and red light flashing alternately |
|
Installing Camera
Safety Instructions

Risk of electrical shock
- Be sure to disconnect the power at the fuse or circuit breaker before installation.
- Verify that the supply voltage is correct. Connect fixture to a 100–240VAC 50/60 Hz power source.
- Always follow code standards when installing wired connection.
- We strongly suggest that you hire a licensed electrician to install the camera.
- For permanently connected equipment, a readily accessible disconnect device shall be incorporated external to the equipment.
- For pluggable equipment type B or permanently connected equipment, the maximum rating of an overcurrent protective device to be provided external to the equipment is 20A.

Risk of fire
Do not install the camera near combustible or flammable surfaces.
Note
- Do not connect this light fixture to a dimmer switch or timer.
- Make sure that the mounting surface is strong enough to hold at least three times of the device weight.
Steps
- If there is no holes in the wall, insert the drilling template where you want the floodlight camera to be installed. Using the drill template as a guide drill the two parallel holes on the wall, add the wall plugs and move to the next step.
- Turn the adjusting knobs to loosen the lights, and adjust the light angles to give space to the mounting screw. Loosen the mounting screw to open the mounting box, and then loosen the screw on the ground terminal to remove the ground wires.

- Attach the mounting box to the wall with the self-tapping screws, making sure the UP arrow is in the correct position.

- Using the hook provided, hook one end of the hook into the hole on the mounting box, and the other end to the edge of the camera, so you can use both hands to complete the installation.

- Take out the terminal block from the mounting box. Connect the blue wires (neutral wires) to the terminals N, and the brown wires (live wires) to terminals L, and then the yellow and green strip wire to ground terminal on the board.

- Connect the two removed yellow and green striped wire (ground wires) to the ground terminal again, tighten the screw on the ground terminal, and then put back the terminal board with the insulating gasket in the mounting box.
- Put away all the wires, attach the camera to the mounting box, and fix the camera with mounting screws and apply the screw cover to the mounting box.

- Adjust the light and lens angle, and keep the PIR detector parallel to the ground to ensure optimal detection.


Operating with Yale View app
- Power on the camera.
- Scan the following QR code or search Yale View app in Google Play or App Store to download and install the Yale View app.


Note If you have installed the app, update it to the latest version.

- Run the Yale View app, and then register an account for first use.
- Wait for the camera to finish the booting cycle, and then the camera indicator flashes with a green light.
- Connect your smart phone to your Wi-Fi network, and make sure that your smartphone is connected to Wi-Fi network with 2.4 GHz band, then follow the in app instructions to complete finishing setting up the camera.


Note
- If you have more than one camera, do step 5 to add them one by one.
- If your Wi-Fi network changes or the indicator status changes, reset the camera and re-do the setup from step 5 to add it again.

Documents / Resources
References
Download manual
Here you can download full pdf version of manual, it may contain additional safety instructions, warranty information, FCC rules, etc.
Download Yale YFL01-BLK-PKG1.0.2 - Floodlight Camera Quick Start Guide
Advertisement
Thank you! Your question has been received!

Need Assistance?
Do you have a question about the YFL01-BLK-PKG1.0.2 that isn't answered in the manual? Leave your question here.