Advertisement
Important Safety Information
READ AND FOLLOW ALL SAFETY INSTRUCTIONS
SAFETY REQUIREMENTS

Risk of fire or explosion. Flammable refrigerant used. Do not puncture refrigerant tubing.
- Ensure that servicing is done by factory authorized service personnel, to minimize product damage or safety issues.
- Consult repair manual or owner's guide before attempting to service this product. All safety precautions must be followed.
- Dispose of properly in accordance with federal or local regulations.
- Follow handling instructions carefully.
- Do not store explosive substances such as aerosol cans with a flammable propellant in this appliance.

- Keep ventilation openings, in the appliance enclosure or in the built-in structure, clear of obstruction.
- Do not use mechanical devices or other means to accelerate the defrosting process, other than those recommended by the manufacturer.
- Do not damage the refrigerant circuit.
- Do not use electrical appliances inside the food storage compartments of the appliance, unless they are of the type recommended by the manufacturer.

Children should be supervised to ensure that they do not play with the appliance.
Risk of child entrapment. Before throwing away an old appliance:
- Remove the door or lid.
- Leave shelves in place so that children may not easily climb inside.
This appliance is not intended for use by persons (including children) whose physical, sensory or mental capabilities may be different or reduced, or who lack experience or knowledge, unless such persons receive supervision or training to operate the appliance by a person responsible for their safety.
This appliance is intended to be used in household and similar applications such as:
- Staff kitchen areas in shops, offices and other working environments;
- Farm houses and by clients in hotels, motels and other residential type environments;
- Bed and breakfast type environments;
- Catering and similar non-retail applications.
GROUNDING INSTRUCTIONS
This appliance must be grounded. Grounding reduces the risk of electrical shock by providing an escape wire for the electrical current.
This appliance has a cord that has a grounding wire with a 3-prong plug. The power cord must be plugged into an outlet that is properly grounded. If the outlet is a 2-prong wall outlet, it must be replaced with a properly grounded 3-prong wall outlet. The serial rating plate indicates the voltage and frequency the appliance is designed for.
Improper use of the grounding plug can result in a risk of electric shock. Consult a qualifi ed electrician or service agent if the grounding instructions are not completely understood, or if doubt exists as to whether the appliance is properly grounded.
Do not connect your appliance to extension cords or together with another appliance in the same wall outlet. Do not splice the power cord. Do not under any circumstances cut or remove the third ground prong from the power cord. Do not use extension cords or ungrounded (two prongs) adapters.
If the power supply cord is damaged, it must be replaced by the manufacturer, its service agent or similar qualifi ed person in order to avoid hazard.
SAVE THESE INSTRUCTIONS!
OPERATING INSTRUCTIONS
LOCATION
- Two people should be used when moving the appliance.
- Remove interior and exterior packaging prior to installation. Wipe the outside of the appliance with a soft, dry cloth and the inside with a lukewarm wet cloth.
- Place the appliance on a floor that is strong enough to support it when it is fully loaded.
- Do not place the appliance in direct sunlight or near sources of heat, such as a stove or heater, as this can increase electrical consumption. Extreme cold ambient temperatures may also cause the appliance to perform improperly.
- Do not use the appliance near water, for example in a wet basement or near a sink.
- This appliance is intended for household use only. It is not designed for outside installation, including anywhere that is not temperature controlled (garages, porches, vehicles, etc.).
- Before connecting the appliance to a power source, let it stand upright for approximately 6 hours. This will reduce the possibility of a malfunction in the cooling system from handling during transportation.
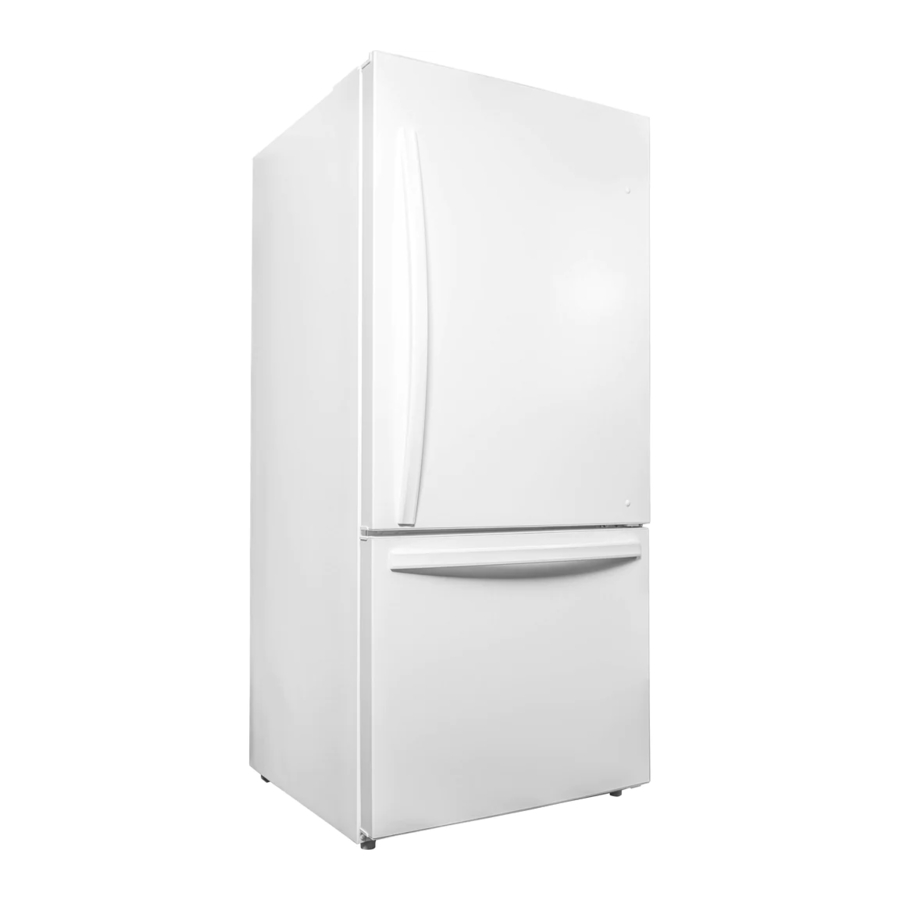
- This appliance is 75 cm (29.5 inches) wide by 171.2 cm (67.4 inches) high by 83.8 cm (33 inches) deep.
- This appliance is only intended for free-standing installation. It is not intended to be built into a cabinet or counter without following the minimum air circulation requirements.
- Minimum air circulation requirement: Allow 5 cm (2 inches) of space between the back, sides and top of the appliance and all surrounding structures (walls, cabinets or counter tops).
![]()
Placing this appliance into any enclosed location with a door or without the minimal amount of air space described above will VOID YOUR WARRANTY, increase energy usage, and reduce this appliance's performance and lifespan.
LEVELING INSTRUCTIONS

There are adjustable legs on the bottom of the cabinet that can be turned up or down to ensure that the appliance is level.
- Turn the leveling leg counter-clockwise as far as it will go, until the top of the foot is touching the bottom of the cabinet.
- Slowly turn the leveling leg clockwise until the appliance is level.
FEATURES


This refrigerator is intended for household use only. It is not designed for outside installation, including anywhere that is not temperature controlled, e.g., garages, porches, vehicles, etc.
DOOR HANDLE INSTALLATION

Ensure that the appliance is unplugged before installing the handle.
- Install the provided pegs into the screw holes in the doors.
- Place the holes in the door handles over the pegs and tighten the handle screws to secure the handles.
TEMPERATURE CONTROL

- Alarm/OFF button: Press to silence the door alarm. Press and hold for 3 seconds to turn the appliance off. Press and hold for 3 seconds to turn the appliance back on.
- Refrigerator temperature control button: Press to set the refrigerator temperature. The temperature range of the refrigerator is approximately 8 ~ 2°C (46.4 ~ 35.6°F).
- Freezer temperature control button: Press to set the freezer temperature. The temperature range of the freezer is approximately -16 ~ -24°C (3.2 ~ 11.2°F).
Actual temperature inside the appliance can vary based on ambient operating temperature, how often the door is opened and how much fresh food has been recently added.
For both the refrigerator and freezer compartments, the middle snowfl ake setting is recommended for regular daily use.
DOOR ALARM
If the refrigerator or freezer door are open for more than 2 minutes, the door alarm will sound. Either ensure the door is completely closed or press the door alarm button to silence the door alarm.
FREEZER SLIDER
- When the slider in the refrigerator compartment is set all the way to the right, this will close the quick freeze vent and the fruit and vegetable boxes can be used to store fresh fruit and vegetables.
- When the slider in the refrigerator compartment is set all the way to the left, this will open the quick freeze vent and allow more cold air into the refrigerator. In this situation, the fruit and vegetable boxes should not be used to store fresh fruit and vegetables as they could freeze. Do not store closed drinks in these boxes when the slider is all the way to the left as they could freeze and burst.
- The middle position on the slider is recommended for regular daily use.
DOOR REVERSAL INSTRUCTIONS
If the appliance is placed on its back or side for any length of time during this process, it must be allowed to remain upright for 6 hours before plugging it in to avoid damage to the internal components.
- Remove the cover plate on the top left side of the cabinet. Remove the hinge cover and the upper hinge from the top right side of the cabinet.
![]()
- Lift the refrigerator door upwards to remove it from the cabinet. Remove the hinge sleeve from the top right side of the door and install it on the top left side of the door. Remove the right door stopper from the bottom right side of the door. Install the left door stopper from the accessory bag on the bottom left side of the door.
![]()
- Remove the center hinge. Remove the center hinge pin using a screwdriver.
![]()
- Turn the center hinge over.
![]()
- Install the hinge pin on the other side.
![]()
- Install the center hinge on the left side of the cabinet.
![]()
- Install the refrigerator door on the center hinge. Install the upper left hinge found in the accessory bag on the top left side of the cabinet. Ensure that the rubber gasket is making a good seal with the cabinet all the way around before tightening the upper hinge screws. Install the hinge cover and cover plate found in the accessory bag.
![]()
- Move the refrigerator door handle to the right side of the cabinet.


CARE & MAINTENANCE
CLEANING
Ensure the appliance is unplugged before cleaning.
- To clean the inside of the appliance, use a soft cloth and a solution of a tablespoon of baking soda to one quart of water or some mild detergent.
- Wash removable shelves in a mild detergent solution, then dry and wipe with a soft cloth.
- Clean the outside with a soft, damp cloth and some mild detergent.
- It is important to keep the area clean where the door seals against the cabinet. Clean this area with a soapy cloth. Rinse with a damp cloth and let dry.
 Note: Do not use cleaners containing ammonia or alcohol on the appliance. Ammonia or alcohol can damage the appearance of the appliance. Never use any commercial or abrasive cleaners or sharp objects on any part of the appliance.
POWER FAILURE
Most power failures are corrected within a few hours and should not affect the temperature of your appliance if you minimize the number of times the door is opened. If the power is going to be off for a longer period of time, take the proper steps to protect your contents.
Note: Wait 3 to 5 minutes before attempting to restart the refrigerator if operation has been interrupted.
DEFROSTING
This appliance is designed with an automatic defrost function that will not require manual defrosting.
VACATION
- Short vacations: Leave the appliance operating during vacations of less than three weeks.
- Long vacations: If the appliance will not be used for several months, remove all items and turn off the appliance. Clean and dry the interior thoroughly. To prevent odor and mold growth, leave the door open slightly, blocking it open if necessary.
MOVING
- Make sure the appliance is empty.
- Secure the shelves with tape.
- Secure the door with tape.
- Turn the adjustable foot up to the base to avoid damage.
- Protect the outside of the appliance with a blanket or similar item.
- Be sure the appliance stays in the upright position during transportation.
- If the appliance is placed on its back or side during transportation, upon reaching the destination, allow it to remain upright for 6 hours before plugging in to avoid damage to internal components.
DISPOSAL
This appliance may not be treated as regular household waste, it should be taken to the appropriate waste collection point for recycling of electrical components. For information on local waste collection points, contact your local waste removal agency or government office.
FREQUENTLY ASKED QUESTIONS
What are the standard wattage and amps used?
This information can be found on the rating plate located on the back of the cabinet.
How much does it cost to run the freezer?
Please refer to the energy guide.
Can I use an extension cord?
No, an extension cord may not be used.
I am having trouble opening the door; why?
The refrigerator door may be difficult to open immediately after closing it. This is normal and is due to the pressure difference between the cold interior of the refrigerator and the warm air that has just entered the refrigerator when it was opened. The pressure will equalize within a few minutes.
I had my fridge on its side to bring it home. Do I have to let it sit? And for how long?
"Yes, please allow it to sit upright for 6 hours before plugging it in.
The refrigerator smells like new plastic. How do I make it go away?
It is common for new appliances to have a slight plastic smell. Ensure that you have removed all packing material from the fridge. Clean the inside of the cabinet by following the cleaning instructions included in the owner's manual. Once completed, place an open box of baking soda in the refrigerator to absorb any remaining odour.
TROUBLESHOOTING
No power
- A fuse may be blown or the circuit breaker tripped
- Plug not fully inserted into the wall outlet
Internal temperature not cold enough
- Temperature setting is too warm
- The door is not shut properly or opened excessively
- Recently added a large quantity of warm food to the cabinet
- Close proximity to heat source or direct sunlight
- Ambient temperature or humidity is very high
Refrigerator runs continuously
- Temperature setting is too cold
- The door is not shut properly or opened excessively
- Recently added a large quantity of warm food to the cabinet
- Close proximity to heat source or direct sunlight
- Ambient temperature or humidity is very high
Refrigerator makes a gurgling noise when operating
- This noise is completely normal. The refrigerant inside the appliance will make a gurgling noise as it changes from a liquid to a gas and back again.
FAULT CODES
E1 or LED1/LED2 flashing
- refrigerator temperature sensor fault
E2 or LED1/LED5 flashing
- freezer temperature sensor fault
E5 or LED1/LED3 flashing
- freezer defrost sensor fault
E6 or LED2/LED4 flashing
- communication failure
E7 or LED1/LED4 flashing
- ambient temperature sensor fault

Documents / Resources
References
Download manual
Here you can download full pdf version of manual, it may contain additional safety instructions, warranty information, FCC rules, etc.
Advertisement
Thank you! Your question has been received!


Need Assistance?
Do you have a question about the DBM187E1WDB that isn't answered in the manual? Leave your question here.