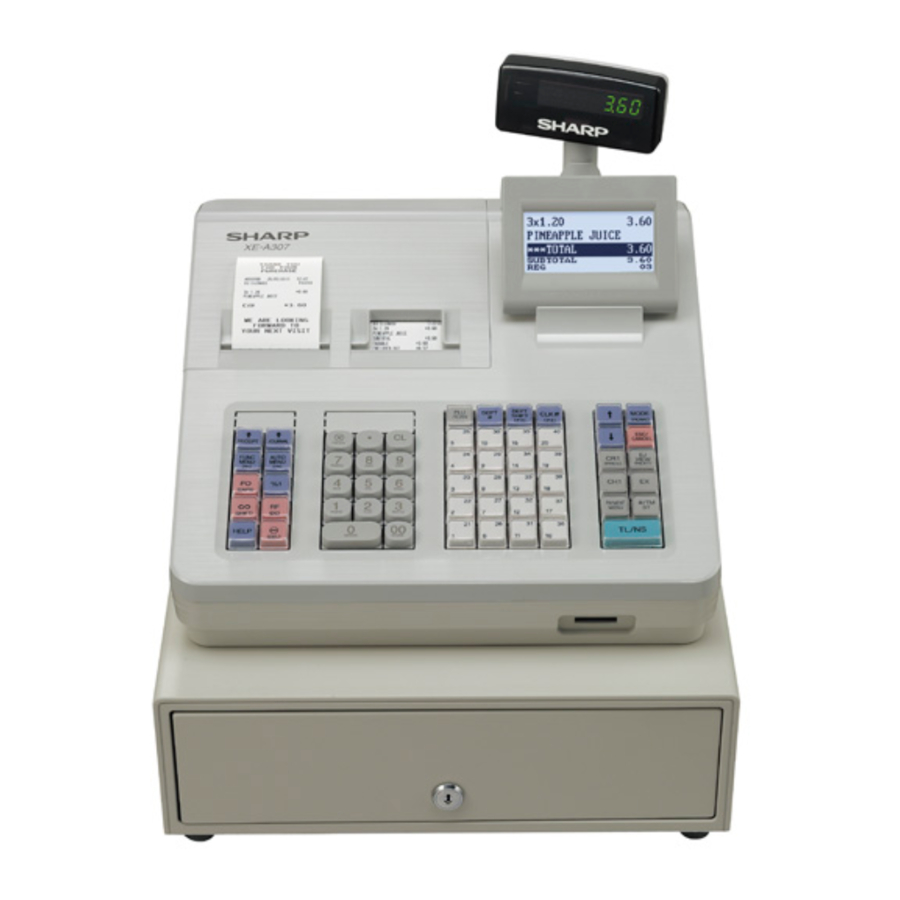
Sharp XE-A307 - Cash Register Quick Setup Guide
- Instruction manual (146 pages) ,
- Service manual (25 pages) ,
- User manual (4 pages)
Advertisement
Quick Setup
The following quick setup operation should be carried out before using your cash register.
- Plug the register into the power (ensuring no batteries are installed)
- Press numeric
![]() to select English Wait for the master reset to finish.
to select English Wait for the master reset to finish. - Follow the on screen instructions to load paper rolls or see opposite for further explanation.
![]()
- Follow the on screen instructions to load paper rolls or see opposite for further explanation.
- Enter the date as DDMMYY. i.e. for 5th June 2011 enter
![]() .
.
![]()
- Press
![]() at the top right of the keyboard.
at the top right of the keyboard. - Enter the time in the format HHMM. i.e. for 2:30pm enter
![]() .
. - Press
![]() to finish.
to finish. - Press
![]() to skip tax rate setup.
to skip tax rate setup. - Press
![]() to skip mode pass code.
to skip mode pass code. - Press
![]() to skip manager pass code.
to skip manager pass code.
![]()
- See below to enter a company receipt header or press
![]() to skip.
to skip.
![]()
- Ensure the cursor is placed at the start of each line using the
![]() arrow keys.
arrow keys. - Press
![]() (bottom left) to delete letters.
(bottom left) to delete letters. - Enter the text as required using the numeric key pad.
i.e. for Beer enter![]() .
.
- Ensure the cursor is placed at the start of each line using the


 at the top right of the
  .
.


Note: In order to enter two letters using the same button  press after each entry.
- Press the
![]() keys to next line.
keys to next line. - Repeat the above for each line.
- Press
![]() to finish.
to finish. - Insert batteries as shown below.
![]()
![]()
Failure to do so will repeat the above setup and result in loss of data.


Installing/Changing Batteries

2 x AA batteries (not supplied) should be fitted to ensure sales and program data are stored when the register is turned off.
To Install Batteries
- Remove the printer cover.
![]()
- Remove the battery cover found in the left hand side of the paper compartment.
![]()
- Insert the two new AA batteries.
![]()
- Replace the battery cover.
- Replace the printer cover, ensuring the receipt paper feeds through the roll cover.


Loading Paper Rolls
The register requires 57 x 57mm thermal paper to be loaded into the receipt and journal compartments.
- Remove the printer cover.
- Lift up the black printer arm of the receipt & journal compartments labelled "Pull here to open up".

- Place a paper roll in the receipt & journal compartments, ensuring 6" of paper is taken from the underneath and placed over the keyboard.
![]()
- Close the printer arms so that they click firmly into place.
- For the journal printer the paper should be wound on to the spool. Slide off left hand holder, wind the paper from the left hand side under the clip until tight and replace the left hand holder.
- Drop the spool into the compartment with the cog to the right and wind up any excess.
![]()
- Press the
![]() keys to ensure the receipt paper feeds and journal winds onto the spool.
keys to ensure the receipt paper feeds and journal winds onto the spool. - Replace the printer cover, ensuring the receipt paper feeds through the lid.
- Tear off any excess receipt paper.


 keys to ensure the receipt paper feeds and journal winds onto the spool.
Making A Basic Sale
By entering the price of the goods and pressing the appropriate keyboard button you are preparing and organising sales data for the end of day report.
i.e. Button 1 = Food, Button 2 = Non Food.
- Ensure you are in Register Mode (by pressing
![]() ).
). - Enter the price of the goods without the decimal point.
i.e. £1 equals![]() .
. - Press one of the Department buttons i.e
![]() .
. - To enter another sale repeat as above by entering a price then one of the Department buttons.
- Press the
![]() key to show the amount due.
key to show the amount due.

 .
.
Either
- Press
![]() to accept Cash.
to accept Cash.
or
To optionally calculate change:-- Enter the value of money given by the customer.
i.e. £5.00 is entered as![]() .
. - Press the
![]() key and the change is displayed.
key and the change is displayed.
- Enter the value of money given by the customer.
 .
.Taking A Report
Reports can be printed without resetting (X) or printed and reset (Z). Shown below is how to take an example report.
- From REG mode, press the
![]() key.
key. - Press
![]() then
then ![]() to select X1/Z1 Mode.
to select X1/Z1 Mode. - Select from the following for Report Read or Reset.
 key.
key. then
then Either
 then
then  for Reading (non reset (x) report).
or
 then for Resetting (reset (z) report).
- Select the required Report
i.e. 1 for General Report. - Then
![]() back as far as required to continue.
back as far as required to continue.
![]()

Creating New Items
Quick Create in Register
The register allows quick creation of products in register without the need to enter a full product name. This is taken from the selected department number.
- Scan the new item or (enter a code greater then 6 digits and press the PLU button). The register will prompt UNDEFINED CODE.
- Enter the price (without the decimal point) and press
![]() .
. - As the product name is taken from a department for quick entry. Enter the department number 1 to 99 using the numeric keypad.
- Press
![]() to continue.
to continue. - The register will prompt with the question DELETE TYPE. It is possible to set the register to delete unused items after period of days. i.e. Set the number of days to 31 to delete any items not sold within one month (See Non-Accessed Deletion). This answer sets if the item is included in this periodic deletion.
Either
 for Auto Delete – To include the product in unused delete
or
for No Delete – To prevent automatic item deletion.
* the recommended selection.
- The item entered is sold immediately.
- Continue transaction as normal.
Full Create in Program Mode
The following outlines how to program the sales buttons. Sales can be made using departments (buttons on the keyboard), Price Look Up codes or EAN barcodes for preset priced items.
- From REG mode, press the
![]() key.
key. - Press
![]() then
then ![]() to select PGM Mode.
to select PGM Mode. - Press
![]() then
then ![]() to select Setting.
to select Setting. - Press
![]() then
then ![]() to select Article.
to select Article. - Select the item type to be amended.
![]()


Either
Department (Keyboard Item i.e.  ).
).
These are the 20 (up to 40 using DEPT Shift) buttons on the keyboard for manual or preset priced items.
or
PLU/EAN (Price Look Up or EAN Barcodes)
These are preset priced Price Look Up codes manually entered using the PLU key or using scanned barcodes (EAN's).
Amending Items
Follow the appropriate section below to amend the items i.e. Department for keyboard items or Price Look Up/EAN barcodes.
Department
- Enter department number and press
![]() .
. - Press
![]() for no price entry or enter the price (without decimal point) and press
for no price entry or enter the price (without decimal point) and press ![]() .
. - Enter the item name using the letters on the number pad i.e. for Beer enter
![]()
- Press
![]() to the save the record.
to the save the record. - Press Esc/Cancel three times to return to REG.
PLU/EAN
- Select the code to amend by entering the PLU number and press
![]() or for EAN Barcodes scan the barcode.
or for EAN Barcodes scan the barcode. - Enter the price (without decimal point) and press
![]() .
. - Enter the item name using the letters on the number pad i.e. for Beer enter
![]()
- Press
![]() twice to continue.
twice to continue. - Press
![]() to continue or for sales reporting enter the department number to which sales are totalled using the numeric keypad and press
to continue or for sales reporting enter the department number to which sales are totalled using the numeric keypad and press ![]() .
. - The NON-ACCESS option sets if the item is included in the automatic periodic deletion.
It is possible to set the register to delete unused items after period of days.
i.e. Set the number of days to 31 to delete any items not sold within one month. - Press
![]() the use the
the use the ![]() keys to select.
keys to select.

Either
DEL BY Z – To include the product in unused delete
or
NON DEL – To prevent automatic item deletion.
* the recommended selection.
- Press
![]() .
. - Press
![]() to the save the record.
to the save the record. - Press
![]() three times to return to REG.
three times to return to REG.
Non-Accessed Deletion
Items can be deleted based on a number of days since last sale. i.e. Set the number of days to 31 to delete any items not sold within one month.
The following actions this sequence.
Setting the Number of Unused Days
- From REG mode, press the
![]() key.
key. - Press
![]() then
then ![]() to select PGM Mode.
to select PGM Mode. - Press
![]() then
then ![]() to select Setting.
to select Setting. - Press
![]() then
then ![]() to select Article.
to select Article. - Press
![]() to select EAN Delete.
to select EAN Delete. - Enter the number of days for PLU retention.
- Press
![]() to finish.
to finish. - Press
![]() three times to return to REG.
three times to return to REG.

Deleting the Unsold Items
The following procedure will delete any EAN Barcodes set to be included in the auto delete.
Note:- Delete is the default option for any newly created product it is necessary to ensure that unused items for that period not intended for delete are set as No Delete (see opposite).
- From REG mode, press the Mode key.
- Press
![]() then
then ![]() to select X1/Z1 Mode.
to select X1/Z1 Mode. - Press
![]() then
then ![]() to select EAN Delete.
to select EAN Delete. - Press
![]() to select Delete.
to select Delete. - Press
![]() to select All Delete.
to select All Delete. - Press
![]() three times to return to REG.
three times to return to REG.

Documents / ResourcesDownload manual
Here you can download full pdf version of manual, it may contain additional safety instructions, warranty information, FCC rules, etc.
Advertisement
Thank you! Your question has been received!


Need Assistance?
Do you have a question about the XE-A307 that isn't answered in the manual? Leave your question here.