Advertisement
Quick Links
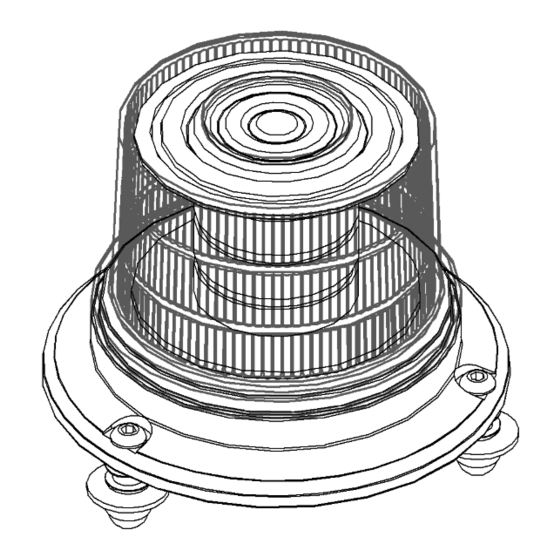
CLUB CAR CARRYALL
BEACON LIGHT (blue)
Requires:
Carryall 4x2 models 300, 500, 550, or 700:
Overhead Console Kit (47587420001)
Carryall 4x4 models 1500, XRT 1550, 1700, or XRT 1550 SE:
Overhead Console Kit (47617522001)
Approximate Installation Time *
Experienced Dealer Technician – 30 Minutes
Average Dealer Technician – 45 Minutes
Do-It-Yourself – 1 hour
(*=Not including accessories)
The contents of this envelope are the property of the owner. Leave with the owner when installation is complete.
p/n: SVP18889001
1 of 5
Rev. B, 09/08/2023
p/n: IM-SVP18889001
Advertisement

Summary of Contents for Curtis SVP18889001
- Page 1 1 of 5 CLUB CAR CARRYALL BEACON LIGHT (blue) p/n: SVP18889001 Requires: Carryall 4x2 models 300, 500, 550, or 700: Overhead Console Kit (47587420001) Carryall 4x4 models 1500, XRT 1550, 1700, or XRT 1550 SE: Overhead Console Kit (47617522001) Approximate Installation Time * Experienced Dealer Technician –...
-
Page 2: Tools Required
For accurate installation, proper operation, and years of satisfaction, please read and understand the installation and owner’s manual fully prior to installing the beacon light. From all of us at Curtis, we thank you for choosing our product TOOLS REQUIRED: 5/32”... -
Page 3: Installation
3 of 5 INSTALLATION CARRYALL 4x2: 1. Vehicle Preparation: 1.1 Remove the plastic roof from the metal roof pan by removing the 6 button head bolts, metal fender washers and rubber fender washers keep this hardware for reuse. See figure 1.1. Fig. - Page 4 4 of 5 INSTALLATION CARRYALL 4x4: 1. Beacon Light Installation: 1.1 Use the template included with the Beacon Light 4 Holes to Drill to locate and drill 4 holes with the template centered side-to-side, front-to-back as listed below and oriented as shown. 1.1a 2-passenger: 21”...
- Page 5 5 of 5 BEACON LIGHT DRILL TEMPLATE A: Three 7/16” diameter beacon light mounting holes. Drill at all three marks labeled “A”. B: One 3/8” diameter hole for beacon light wire. Choose one best fit location for the wire and drill one hole there (at only one of the options marked “B”).