Swann SwannBuddy - Wireless 1080p Video Doorbell Manual
- Quick start manual (42 pages)
Advertisement
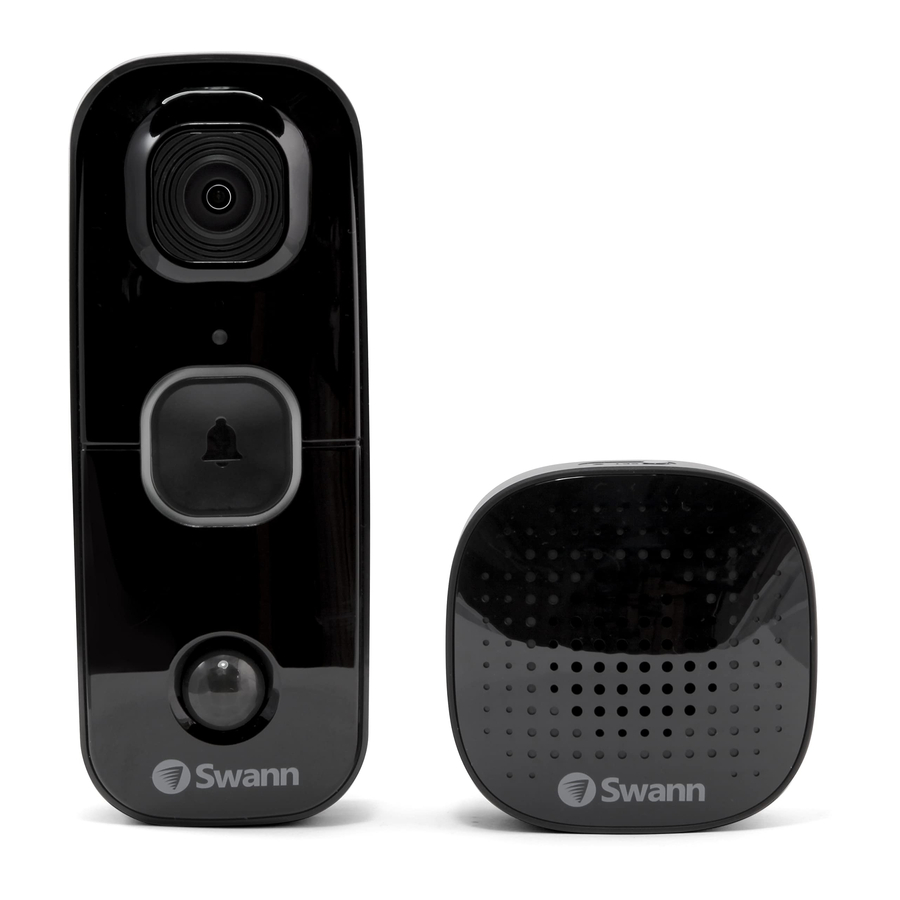
SWANNBUDDY OVERVIEW

Rubber flap
Pull gently from the bottom to access:
- SET (pair) button
- RST (power off) button
- microSD card slot
- micro USB charging port
Wire terminals
(for optional external power source 12-24V AC transformer).
For more information about the SwannBuddy external power wiring, go to: https://support.swann.com/s/article/Z9HN58u3Hf
Or click here for the YouTube video:

CHIME OVERVIEW
FRONT

Installing Batteries
- Remove the battery compartment cover by sliding it down.
- Insert two new, high quality "AA" alkaline batteries (supplied), matching the polarity markings (+ and -) shown inside the battery compartment.
- Replace the battery compartment cover.
BACK

BATTERY SAFETY INFORMATION
- Replace batteries at the same time. Do not mix new and old batteries or battery types (for example, alkaline and lithium batteries).
- Keep batteries out of reach of children.
- Dispose of used batteries promptly in accordance with local regulations.
GETTING STARTED
Charging the SwannBuddy

Before using the SwannBuddy for the first time, fully charge it with the included micro USB charging cable.
- Open the rubber flap on the back of the SwannBuddy.
- Insert the smaller end of the USB charging cable into the micro USB port and the larger end into a USB wall charger such as the USB power adapter that came with your smartphone, as shown.
- The light ring around the doorbell button on the front of the SwannBuddy glows solid blue while charging. When the SwannBuddy is fully charged, the light ring turns off.
- Actual charging times may vary depending on the USB power supply (DC5V 2.1A or above is recommended for faster charging) and the remaining battery level. A full charge may take up to six hours.
MicroSD card
The SwannBuddy comes with a pre-installed 32GB microSD card. The microSD card is required for the SwannBuddy to record events and perform firmware updates. You can easily replace the microSD card with a new one (up to 128GB, minimum Class 10 recommended) if needed in the future. Simply lift the rubber flap on the back of the SwannBuddy, eject the current microSD card (push in until it clicks) from the microSD card slot and then replace with a compatible microSD card (ensure gold contacts facing up). You should format any microSD card the first time you use it with the SwannBuddy. Go to the device's advanced settings screen in the app and select Format.
Pairing the Chime with the SwannBuddy
You can pair the Chime with the SwannBuddy by following the steps below.
- Press and hold the SET button on the Chime (about 3 seconds) until the LED indicator starts blinking blue and you hear a voice prompt "Setup is in progress. Press the Doorbell to connect."
- Press and hold the Doorbell button on the SwannBuddy for 3 seconds. The LED indicator on the Chime immediately turns off, confirming successful pairing.
![warning]() Note: If you fail to complete pairing within 90 seconds, the LED indicator on the Chime will automatically turn off. Repeat steps 1-2 to pair the Chime again.
Note: If you fail to complete pairing within 90 seconds, the LED indicator on the Chime will automatically turn off. Repeat steps 1-2 to pair the Chime again.
- To test the Chime, simply press the Doorbell button on the SwannBuddy. You will hear the "Ding Dong" melody.
 Note: If you fail to complete pairing within 90 seconds, the LED indicator on the Chime will automatically turn off. Repeat steps 1-2 to pair the Chime again.
Changing the Chime melody
Once paired, you can change the Chime's default "Ding Dong" melody.
- Press the SET button on the Chime once to select the next melody in the sequence.
- Press the Doorbell button on the SwannBuddy to test the new melody.
- Repeat steps 1-2 until you hear something you like. There are six melodies to choose from.
DOWNLOAD THE SWANN SECURITY APP
- Download the latest version of the Swann Security
![]() app from the Apple App Store®
app from the Apple App Store®
![www.apple.com]()
or Google Play™ Store
![play.google.com]()
on your iOS or Android device. Simply search for "Swann Security". - Open the app and create your Swann Security account by tapping "Not yet registered? Sign Up" at the bottom of the screen. Then, activate your Swann Security account by confirming the verification email that is sent to the registered email address.


SET UP THE SWANNBUDDY
Open the Swann Security app and tap the Pair Device button on the screen. If you have already paired a device, tap the menu icon ![]() in the top left and select "Pair Device". The app will now guide you through the pairing process and set up the SwannBuddy.
in the top left and select "Pair Device". The app will now guide you through the pairing process and set up the SwannBuddy.
Before you begin, have the SwannBuddy with you and be close to your router. Please note that the SwannBuddy can connect to a 2.4GHz Wi-Fi network only.

MOUNT THE SWANNBUDDY
The SwannBuddy can be mounted on the surface using the supplied mounting bracket as shown below. Before mounting the SwannBuddy, ensure the desired installation location has good, reliable Wi-Fi reception. Using the app, try streaming live video from the SwannBuddy there. If you don't experience any video streaming issues, you've found a good place for your device. You can expand the Wi-Fi coverage of your current network by installing a Wi-Fi range extender.

Ideal installation height
Around chest-height, 1.6-1.7m (5.2-5.6ft) from the ground.
Attaching the SwannBuddy
Align the mounting bracket slots on the back of the SwannBuddy with the mounted bracket, and then slide it down. Tighten the anti-tamper screw with a small Philips ® screwdriver to secure in place.
Installing the bracket
- If mounting on a wooden surface, screw the bracket directly to the surface.
- If mounting on a masonry surface or drywall, insert wall plugs before screwing the bracket to the surface.
- If mounting on a window panel, use the supplied double-sided (rectangular) tape. Peel off liner on one side of the tape and apply it to the back of the bracket. Peel off opposite liner then using a firm amount of pressure, press the bracket against the window panel for 60 seconds. Allow 24 hours for the adhesive to fully cure before attaching the SwannBuddy onto the bracket.
- (Screw-installation only) If there is a gap between the wall and bracket, use the supplied bracket foam tape to fill it.
HELP AND RESOURCES
Answering the SwannBuddy
When someone presses the SwannBuddy, the Chime will sound and you'll get a Swann Security push notification on your mobile device. Simply open the notification to see who's at the door and start talking.
Light ring status guide
The light ring on the SwannBuddy tells you what is happening with the device.
| Solid Blue | USB Charging |
| Slow Blinking Blue | Wi-Fi Pairing mode |
| Solid Red | Live streaming / Motion recording |
| Blinking then Solid Blue (few seconds) | Booting up / Connecting to Wi-Fi |
| Blinking Purple | Low battery state |
| Infrared LEDs Blinking | Firmware update in progress |
Rebooting the SwannBuddy
On rare occasions, it might be necessary to reboot the SwannBuddy if it becomes unresponsive. A simple reboot can often fix connectivity issues quickly. Using a paper clip, press the RST button on the back of the SwannBuddy to power it off. Then briefly press the SET button (for 1 second) to reboot it.
Swann Security app manual
Access the Swann Security app manual (Menu ![]() > User Manual) at any time to learn more about navigating through the various app screens to view live camera stream, playback recordings and configure various settings such as the motion detection sensitivity and the microphone volume.
> User Manual) at any time to learn more about navigating through the various app screens to view live camera stream, playback recordings and configure various settings such as the motion detection sensitivity and the microphone volume.
Have questions?
We're here to help! Visit our Support Center at support.swann.com to get dedicated technical support, find answers to commonly asked questions, and more. You can also email us at any time via: tech@swann.com

Documents / Resources
References
Download manual
Here you can download full pdf version of manual, it may contain additional safety instructions, warranty information, FCC rules, etc.
Download Swann SwannBuddy - Wireless 1080p Video Doorbell Manual
Advertisement
Thank you! Your question has been received!


Need Assistance?
Do you have a question about the SwannBuddy that isn't answered in the manual? Leave your question here.