Advertisement
Quick Links
Click here
to download and print the PDF version of this manual.
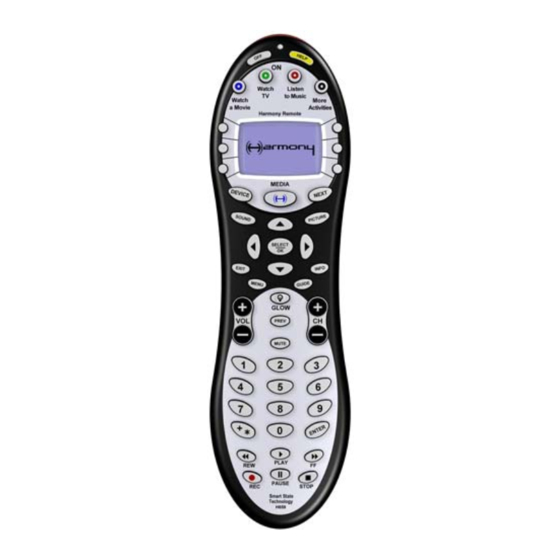
Harmony Remote H659 User Manual
Congratulations on the purchase of your Harmony Remote. True system control is now at your finger
tips. This User Manual will introduce you to the basic setup, customizations and main features of your
Harmony Remote.
Please note that the HarmonyRemote.com web site and web wizards are constantly updated to improve
your experience. At times the information in this manual may be out of date. If in doubt, follow the
information and instructions on the web site. Select a topic from the Index to learn more about your
Harmony Remote:
Index
•
Introduction
•
Setting up your Harmony Remote
•
Using your Harmony Remote
•
Customizing your Harmony Remote
Advertisement

Related Manuals for Logitech H659


Summary of Contents for Logitech H659
- Page 1 Click here to download and print the PDF version of this manual. Harmony Remote H659 User Manual Congratulations on the purchase of your Harmony Remote. True system control is now at your finger tips. This User Manual will introduce you to the basic setup, customizations and main features of your Harmony Remote.
- Page 2 Introduction The Harmony Remote is an internet powered universal remote control. For the first time you will be able to control your home entertainment devices as a system, not as a collection of components. Your Harmony Remote can control most devices that understand infrared (IR) signals. The configuration of your Harmony Remote is simple.
- Page 3 How is the Harmony Remote H659 different? The Harmony Remote takes care of many tasks automatically by interacting with your entertainment system through Activities. Each Activity controls just those devices that are needed. For example, in the "Watch a Movie" Activity, the Harmony Remote switches on and controls the television and VCR together.
- Page 4 Remote" chapter in this manual. Activities The Harmony Remote H659 gives you 4 dedicated buttons for selecting Activities. Press any one of the first 3 buttons to jump directly to your favorite Activities, or press the "More Activities" button to choose other Activities from the Display.
- Page 5 Setting up your Harmony Remote Step 1: Unpack and set-up 1. Ensure that you have received the following items: • 1 Harmony Remote H659 • 1 USB Cable • 4 AAA batteries • 1 Software Installation CD 2. Open the battery compartment on the underside of your Harmony Remote. Insert the four AAA batteries as indicated on the bottom of the battery compartment.
- Page 6 CD. Insert the Windows software CD into the computer’s CD-ROM drive when asked to do so, then follow the on-screen instructions. 3. Log onto the Internet using the account and password provided by your Internet Service Provider. 4. Insert the Harmony Client Software CD into the CD-ROM drive of your computer. After 10 seconds the installation program will start automatically.
- Page 7 Step 5: Answer web wizard questions about the devices you want to control as a system This step is best performed by someone in your household who is familiar with your entertainment system. Use the Entertainment Device Worksheet that you completed in Step 2 to answer the web wizard questions about the make and model of your entertainment devices.
-
Page 8: Selecting An Activity
Selecting an Activity The Harmony Remote H659 gives you 4 dedicated buttons for selecting Activities. Press any one of the first 3 buttons to jump directly to your favorite Activities, or press the "More Activities" button to see other Activities in the Display. - Page 9 Changing Activity To change to a different Activity, simply press any one of the first 3 buttons to jump directly to one of your favorite Activities, or press the "More Activities" button to see other Activities in the Display. Select the Activity that you want to switch to by pressing the adjacent button. Status Light The status light located at the top of your Harmony Remote blinks or shines at various times to remind you that your Harmony Remote is sending infrared commands to your entertainment devices.
- Page 10 for that Activity. For Example, the 'Watch a DVD' Activity may have the Custom Buttons labeled "Angle", "Zoom" and "Eject" which will all control the DVD player. The tables below show the default function of each labeled button within each type of Activity. Watch Television, Watch PVR, Tivo Television &...
- Page 11 Play a Videotape Activity Device Button Video Source Volume Control DOWN Down LEFT Left RIGHT Right SELECT/OK Select, OK, Enter EXIT Exit, Cancel INFO MENU Menu, Menu On GUIDE VOL + Volume Up VOL - Volume Down MUTE Mute CH + Channel Up CH - Channel Down...
- Page 12 Watch a DVD Activity Device Button Video Source Volume Control DOWN Down LEFT Left RIGHT Right SELECT/OK Select, OK, Enter EXIT Exit, Cancel INFO MENU Menu, Menu On GUIDE VOL + Volume Up VOL - Volume Down MUTE Mute CH + Next Chapter CH - Previous Chapter...
- Page 13 Listen to CDs Activity Device Button Audio Source Volume Control DOWN LEFT RIGHT SELECT/OK EXIT INFO MENU GUIDE VOL + Volume Up VOL - Volume Down MUTE Mute CH + Next Track CH - Previous Track PREV >10 ENTER Enter Fast Forward PLAY Play...
- Page 14 CD Jukebox Activity Device Button Audio Source Volume Control DOWN Down LEFT Left RIGHT Right SELECT/OK Select, OK, Enter EXIT Exit, Cancel INFO MENU Menu, Menu On GUIDE VOL + Volume Up VOL - Volume Down MUTE Mute CH + Next Track CH - Previous Track...
- Page 15 Using Modes within an Activity Once you have selected an Activity to enjoy, the functionality of each button on your Harmony Remote is automatically configured to that Activity. In addition the Custom Buttons and Display will give you access to other commands for that Activity which cannot be set to the standard buttons. This is known as the Activity or default mode.
-
Page 16: Customizing Your Harmony Remote
Setting the Activity Buttons The Harmony Remote H659 gives you 4 dedicated buttons for selecting Activities. The Harmony Remote will automatically set these buttons to let you start each of your Activities. However, if you would like then you can choose which Activity you want to start when you press any one of the first 3 Activity buttons. - Page 17 Any Activities that are not set to a specific button will automatically be located under the "More Activities" button. Changing the Behaviour of Buttons within an Activity When you select an Activity, the Harmony Remote will not only turn on all the correct entertainment devices and set their inputs correctly, it will also set up its buttons to control that Activity.
- Page 18 Scroll to the bottom of the page and click on the "Save" button for your changes to be saved. You can set a button to send a command to more than one device at a time. To do this select a command from the drop-down list in each of the required device columns next to the name of the button that you want to set.
- Page 19 Add as many custom Labeled buttons as you like. Click on "More Custom Labels" to add them one at a time. When you update your Harmony Remote, use the "NEXT" button to see all of your custom labeled buttons a page at a time. Teaching Infrared Commands The Harmony Remote will learn infrared commands from other remote controls.
- Page 20 capitalization as shown). The web wizards look for commands with these names to automatically assign them to the volume up and down buttons on the Harmony Remote. To name a command for which there is no default name on the Language page, try to follow these simple naming conventions.