Advertisement
Quick Links
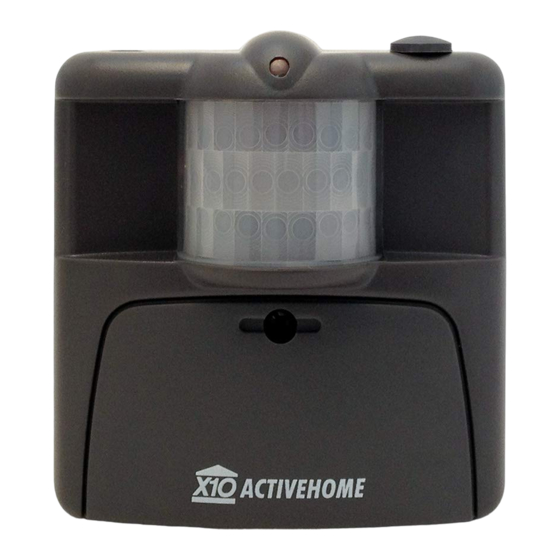
Description:
The Outdoor Motion Sensor, MS16A, is a battery operated, RF Transmitter capable of sensing: Motion and Dusk/Dawn events. It transmits an X10
Command to an X10 RF Base Transceiver (TM751) which then passes the X10 Command onto the AC wiring of the structure. This can be used to control X10 Receiver
Modules, i.e. - Light and Appliance Modules, ON/OFF. The X10 Command can also be used, as a trigger, to initiate Macros in the CM15A, ActiveHome Two-Way Computer
Interface Module. This would allow for complex routines to be executed as soon as the MS16A detects motion. The MS16A can be used indoors as well.
Specific Requirements:
2 - AAA Batteries, TM751 - RF Base Transceiver Module
Optional / Supplementary Devices & Modules:
SC546A - Chime, WS467 -Wall Switch, LM465 - Lamp Module
X10 Protocol:
House Code Dial - Letters A-P, Default "A" Unit Number Dial - Numbers 1-16, Default "1" Each X10 Receiver Module is set to a unique Unit Number or to
an identical Unit Number as desired. Each X10 Controller operating a specific set of Receiver Modules must be set to the same House Code as the Receivers they are
controlling.
Electrical Protocol:
Nearly all residential homes are wired SPLIT-PHASE. Each 120V Phase is NOT directly connected with the other 120V phase. If after installation, an X10 Receiver does not
respond to a remote Controller, then check to ensure that the breaker serving the X10 Receiver is on the same phase as the Controller. If not, the breaker can be changed to
the opposite phase. An alternative solution is recommended, to install a Phase Coupler for improving remote communications throughout the home.
Installation:
Setting up the MS16A:
1.
Remove the battery cover on the front of the MS16A and install two AAA alkaline batteries. Initially the MS16A defaults to House Code "A" and Unit Code "1" and
defaults to See Motion, all the time (24hrs).
2.
Plug-in an X10 RF Base Transceiver (TM751 -sold separately), set the House Code to "A".
3.
Install or plug-in an X10 Receiver Module, for Light Appliance control, and set the Receiver Module to House Code "A" / Unit Code "1".
Testing the MS16A:
1.
Press the House button once, the MS16A will transmit an RF X10 ON Command and the Red LED will flash.
2.
Press the Unit button once, the MS16A will transmit an RF X10 OFF Command and the Red LED will flash. (The default setting is "A1" ).
3.
Place the Sensor on a shelf or mount it on a wall at least 6 feet above the ground and let it settle for at least 1 minute (default) with no motion before activation.
Changing the House and Unit Codes:
1.
Press and hold the House Code button, the Red LED flashes first, goes off and then blinks the current setting.
2.
Release and press the desired number of times for the House Code that you want (once for A, twice for B, etc.).
3.
Hold the House Code button on the last press; after 3 seconds the Red LED will blink the amount of times to confirm your settings.
Note: For Unit Code changes, perform the same as above but using the Unit Code button.
Advertisement

Related Manuals for X10 MS16A


Summary of Contents for X10 MS16A
- Page 1 Nearly all residential homes are wired SPLIT-PHASE. Each 120V Phase is NOT directly connected with the other 120V phase. If after installation, an X10 Receiver does not respond to a remote Controller, then check to ensure that the breaker serving the X10 Receiver is on the same phase as the Controller. If not, the breaker can be changed to the opposite phase.
- Page 2 Night Only If you do not wish to change the current setting, take no further action at this point. A few seconds later, the MS16A will timeout. The MS16A will indicate this to you by displaying a sustained blink (slightly longer than the report blinks).