
Related Manuals for Hunter 50393


Summary of Contents for Hunter 50393
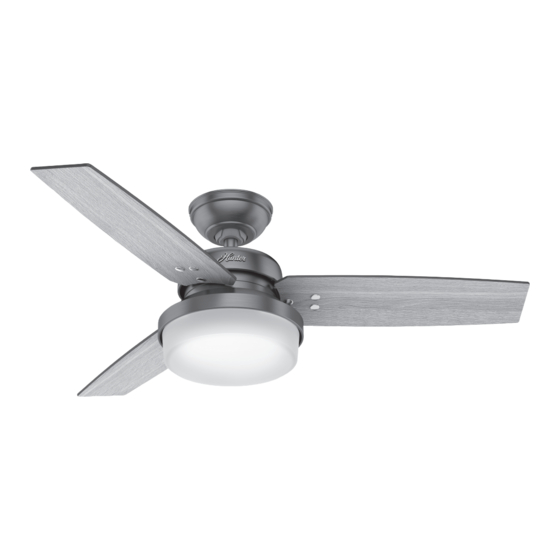
- Page 1 Sentinel Installation Manual Model: 50393 Brushed Slate 50394 Brushed Nickel Fan weight ±2 lbs: 21.6 lbs (9.8 kg) ©2020 Hunter Fan Co. PG3888 r032320...
- Page 2 - All wiring must be in accordance with national and local electrical codes ANSI/NFPA 70. If you are unfamiliar with wiring, use a qualified electrician. c.2 - Use only Hunter replacement parts. This equipment has been tested and found to comply with the limits for a Class B digital device, pursuant to part 15 of the FCC Rules. These limits are designed to provide reasonable protection against harmful interference in a residential installation.
- Page 3 We recommend that you pull everything out of the box and lay it out. We have grouped the drawn components below with the hardware you’ll need for those Hunter Pro Tip: parts. The screws below are drawn to scale to make it easier to identify what piece of hardware is needed to install each component.
-
Page 4: Choosing The Right Installation Location
A little more information on Angled Mounting: For optimum performance and appearance, a longer downrod should be used with your Hunter ceiling fan when installing on high or angled ceiling. If your ceiling is angled greater than 34° you will also need an Angled Mounting Kit. -
Page 5: Installing The Ceiling Bracket
You have two options for installation. Pick which one works best for your location. Remove any existing Hunter Pro Tip: bracket prior to installation. Only use the provided Hunter ceiling bracket that came in your fan’s box. The machine screws are the ones that came with your outlet box. - Page 6 1886 Haniging the Fan NOTICE To prevent damage to fan, ALWAYS lift holding either the fan housing or the downrod. Place the downrod ball into the slot in the ceiling bracket. Ceiling Bracket Downrod Hanging Fan Wiring Canopy Blades Light Bulbs/Glass Remote Remote Cradle...
-
Page 7: Wiring The Fan
Follow these steps to get your fan wired quickly and safely. Follow the route below that best matches your wall switch setup. If you are unfamiliar with wiring or uncomfortable doing it yourself, please contact a qualified electrician. Hunter Pro Tip: Here is how to connect the wires: Push the bare metal ends of the wires together and slide a wire nut over them. -
Page 8: Installing The Canopy
1886 Installing the Canopy Insert the two canopy screws found in the hardware bag. Canopy Screw Lift the canopy into place so that the screw holes are aligned. Installing the Blades: Using the included Allen Wrench, Secure each blade to a blade iron as shown using the blade nuts, found in the hardware bag, and the blade assembly screws, found in the... -
Page 9: Assembling The Light Fixture
1886 Assembling the Light Fixture 2 of 3 Light Kit Screw WARNING FAN FALL HAZARD Make sure all three screws are tight to secure the trim ring to the mounting plate. Partially install two light kit assembly screws, found in the hardware bag, halfway into the motor housing as shown. - Page 10 1886 Preparing the Remote Control The remote control is already For your convenience, a remote function card is paired for use. packed in with your remote. Fan Off Fan Low Light On/Off Battery Door Phillips Head The remote transmitter should already be paired To turn on fan, press a fan speed Screw to the receiver and ready to use.
-
Page 11: Troubleshooting
• Check to see if any of the blades are cracked. If so, replace all of the blades. Hunter Pro Tip: Cleaning the Fan Use soft brushes or cloths to prevent scratching. Cleaning products may damage the finishes. -
Page 12: Limited Lifetime Warranty
Hunter instructions, accidental damage caused by the fan owner or related parties, Please do not ship your fan or any fan parts to Hunter. Delivery will be refused. modifications to the fan, improper or incorrectly performed maintenance or repair,...