
Related Manuals for Bissell POWERCLEAN ION PET 2482 Series


Summary of Contents for Bissell POWERCLEAN ION PET 2482 Series
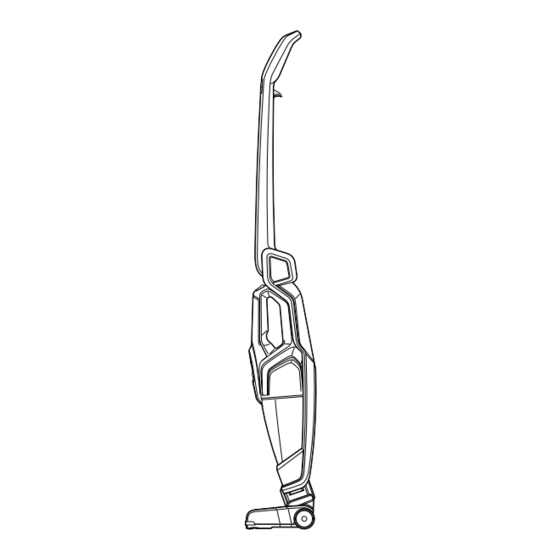
- Page 1 POWERCLEAN ® ION PET 2-in-1 Cordless Vacuum _______________ USER GUIDE 2482 SERIES...
-
Page 2: Safety Instructions
» Do not use to pick up flammable or combustible materials (lighter fluid, gasoline, kerosene, etc.) or use in areas where they may be present. SAVE THESE INSTRUCTIONS FOR FUTURE USE This model is for household use only. www.BISSELL.ca... -
Page 3: Table Of Contents
Thanks for buying a BISSELL PowerClean Ion Pet! ® We love to clean and we’re excited to share one of our innovative products with you. We want to make sure your vacuum works as well in one year as it does today, so this guide has tips on using (pages 6-9), maintaining (pages 10-13), and if there is a problem, troubleshooting (page 14). -
Page 4: Product View
Release Trigger (located inside the Dirt Tank) Hand Vacuum Release Button 10 Swivel Head Hand Vacuum Power Button 11 Crevice Tool Dirt Tank Release 12 2-in-1 Pet Dusting Brush Charging Light Indicator 13 Charging Adapter Plug Detachable Hand Vacuum www.BISSELL.ca... -
Page 5: Assembly
Assembly WARNING Do not plug in your PowerClean® Ion Pet until you are familiar with all instructions and operating procedures. Your BISSELL PowerClean® Ion Pet vacuum comes in two easy-to-assemble components and does not require any tools to assemble. click Insert foot into body of the vacuum until you hear a “click”. -
Page 6: Operations
CHARGING Charging Blinking red light (1 second) Fully Charged Green light (on 10 minutes, then blinks every 1 minute) Charger/Battery Error Red and green blinking light, contact Consumer Care Battery/Motor Issue Red and green blinking light, contact Consumer Care www.BISSELL.ca... - Page 7 Power Icon = ON/OFF Brush Icon = Brush Roll ON/OFF Using your PowerClean Ion Pet ® To start cleaning select the Power Select the Brush Button to turn the Button to turn the unit ON. Motorized Brush Roll OFF and ON. www.BISSELL.ca...
- Page 8 Operating 2-Way Folding Handle Find the 2-Way Folding Handle Release Pull the trigger to fold the handle. Trigger located under the handle. Fold the handle forward to easily Fold the handle back for easy storage. clean underneath low places. www.BISSELL.ca...
- Page 9 Hand Vacuum Nozzle. The 2-in-1 Pet Dusting Brush removes pet The Crevice Tool reaches narrow spaces. hair from upholstery while also sweeping up dust and debris from hard surfaces. www.BISSELL.ca...
-
Page 10: Maintenance & Care
Dirt Tank. Grasp filter tabs and pull vertically to Replace Filter Assembly back into the Dirt remove Filter Assembly and empty dirt Tank and attach Dirt Tank to Hand Vacuum into waste container. until it snaps securely into place. www.BISSELL.ca... - Page 11 NOTE: You may rinse the Filter and Screen in warm water to clean. The Filter and Screen need to be 100% dry before reuse. The key to maximum performance is having a clean Filter. Cleaning the Filter after each use will help your vacuum operate at peak e ciency. www.BISSELL.ca...
- Page 12 If the Brush Roll stops spinning due to debris, the LED light will turn solid red. Roll and turn unit ON to reset the brush. NOTE: Make sure the Brush Roll Cover Tab is locked back into place to prevent breaking or faulty Brush Roll. www.BISSELL.ca...
- Page 13 (one red, one white) from product. the vacuum. NOTE: Keep Battery Pack together – DO NOT separate individual batteries. For specifi c disposal instructions of batteries, please contact the RBRC (Rechargeable Battery Recycling Corporation) at 1-800-822-8837 or visit www.call2recycle.org. www.BISSELL.ca...
-
Page 14: Troubleshooting
Brush Roll Brush Roll needs to be reset Follow instructions on page 12 not turning Broken Brush Roll Belt Visit www.BISSELL.ca or call 1-800-263-2535 to order replacement parts Dirt Tank is full Empty Dirt Tank Dirt Tank isn’t installed properly... -
Page 15: Warranty
If your BISSELL product should require service: escaping installed incorrectly correct installation Contact BISSELL Consumer Care to locate a BISSELL Authorized Service Center in your area. from vacuum Dirt Tank installed incorrectly Position Dirt Tank correctly and If you need information about repairs or replacement parts, or if you have questions about snap firmly into place your warranty, contact BISSELL Consumer Care. -
Page 16: Product Registration
For Parts and Supplies, go to BISSELL.ca and know what you think! enter your model number in the search fi eld. For cleaning tips and more visit www.BISSELL.ca or fi nd us at: BISSELL BISSELLClean BISSELLClean BISSELL BISSELL ©2019 BISSELL Inc.