Table of Contents
Advertisement
Install Guide panels
10/3/02
8:21 AM
Page 1
Read this manual first!
Congratulations on purchasing this Philips product.
We've included everything you need to get started.
If you have any problems, Philips Representatives can
help you get the most from your new product by explaining:
• Hookups,
• First Time Setup, and
• Feature Operation.
Do not attempt to return this product to the store.
For fast help, call us first!
1-888-541-5837
Thank you for making Philips a part of your home!
Advertisement
Table of Contents

Related Manuals for Philips JR24CDRW99


Summary of Contents for Philips JR24CDRW99
- Page 1 • Hookups, • First Time Setup, and • Feature Operation. Do not attempt to return this product to the store. For fast help, call us first! 1-888-541-5837 Thank you for making Philips a part of your home!
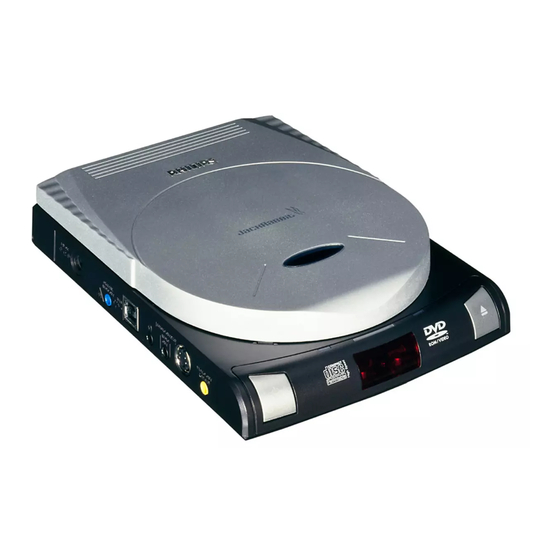
- Page 2 10/3/02 ELCOME CONGRATULATIONS ... Thank you for choosing the portable Philips Jack Rabbit CD- ReWriter drive. This Installation and User’s Guide provides infor- mation describing the basic installation of your new Philips CD- Rewriter (see reverse side for details) and the software needed to record and playback your CDs.
-
Page 3: Laser Safety
Install Guide panels 10/3/02 WARNING This device complies with Part 15 of the FCC (U.S.A.) Rules. Operation is subject to the following two conditions: (1) This device may not cause harmful interference, and (2) this device must accept any interference received, including interference that may cause undesired operation. -
Page 4: Safety Precautions
Computers or Macintosh UL listed workstations, weighing less than 18 kg. Declaration of Conformity According to 47CFR, Parts 2 and 15 for Class B Personal Computers and Peripherals: We: PHILIPS Consumer Electronics Company (Name of the Responsible Party) Located at: One Philips Drive Knoxville TN 37914 USA... -
Page 5: Installation - Package Contents
Install Guide panels 10/3/02 Installation - Package Contents Before starting the Installation process, please check for the following components packed with your Philips Jack Rabbit external CD-RW drive. Installation Disc Blank CD-ROM Disc Note: Some Jack Rabbit drive packages may contain... -
Page 6: Installation - Power Cord
Installation - Power Cord Start the installation process by plugging the Power Cord’s mini plug into the 12V DC jack on the side of the Philips Jack Rabbit CD-RW Drive and the other end into an AC outlet. 12V DC... - Page 7 Install Guide panels 10/3/02 Installation - Two Piece Power Cord If your Jack Rabbit drive was packaged with a one piece Power Cord, please move ahead to step 4. If your package contains a two piece Power Cord; Plug the Power Cord end into the Power Converter, then the mini plug from the Power Convertor into the Jack Rabbit 12V DC plug.
- Page 8 Install Guide panels 10/3/02 Installation - Remove Transport Protection Once plugged into an AC Outlet, press the OPEN button on the top of the Jack Rabbit CD-RW Drive to open the CD lid. Remove the Transport Protection device (small, piece of flat plastic) by gripping the small tab and lifting up.
- Page 9 Install Guide panels 10/3/02 Installation - USB Cable to Drive Plug the square end of the silver USB cable into the USB jack located on the side of the Philips Jack Rabbit Drive. 12V DC USB Cable 8:21 AM Page 9...
- Page 10 Install Guide panels 10/3/02 8:21 AM Page 10 Installation - USB Cable to Computer Plug the flat end of the silver USB cable into an open USB jack located on the computer. Consult you computer manual for infor- mation regarding the computer USB jacks. USB Jack on the computer USB 1.1 = 4x MAX...
- Page 11 Install Guide panels 10/3/02 8:21 AM Page 11 Installation - Power on Computer If needed, plug the computer into an AC Outlet. Press the power button to turn the computer on. Computer Power Computer Button USB Cable Power Cord to Jack Rabbit Computer Power Cord to AC Outlet Jack Rabbit...
- Page 12 “Setup.exe” to start the CD. Refer to the next panel of this Installation Guide for more information on loading the drive software. Jack Rabbit CD-RW Drive Philips CD-R/RW Setup Disc Choose Language Screen appears when disc starts up Computer...
- Page 13 Install Guide panels 10/3/02 8:21 AM Page 13 Installing the Disc Drive Software Included with your CD-RW drive is a CD-ROM containing the software used to complete the drive installation. This installation disc looks like the one pictured below. Insert the disc into the drive and follow the onscreen instructions to complete the process.
- Page 14 Install Guide panels 10/3/02 8:21 AM Page 14 The first screen to appear will allow you to choose the lan- guage for the onscreen menu. The computer setup will begin to prepare the Install Shield Wizard to start you through the rest of the drive setup process.
- Page 15 Install Guide panels 10/3/02 A “Welcome” screen will briefly appear. After a few seconds the main disc screen will appear. From this screen you can watch a photo slide show of the disc installation. 8:21 AM Page 15...
- Page 16 Install Guide panels 10/3/02 The first option on the main disc screen is “HARDWARE AND DRIVER INSTALLATION” Photo Wizard (photo slide show). This section contains several detailed photos and written instructions on the drive installation procedure. This is a valuable tool if a CD-ROM drive is already present in your computer.
- Page 17 10/3/02 As the Photo Wizard continues, you will be prompted to select the proper interface for your drive. The Philips Jack Rabbit External Drive will use the USB Interface. This must be chosen for proper setup. Do not choose the Fire Wire selection.
- Page 18 Install Guide panels 10/3/02 The “SPEED TEST” can be preformed on the Jack Rabbit but is NOT REQUIRED. If you decide not to run the test, press the BACK button. To run this test, place the Setup Disc into the computer’s CD-ROM and a black CD-R in the Jack Rabbit.
- Page 19 SOFTWARE SETUP.” Application Software Setup will copy all the needed files and disc drivers to your computer for proper operation of the Philips Jack Rabbit CD-RW drive. Follow the onscreen menu prompts to complete the drive installation and setup. 8:21 AM...
- Page 20 CD-Writable and ReWritable Discs, Help Files, Warranty and Support informa- tion, along with instructions for use. The Philips Portable Jack Rabbit CD-RW drive will work with PCs as well as Macintosh computers that have USB connectors.
- Page 21 Install Guide panels 10/3/02 STARTING A CD APPLICATION Using Easy CD Creator Project Selector makes it easy to start any CD application. From one window you can access any application to produce the type of job you want. To navigate in Project Selector: 1.
- Page 22 Install Guide panels 10/3/02 · Burn MPA3, WAV, and WMA files to CD as CD-DA. · Use CD-Text support for CD-Text drives. · Have more control over your own music projects. MAKE A DATA CD With CD Creator Data you can easily: ·...
-
Page 23: Frequently Asked Questions
Install Guide panels 10/3/02 FREQUENTLY ASKED QUESTIONS Where Can I get more information on the recording software? The recording software supplied with this drive is Easy CD Creator by Roxio. You may visit www.roxio.com for more information. How do I know the drive is installed correctly? The drive will show as "Philips_RW"... - Page 24 NOTE: This will render the disc useless. IF YOU NEED ASSISTANCE... Visit our web site at www.pcstuff.philips.com or www.philips.com Or, call us at 1-888-541-5837. We are available, Eastern Standard Time, from 9 a.m.-11 p.m. EST Monday-Friday, and 11 a.m.-10 p.m. EST Saturday and Sunday.