Table of Contents
Advertisement
Quick Links
Owner's Manual
ZV457MG9
D
V
IGITAL
IDEO
D
T
WITH
IGITAL
© 2011 Funai Electric Co., Ltd.
D
R
ISC
ECORDER
UNER
N
R
Q
G
/
EAD YOUR
UICK
UIDE AND
M
USING YOUR
I
F YOU HAVE READ YOUR INSTRUCTIONS AND STILL NEED ASSISTANCE
YOU MAY ACCESS OUR ONLINE HELP AT WWW
1-800-605-8610
OR CALL
INSTRUCCIONES EN ESPAÑOL INCLUIDAS.
& V
C
IDEO
ASSETTE
?
EED HELP FAST
O
'
M
OR
WNER
S
ANUAL FIRST FOR QUICK TIPS THAT MAKE
AGNAVOX PRODUCT MORE ENJOYABLE
.
MAGNAVOX
WHILE WITH YOUR PRODUCT
R
ECORDER
.
,
.
/
COM
SUPPORT
.
Advertisement
Table of Contents

Related Manuals for Magnavox ZV457MG


Summary of Contents for Magnavox ZV457MG
- Page 1 Owner's Manual ZV457MG9 IGITAL IDEO WITH IGITAL UNER EAD YOUR YOU MAY ACCESS OUR ONLINE HELP AT WWW © 2011 Funai Electric Co., Ltd. & V ECORDER IDEO EED HELP FAST UICK UIDE AND WNER ANUAL FIRST FOR QUICK TIPS THAT MAKE USING YOUR AGNAVOX PRODUCT MORE ENJOYABLE F YOU HAVE READ YOUR INSTRUCTIONS AND STILL NEED ASSISTANCE...
-
Page 2: Important Safeguards
The model and serial numbers of this unit may be found on the cabinet. You should record and retain those numbers for future reference. WARNING: TO REDUCE THE RISK OF FIRE OR ELECTRIC SHOCK, DO NOT EXPOSE THIS APPARATUS TO RAIN OR MOISTURE. CAUTION RISK OF ELECTRIC SHOCK DO NOT OPEN... -
Page 3: Precautions
Do not place the unit on the furniture that is capable of being tilted by a child and an adult leaning, pulling, standing or climbing on it. A falling unit can cause serious injury or even death. CAUTION: To prevent electric shock, match wide blade of plug to wide slot, fully insert. ATTENTION: Pour éviter les chocs électriques, introduire la lame la plus large de la fiche dans la borne correspondante de la prise et pousser jusqu’au fond. - Page 4 To Avoid the Hazards of Electrical Shock and Fire • Do not handle the power cord with wet hands. • Do not pull on the power cord when disconnecting it from an AC outlet. Grasp it by the plug. • Do not put your fingers or objects into the unit. Location and Handling •...
- Page 5 Maintenance Servicing g • Please refer to relevant topics on “TROUBLESHOOTING” on pages 96-99 before returning the product. • If this unit becomes inoperative, do not try to correct the problem by yourself. There are no user-serviceable parts inside. Turn off, unplug the power plug and please call our help line mentioned on the front page to locate an Authorized Service Center.
-
Page 6: Table Of Contents
SETTING A DISC TO PROTECT ....52 PLAYING THE DISCS ON OTHER DVD PLAYERS ..53 Finalizing a Disc ........53... - Page 7 Playback INFORMATION ON PLAYBACK ....55 BASIC PLAYBACK ....... 57 Direct Playback .
- Page 8 For DVD-RW/-R, you need to finalize the recorded discs to play back on other DVD players. Others DVD mode Progressive scan system...
-
Page 9: Symbols Used In This Owner's Manual
Symbols Used in this Owner’s Manual To specify for what disc type each function is, we put the following symbols at the beginning of each item to operate. * DVD-RW/-R recorded in VR mode or non compatible recording format are not playable. * DVD-RW recorded in the mode other than +VR is not recordable on this unit unless you erase all contents in the disc (refer to page 79). -
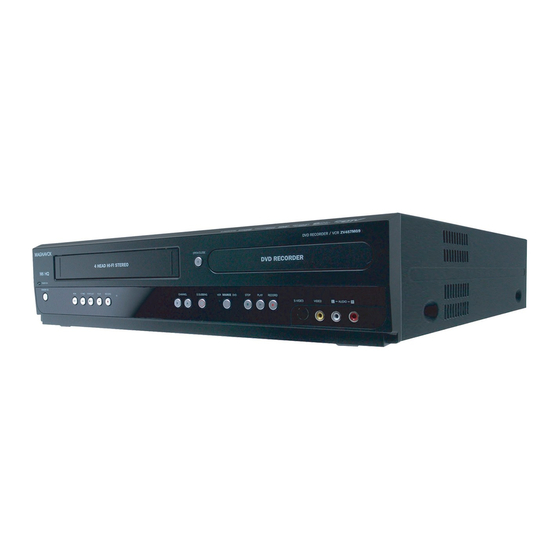
Page 10: Front Panel
Front Panel 2019 18 17 ( * ) The unit can also be turned on by pressing these buttons or inserting a cassette tape. 1. Cassette compartment (VCR) Insert a cassette tape here. 2. OPEN/CLOSE A button (DVD)* Press to open or close the disc tray. 3. -
Page 11: Functional Overview
FUNCTIONAL OVERVIEW Rear Panel HDMI OUT 1. AC Power Cord (DVD/VCR) Connect to a standard AC outlet to supply power to this unit. 2. HDMI OUT jack (DVD only) Use an HDMI cable to connect to a display with an HDMI compatible port. -
Page 12: Remote Control
FUNCTIONAL OVERVIEW Remote Control Installing the Batteries in the Remote Control Install the batteries (AAAx2) matching the polarity indicated inside battery compartment of the remote control. Open the cover. Insert batteries. Make sure to match + and - on the batteries to the marks indicated in the battery compartment. - Page 13 FUNCTIONAL OVERVIEW 1. DISPLAY button (DVD/VCR) • Press to display the display menu on or off. 2. DTV/TV button (DVD/VCR) • Press to switch between digital TV (DTV) mode and analog TV (TV) mode. 3. SOURCE button (DVD/VCR) • Press to select the appropriate input. 4.
-
Page 14: Front Panel
FUNCTIONAL OVERVIEW Front Panel Display : Appears in the afternoon with the clock display. : Appears when the channel is in DTV mode. 3. Title / track / file and chapter mark : Appears when indicating a title / track / file number. : Appears when indicating a chapter number. - Page 15 This section describes how to connect your unit to an antenna, cable box, etc. Disconnect the power cord of your TV from the AC outlet. Disconnect RF coaxial cable from antenna input jack of your TV. disconnect Connect cables to the unit. Make the basic connection as illustrated below.
-
Page 16: Rf Modulator Connection
RF MODULATOR CONNECTION If your TV has antenna in jack only, it is still possible to connect this unit to your TV by using a commercially available stereo audio/video RF modulator. In this case, follow the instructions below. 1) Disconnect the power cords of the devices from the AC outlet. 2) Make the connection as illustrated below. - Page 17 1) Disconnect the power cords of the devices from the AC outlet. 2) Make the connection as illustrated below. 3) Plug in the power cords of the devices to the AC outlet. e.g.) rear of this unit HDMI OUT DVD/VCR S-VIDEO IN --- AUDIO --- OUT AUDIO OUT...
- Page 18 Make one of the following connections, depending on the capabilities of your existing device. VCR and basic DVD connection this unit HDMI OUT Available on DVD only analog audio AUDIO IN RCA audio cable this unit DIGITAL AUDIO OUT DIGITAL AUDIO S-VIDEO AUDIO OUT...
- Page 19 A simple 1-cable connection with a device having an HDMI (high-definition multimedia interface) connector allows digital transfer of both digital video signals and multi-channel audio signals. Available for DVD only HDMI IN HDMI cable HDMI OUT this unit When connecting with an HDMI cable, the audio signal will be output as the digital audio signal simultaneously, so you do not need the analog audio connection described on page 18.
- Page 20 • When you change the connections, all devices should be turned off. • Refer to the manual accompanying external devices for more information. 2 Channel Analog Audio Connection stereo system RCA audio cable DIGITAL AUDIO S-VIDEO COMPONENT VIDEO OUT AUDIO OUT HDMI OUT DIGITAL AUDIO...
-
Page 21: Remote Control
After you have completed all the connections, you must find the viewing channel (external input channel) on your TV. Finding the Viewing Channel on Your TV STANDBY-ON STANDBY-ON SOURCE DTV/TV DISPLAY OPEN/CLOSE .@/: PQRS WXYZ SPACE CLEAR DISC MENU SETUP TITLE RETURN CHANNEL... -
Page 22: Before You Start
This unit uses the following on-screen displays and menus to guide you to the easy operations. The on-screen displays give you the information on the loaded disc, the disc/file in playback, or the HDMI status, etc. The menus allow you to change the various kinds of settings for playing back, recording, or editing to suit your preference. Guide to On-Screen Display / Menu The on-screen display changes in the following order as you press [DISPLAY].