Advertisement
Quick Links
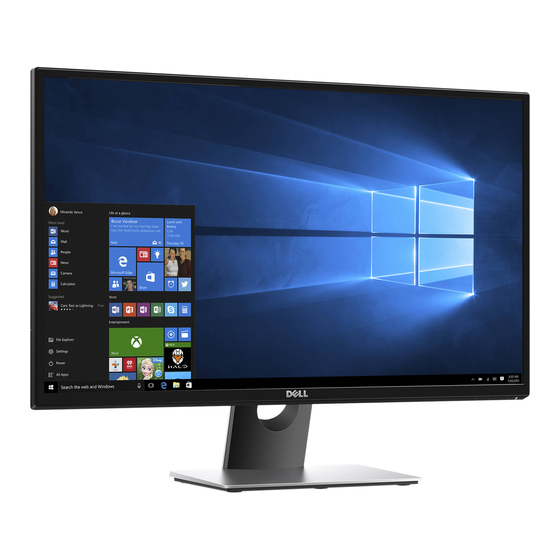
SE2717H_ SE2717HR_ SE2717HX
1. Disassembly Procedures:
Step
S1.The FRONT
VIEW
S2.Remove the
STAND-BASE
ASS'Y
1
Figure
1
Remark
Turn off power,
Unplug external cables
from product
To remove the stand:
1. Press and hold the
stand release button.
2. Lift the stand up and
away from the monitor.
Note:
To prevent scratches on
the LCD screen while
removing the stand,
ensure that the monitor is
placed on a soft, clean
surface.
Advertisement

Related Manuals for Dell SE2717H


Summary of Contents for Dell SE2717H
- Page 1 SE2717H_ SE2717HR_ SE2717HX 1. Disassembly Procedures: Step Figure Remark Turn off power, S1.The FRONT Unplug external cables VIEW from product To remove the stand: 1. Press and hold the stand release button. 2. Lift the stand up and away from the monitor. S2.Remove the STAND-BASE Note:...
-
Page 2: Rear Cover
SE2717H_ SE2717HR_ SE2717HX Use a Philips-head screwdriver to remove 2 screws for unlocking mechanisms. (No.1~2 screw size=P3x6; Torque=4±1kgf.cm) S3.Remove the REAR COVER Use Penknife to separate the bezel and rear cove follow the arrows in sequence, then you can take out rear cover. - Page 3 SE2717H_ SE2717HR_ SE2717HX S6.Remove the Remove the cables cables S7.Remove the Remove the FFC cable FFC cable S8.Remove the Remove the mylar. Mylar...
- Page 4 SE2717H_ SE2717HR_ SE2717HX Remove the FFC cable Use a Philips-head screwdriver to remove 6 screws for unlocking main board and power S9.Remove the board Main &Power (No.1~5 screw Board size=D3x6; Torque=6±1kgf.cm No.6 screw size=M4x6; Torque= 6±1kgf.cm) Use a Philips-head screwdriver to remove 3screws for unlocking S10.Remove the Key board.
- Page 5 SE2717H_ SE2717HR_ SE2717HX Use a Philips-head screwdriver to remove S12.Remove the 1screws for unlocking screw main frame (No.1 screw size= Q3x6 Torque=4±1kgf.cm) S13.The Main The Main Frame Frame The Bezel S14.The Bezel...
- Page 6 SE2717H_ SE2717HR_ SE2717HX Remove electrolyte capacitors (red mark) from printed circuit boards Take out bulk cap. pin solder with soldering iron S15.Remove capacitors and absorber Lift the bulk cap. up and away from the PCB...
-
Page 7: Tools Required
SE2717H_ SE2717HR_ SE2717HX 2. Product material information The following substances, preparations, or components should be disposed of or recovered separately from other WEEE in compliance with Article 4 of EU Council Directive 75/442/EEC. Capacitors / condensers (containing No used PCB/PCT) Mercury containing components No used Batteries...