Advertisement
- 1 Unpacking
- 2 Installing the stand base
- 3 Adjusting the computer stand
- 4 Connecting the keyboard and mouse
- 5 Connecting the power cable
- 6 Turning on the computer
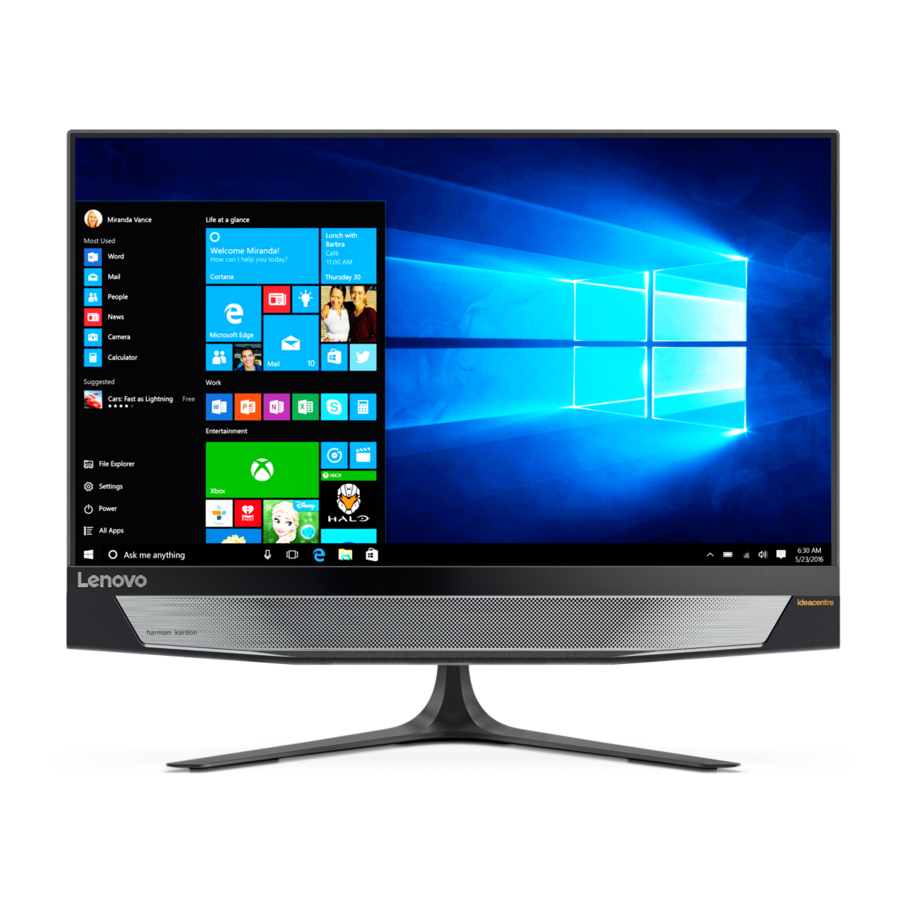
- 7 Front view of the computer
- 8 Left and right view of the computer
- 9 Rear view of the computer
- 10 Connecting to the Internet
- 11 Windows help system
- 12 Service and Support information
- 13 Accessing other manuals
- 14 Carrying the computer
- 15 Replacing or upgrading hardware
- 16 Replacing or upgrading hardware
- 17 Documents / Resources
Unpacking

* Selected models only.
- Some models may contain items that are not listed.
- The descriptions in this guide might be different from what you see on your computer, depending on the computer model and configuration.
- Product design and specifications may be changed without notice.
Installing the stand base

Adjusting the computer stand

Connecting the keyboard and mouse

NOTE: If your computer is equipped with a wireless keyboard or mouse, follow the installation instructions for those devices.
Connecting the power cable

Turning on the computer

Front view of the computer

- Camera LED indicator
- Built-in camera
- Built-in microphone
NOTE: Remove the plastic film before using the computer.
ATTENTION: Be sure not to block any air vents on the computer.
Blocked air vents may cause thermal problems.
ATTENTION: If your computer is equipped with an infrared (IR) remote control, do not put the USB IR receiver on the same plane as the screen.
Left and right view of the computer

- USB 3.0 connector
- Memory card reader
- Combo audio jack1
- HDMI-in switch
- Power button
1 Combo audio jack: Used to connect headsets.
NOTES:
- The combo audio jack does not support conventional microphones.
- Different industry standards may lead to the recording function not being supported if third-party headphones or headsets are connected.
Rear view of the computer

- Security cable slot
- Power connector
- Ethernet connector
- HDMI-out connector
- USB 2.0 connector
- USB 2.0 connector
- USB 3.0 connector
- HDMI-in connector
- Air vents
Connecting to the Internet
You need a contract with an Internet Service Provider (ISP) and some hardware in order to connect to the Internet. ISPs and the services they offer vary by country. Contact your ISP for services available in your country. Your computer supports wireless (selected models only) or wired networks that connect your computer to other devices.
Wired network connection
For wired networks, connect one end of an Ethernet cable (purchased separately) to the Ethernet connector on your computer, and then connect the other end to the network router or broadband modem. Consult your ISP for detailed setup instructions.
NOTE: Broadband modem and router installation procedures vary depending on the manufacturer. Follow the manufacturer's instructions.
Wireless network connection
For wireless networks, you can use the built-in Wi-Fi antenna to access your wireless home network.
To connect your computer to the wireless network:
Click or tap the network icon on the taskbar, then select the name of your router. Click or tap Connect, then follow the steps on the screen.
Test the wireless network by opening your Web browser and accessing any Web site.
Windows help system
The Windows help system provides you with detailed information about using the Windows operating system.
To access the Windows help system, do the following:
Open the Start menu and then click or tap Get Started to get more details.
You can also enter Get Started or what you're looking for in the search box on the taskbar. You'll get suggestions and answers to your questions about Windows and the best search results available from your PC and the Internet.
To perform system recovery after a serious error in Windows 10, click or tap the Start button and select Settings → Update & security → Recovery.
Then, follow the instructions on the screen for system recovery.
ATTENTION: The Windows operating system is provided by Microsoft Corporation. Please use it in accordance with the END USER LICENSE AGREEMENT (EULA) between you and Microsoft. For any question related to the operating system, please contact Microsoft directly.
Service and Support information
The following information describes the technical support that is available for your product, during the warranty period or throughout the life of your product. Refer to the Lenovo Limited Warranty for a full explanation of Lenovo warranty terms. See "Lenovo Limited Warranty notice" later in this document for details on accessing the full warranty. If you purchased Lenovo services, refer to the following terms and conditions for detailed information:
- For Lenovo Warranty Service Upgrades or Extensions, go to: http://support.lenovo.com/lwsu
- For Lenovo Accidental Damage Protection Services, go to: http://support.lenovo.com/ladps
- Online technical support is available during the lifetime of a product at: http://www.lenovo.com/support
Accessing other manuals
The Important Product Information Guide has been preloaded onto your computer. To access this guide, do the following:
For models come with Lenovo Companion:
- Open the Start menu and then click or tap Lenovo Companion.
- Click or tap Support → User Guide.
For models without Lenovo Companion:
Open the Start menu and then click or tap Manual to access this guide.
For models without preinstalled operating systems:
Go to the Lenovo Support Web site to access your manuals. See "Downloading manuals" for additional information.
Carrying the computer

Replacing or upgrading hardware
Safety information for replacing CRUs
Do not open your computer or attempt any repairs before reading the "Important safety information" in the Safety, Warranty, Environment, Recycling Information Guide and Important Product Information Guide that was included with your computer.
If you no longer have this copy of the Safety, Warranty, Environment, Recycling Information Guide and Important Product Information Guide, you can obtain one online from the website at http://www.lenovo.com/UserManuals.
Pre-disassembly instructions
Before proceeding with the disassembly procedure, make sure that you do the following:
- Turn off the power to the system and all peripherals.
- Unplug all power and signal cables from the computer.
- Place the system on a flat, stable surface.
CRUs for your computer include:
- keyboard
- mouse
- memory module
- adapter
- hard disk drive
- solid state drive
This part contains instructions for replacing the following parts:
- Hard disk drive (Follow steps:
![]() )
) - Memory module (Follow steps:
![]() )
) - Solid state drive (Follow steps:
![]() )
)
 )
) )
) )
)Replacing or upgrading hardware
Removing the computer cover

Removing the hard disk drive

Replacing a memory module

Replacing the solid state drive

The following information refers to ideacentre AIO 720 machine type:
F0CM [AIO 720-24IKB/Energy Star]
Lenovo, the Lenovo logo and ideacentre are trademarks of Lenovo in the United States, other countries, or both.
Windows is a trademark of the Microsoft group of companies.
Other company, product, or service names may be trademarks or service marks of others.
© Copyright Lenovo 2017. LIMITED AND RESTRICTED RIGHTS NOTICE: If data or software is delivered pursuant to a General Services Administration "GSA" contract, use, reproduction, or disclosure is subject to restrictions set forth in Contract

Documents / Resources
References
Lenovo Support | Drivers, Troubleshooting, Warranty, Repair | Lenovo Support US
Lenovo Support | Drivers, Troubleshooting, Warranty, Repair | Lenovo Support US
Download manual
Here you can download full pdf version of manual, it may contain additional safety instructions, warranty information, FCC rules, etc.
Download Lenovo ideacentre AIO 720 Series - All-in-One PC Quick Start Guide
Advertisement
Thank you! Your question has been received!


Need Assistance?
Do you have a question about the ideacentre AIO 720 Series that isn't answered in the manual? Leave your question here.