
Related Manuals for Defy DBO767-Black


Summary of Contents for Defy DBO767-Black
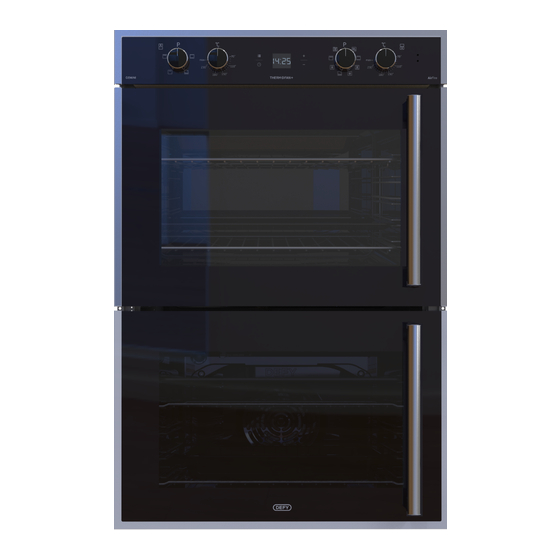
- Page 1 DBO767-Black DBO768-Mirror OVEN GEMINI GOURMET MULTIFUNCTION DOUBLE OVEN Page 1 Cooking Instruction manual Part number: 074248...
-
Page 2: Table Of Contents
Dear Customer, Your new Defy oven was manufactured in a state of the art facility and has passed the strictest quality control procedures. Please read this manual carefully before using your oven for the first time and then store it within easy reach for future reference. -
Page 3: Important Safety Instructions
1. Important safety instructions This section contains safety The manufacturer shall not be • instructions that will help you held responsible for damages avoid risk of injury and damage. arising from procedures carried All warranties will become void if out by unauthorized persons you do not follow these which may also void the instructions. -
Page 4: Appliance Safety
Do not trap the mains cable Never wash down the appliance • • between the oven door and with water! There is the risk of frame and do not route it over electric shock! hot surfaces as the cable The appliance must be •... -
Page 5: Safety When Working With Electricity
Be careful when using alcoholic Use the shelves as described in • • drinks in your dishes. Alcohol “How to operate the electric evaporates at high oven” temperatures and may cause Do not use the appliance if the • fire since it can ignite when it front door glass has been comes into contact with hot removed or is cracked. -
Page 6: Intended Use
Any work on electrical Safety for children • equipment and systems should Electrical appliances are • only be carried out by dangerous to children. Keep authorized and qualified children away from the persons. If the appliance is appliance when it is operating damaged in any way, do not and do not allow them to play use it. -
Page 7: General Information
It is important to place the wire shelf and/or appliance. Accessories may be tray onto the rack properly. Slide the wire purchased from Defy spares. shelf or tray between the 2 rails and make sure that it is properly fitted before placing Roast pan any food on it. -
Page 8: Technical Specifications
Technical Specifications Voltage / frequency 220-240V~ 50 Hz Maximum power consumption 5.06 kW Amperage 22 A External dimensions (height / width / depth) 1090 x 730 x 580 Installation dimensions (height / width / depth) Refer to page 10 Main oven Multifunction oven Energy efficiency class* Inner lamp... -
Page 9: Installation
3. Installation The appliance must be installed by a Do not install the appliance next to qualified person in accordance with the refrigerators or freezers. The heat regulations in force. Installation is the emitted by the appliance will lead to buyer’s responsibility. -
Page 10: Oven Installation
Oven installation Insert the oven into the cupboard. • Open the door to expose the fixing holes in the side trims. • Secure the oven by 4 countersunk screws (fasteners are not supplied). • + _ 3 Note: 100 MIN Allow for a 10 mm gap between the... -
Page 11: Tips For Energy Saving
DANGER: The appliance must be connected to the mains supply only by authorised and qualified persons. The appliances warranty period starts only after correct installation. The manufacturer shall not be held responsible for damages arising from procedures carried out by unauthorised persons. -
Page 12: Initial Use
Initial use First cleaning of the appliance Touch to energise the oven. Surfaces might get damaged by • some detergents or cleaning materials. Do not use Time setting aggressive detergents, cleaning powders/creams or any sharp Touch until flashes. Press +/- keys •... -
Page 13: How To Use The Oven
Select the highest grill power; (See 4. How to use the oven section on how to operate the grill). Operate the grill about 30 minutes. Turn off your grill; (See section on how General information on baking, roasting to operate the grill). and grilling Smoke and smell may emit for DANGER:... -
Page 14: How To Operate The Electric Oven
Fish should be placed on the middle or lower Switching off the electric oven shelf in a heat-resistant plate. Turn the function knob and temperature Tips for grilling knob to off (upper) position. When meat, fish and poultry are grilled, they Rack positions (For models with wire quickly brown, develop a crust and do not shelf) - Page 15 Grilling effect is not as strong as in Full Grill Fan assisted heating • Put small or medium-sized portions in correct shelf position under the grill heater for grilling. • Set the desired temperature. • Turn the food after half of the grilling time. Full grill Warm air heated by the top and bottom heater is evenly distributed throughout the oven rapidly by...
-
Page 16: Using The Oven Clock
To set a cooking duration: Air Fryer mode cooking guide (Please note that this function is applicable SHELF TIME to the bottom oven only). FOOD ITEM MASS °C (MIN) The bottom oven can be programmed to Frozen skinny cut 800g automatically turn off after a set amount of potato chips time. -
Page 17: Activating The Keylock
To deactivate the keylock 6. Select operating mode and temperature >> The oven timer calculates the start-up 1. Touch until symbol appears on time by deducting the cooking duration from display. the end time you have set. The oven » "On" will appear on the display. switches on at the start-up time and operates in the selected mode until the set 2. -
Page 18: Setting The Economy Mode
Alarm time will be displayed. If the 2. Disable economy mode by touching alarm time and cooking time are key. set concurrently, shortest time will » "Off" will be displayed once the key lock is be displayed. deactivated. Setting the screen brightness Changing alarm tone 1. -
Page 19: Cooking Times Table
Rack positions Baking and roasting 1st rack of the oven is the bottom rack. Note: The higher top heat in the new Gemini Oven will necessitate a lower shelf position than previously used in older Gemini models. Cooking times table The timings in the chart below are meant as a guide. -
Page 20: How To Operate The Grill
Tips for baking cake Foods that are not suitable for If the cake is too dry, increase the temperature by 10° grilling create a fire risk. Only C and decrease the cooking time. If the cake is wet, grill food which is suitable for use less liquid or lower the temperature by 10°C. -
Page 21: Maintenance And Care
5. Maintenance and care General information The surface may get damaged by • Clean the appliance thoroughly after each use, some detergents or cleaning materials. making it easier to remove cooking residues and Do not use aggressive detergents, helps prevent these from burning on the next use cleaning powder/cream or any sharp of the appliance. -
Page 22: Replacing The Oven Light Bulb
Oven light The oven light is switched on by the multifunction selector switch and switches off when the knob is returned to 0. Replacing the oven light bulb DANGER: Before replacing the oven lamp, ensure that the appliance is disconnected from mains and cooled down to avoid the risk of an electrical shock. -
Page 23: Branches
• Damage caused by moving the appliance. If you have followed the instructions and still have a problem, contact the nearest Defy Technical Support Centre. They will be able to advise you on any aspect of the product or send a qualified technician to repair it. -
Page 24: Warranty
8. Warranty This certificate is issued by DEFY APPLIANCES (PTY) LTD manufacturers of Defy and Ocean products, hereinafter the Company, to the original purchaser only, of the appliance described on the certificate and shall constitute the only warranty given in respect of this appliance.