Table of Contents
Advertisement
Available languages
Available languages
For product questions contact:
Sunbeam Consumer Service
USA : 1.800.334.0759
Canada : 1.800.667.8623
www.oster.com
©2004 Sunbeam Products, Inc. All rights reserved.
OSTER
®
is a registered trademark of Sunbeam Products, Inc.
In the U.S., distributed by Sunbeam Products, Inc., Boca Raton, FL 33431
In Canada, imported and distributed by Sunbeam Corporation, Limited.
Pour les questions de produit:
Sunbeam Consumer Service
États-Unis : 1.800.334.0759
Canada : 1.800.667.8623
www.oster.com
©2004 Sunbeam Products, Inc. Tous droits réservés.
OSTER
®
est une marque déposée de Sunbeam Products, Inc.
Aux États-Unis, distribué par Sunbeam Products, Inc., Boca Raton, Florida 33431
Au Canada, importé et distribué par Sunbeam Corporation, Limited.
Para preguntas sobre los productos llame:
Sunbeam Consumer Service
EE.UU. : 1.800.334.0759
Canadá : 1.800.667.8623
www.oster.com
©2004 Sunbeam Products, Inc. Todos los derechos reservados.
OSTER
es una marca registrada de Sunbeam Products, Inc.
®
En los EE. UU., distribuido por Sunbeam Products, Inc., Boca Raton, FL 33431
En Canadá, importado y distribuido por Sunbeam Corporation, Limited.
Printed in China
Imprimé en Chine
Manual de Instrucciones
Manuel d'Instructions
MODELS/MODELOS
Visit us at www.oster.com
Impreso en China
2- & 4-Slice Toaster
User Manual
Horno de 2 y 4 Rebanadas
Grille-Pain à 2 & 4 Tranches
6307, 6308, 6309,
6310, 6329, 6330
MODÈLES
P.N. 111320
Advertisement
Table of Contents

Related Manuals for Oster 6307


Summary of Contents for Oster 6307
- Page 1 Imprimé en Chine User Manual Manual de Instrucciones Manuel d’Instructions MODELS/MODELOS MODÈLES Visit us at www.oster.com Impreso en China 2- & 4-Slice Toaster Horno de 2 y 4 Rebanadas Grille-Pain à 2 & 4 Tranches 6307, 6308, 6309, 6310, 6329, 6330...
-
Page 2: Important Safeguards
Please follow the instructions below to ensure the safe use of the power cord. • This toaster has a power cord area that allows you to adjust the length of the cord so that it is the appropriate length for your situation. Try to... -
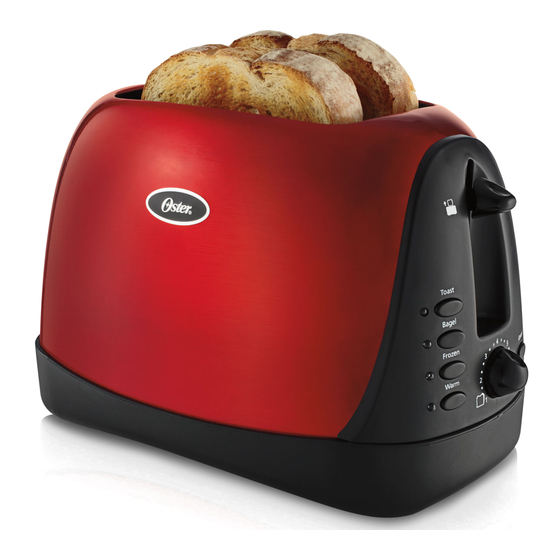
Page 3: Features Of Your Toaster
5. Plug the power cord into 120/127 volt, 60 Hz AC outlet. Adjusting the power cord length 10/11 Your toaster’s cord storage area allows you to adjust the length of the power cord so that it is the exact length you desire. To adjust the length of the power cord: Wrap the power cord around the cord storage posts on the base of the toaster until the cord is the length you desire. -
Page 4: Helpful Tips
After use and before cleaning, unplug the toaster power cord from the power outlet and wait for the toaster to cool. 1. Wipe the outside of the toaster with a damp cloth and then dry it with another cloth or paper towel. Do not use abrasive cleaners; they will damage the toaster’s finish. -
Page 5: Precauciones Importantes
PRECAUCIONES IMPORTANTES Obedezca siempre las precauciones elementales de seguridad cuando vaya a hacer uso de su tostadora, incluyendo las siguientes: LEA TODAS LAS INSTRUCCIONES ANTES DEL USO • Desenchufe la tostadora del tomacorrientes cuando no se encuentre en servicio y antes de limpiarla. •... - Page 6 IENVENIDOS ¡Felicitaciones por su compra de una Tostadora OSTER sobre productos OSTER ® , por favor visítenos en www.oster.com! ARACTERÍSTICAS DE 1. Luz indicadora de Claro/Oscuro 2. Botón e Indicador de Tostado 3. Botón y Piloto para ”Bagels” 4. Botón y Piloto para Congelados 5.
- Page 7 El primer proceso de tostado precalentará los nuevos elementos y quemará cualquier polvo que se haya acumulado durante el almacenamiento o fabricación. Es perfectamente normal que dicho quemado produzca un olor. Su Tostadora OSTER ® ya se encuentra lista para el uso.
-
Page 8: Garantía Limitada De 1 Año
Limpiando Su Tostador Después del uso y antes de la limpieza, desenchufe el cordón de potencia de la tostadora del tomacorrientes y espere a que la tostadora se enfríe. 1. Limpie el exterior de la tostadora con un paño húmedo y luego séquelo con otro paño o papel toalla. -
Page 9: Précautions Importantes
8. Surface Antiadhésive en Haut des Fentes 9. Bouton d’Annulation 10. Manette du Chariot 11. Lève-Rôties NIQUEMENT 12. Ramasse-miettes amovible 13. Range-Cordon 14. Cordon IENVENUE ® ! Pour en savoir plus , veuillez visiter notre site web à www.oster.com. ® OTRE RILLE 10/11 Français-2 10/11... - Page 10 (Elle ne se bloquera que si le Grille-Pain est branché). Ce tout premier grillage à vide réchauffe les éléments et brûle la poussière ayant pu s’accumuler au cours de l’entreposage. L’odeur qui se dégage est tout à fait normale. Votre Grille-Pain OSTER ® est prêt à l’emploi.
- Page 11 1. Abaissez la manette du chariot jusqu’à ce qu’elle se bloque. Les guide-pain autoréglables, centreront automatiquement les tranches pour qu’elles cuisent uniformément. Truc : OSTER a conçu ce Grille-Pain pour qu’il fournisse le grillage optimal. ® Il est possible – et normal – que certaines parties des éléments rougeoient plus vivement que d’autres au cours du fonctionnement.
-
Page 12: Entretien Du Grille-Pain
Entretien du Grille-Pain Débranchez le Grille-Pain en fin d’utilisation et avant le nettoyage ; attendez qu’il ait refroidi pour le nettoyer. 1. Essuyez l’extérieur de votre Grille-Pain avec un linge humide puis asséchez-le à l’aide d’un linge sec ou d’un essuie-tout. Ne vous servez pas de nettoyants abrasifs, ils abîmeraient irrémédiablement le fini.