Table of Contents
Advertisement
Quick Links
Microsoft Ergonomic Keyboard 2020 - Teardown
Contents
The Keyboard .......................................................................................................................................... 2
Introduction ........................................................................................................................................ 3
Tools needed for teardown ................................................................................................................ 3
Warnings ............................................................................................................................................. 3
Guide - To remove the keys (for cleaning up spills or full dis-assembly) ................................................ 4
Guide - To teardown the keyboard ......................................................................................................... 6
Step 1 Remove rubber feet ................................................................................................................. 6
Step 2 Remove screws from back ....................................................................................................... 6
Step 3 Remove the wrist padding ....................................................................................................... 7
Step 4 Remove screws under wrist pad and under keys .................................................................... 8
Remove the top panel ....................................................................................................................... 10
Reassembly ........................................................................................................................................... 10
Advertisement
Table of Contents

Related Manuals for Microsoft 2020


Summary of Contents for Microsoft 2020
-
Page 1: Table Of Contents
Microsoft Ergonomic Keyboard 2020 – Teardown Contents The Keyboard ............................2 Introduction ............................3 Tools needed for teardown ........................ 3 Warnings ............................. 3 Guide - To remove the keys (for cleaning up spills or full dis-assembly) ..........4 Guide - To teardown the keyboard ......................6 Step 1 Remove rubber feet ......................... -
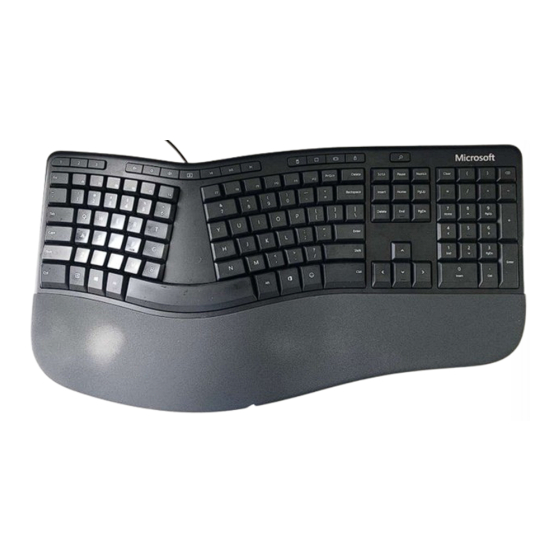
Page 2: The Keyboard
The Keyboard 2020 Microsoft Ergonomic Keyboard (Wired) Front Back... -
Page 3: Introduction
Introduction I spilled water on my keyboard and opened it up to clean it, luckily no damage. This 2020 keyboard is designed spill proof so any spills can be cleaned up by removing the keys only. As I turned my keyboard over the water leaked into the bottom section so I opened it up to remove all the fluid. -
Page 4: Guide - To Remove The Keys (For Cleaning Up Spills Or Full Dis-Assembly)
Guide - To remove the keys (for cleaning up spills or full dis-assembly) The design is spill-proof, meaning any spills on the keys will not leak into the lower section. Small spills can be cleaned up by removing the keys by sucking out or sponging out the spilled fluid. Removing the keys: The small keys have small plastic clips that hold them down, and can be easily popped off using a angled small plastic spudger (mine’s from a car trim removal set) and using your other hand to... - Page 5 The larger keys sometimes have a spring attached, so you need to be careful to pry open the side that does not have the spring clip (the springs were on the right side of my model). Careully pry open the left side, slowly open the key to the right side and lift the key upwards so the spring remains on the keyboard.
-
Page 6: Guide - To Teardown The Keyboard
Guide - To teardown the keyboard To clean up spills, assuming you have not flipped the keyboard over after the spill, then you can clean up the spill by removing the keys only (see section on key removal). Instructions below are for full disassembly. -
Page 7: Step 3 Remove The Wrist Padding
Step 3 Remove the wrist padding (Note, previous step to remove the screws from the back of the keyboard must be done first). Removing the pad is moderately difficult and needs quite a bit of force as the pad is held down by a lot of tight clips and you may end up breaking a few. -
Page 8: Step 4 Remove Screws Under Wrist Pad And Under Keys
Step 4 Remove screws under wrist pad and under keys With the wrist pad removed, the bottom screws are exposed, however, these are not all the screws as there are more hidden beneath the keys. Remove the screws exposed by the wrist pad Remove the screws hidden under the keys Next, the screws under the keys. - Page 9 The screws are covered by a black sticker, these can be removed with a small screwdriver or sharp knife. Remove the stickers and remove the screws.
-
Page 10: Remove The Top Panel
Remove the top panel Once you’ve removed all the screws the top panel can come off relatively easily using a spudger to pry it loose and a bit of jiggling. There are no clips holding this down. Be careful lifting the top panel to ensure it does not pull the white keyboard layout up with it.