Epson PowerLite S3 Quick Setup Manual
V11h179020 multimedia projector
Hide thumbs
Also See for PowerLite S3:
- User manual (83 pages) ,
- Product information (15 pages) ,
- Specifications (2 pages)
Advertisement
Quick Links
Download this manual
See also:
User Manual
Advertisement

Related Manuals for Epson PowerLite S3


Summary of Contents for Epson PowerLite S3
-
Page 1: Quick Setup
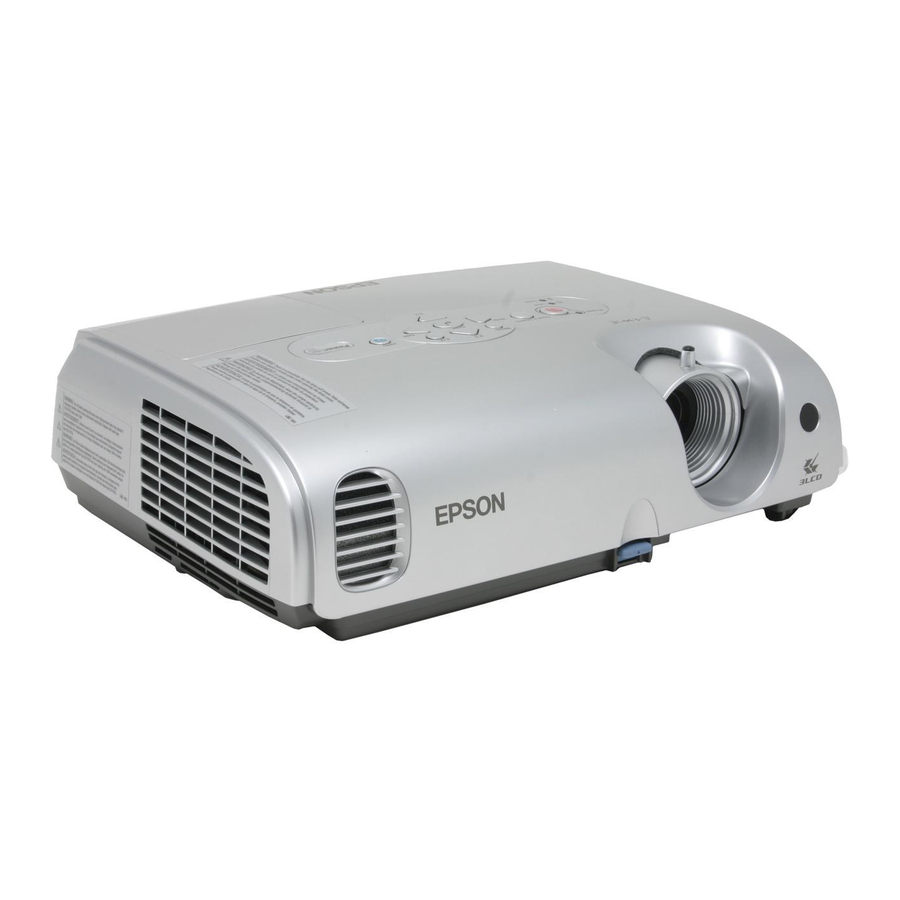
Epson ® Quick Setup Unpack the projector You should have the following items: Projector Projector remote control User’s Guide CD-ROM NOTE The carrying case may be different from the one shown in the illustration. PowerLite Power cord Password protect sticker ®... -
Page 2: Set Up The Remote Control
The projector has 3 video connectors, as shown below. Each one requires a different type of cable. A computer cable is included. You can purchase optional video cables through Epson or at local electronics stores. You can connect up to 3 video devices and use the remote control to switch among them. -
Page 3: Choosing A Location
Choosing a location The projector supports 4 viewing setups. Choose the best one for your environment. If you install the projector in a rear or overhead position, you’ll need to choose the correct projection option, identified below, from the Extended menu. See the User’s Guide on your CD-ROM for instructions. -
Page 4: Plug In And Turn On
Plug in and turn on Press in the tabs and remove the lens cover. Connect the power cord to the projector and plug the other end into an electrical outlet. power light turns orange. If you are connecting a device other than a computer, turn on your equipment. -
Page 5: Adjust The Image
Install your User’s Guide and register your projector Insert the CD-ROM in your drive. If the installer doesn’t open automatically, double-click the Epson CD-ROM icon, then double-click the Epson installer icon. Choose English, then follow the instructions on-screen to register your projector. -
Page 6: Where To Get Help
Select VGA Display or Color LCD, click Arrangement or Arrange, and click Mirror Displays. Epson is a registered trademark of Seiko Epson Corporation. PowerLite and PrivateLine are registered trademarks and Epson Store is a service mark of Epson America, Inc.