Table of Contents
Advertisement
Quick Links
Includes:
INS7005 INSPEKTOR
INS8007 INSPEKTOR
INS8008 INSPEKTOR
INS8009 INSPEKTOR
INS2001 INSPEKTOR
INS2002 INSPEKTOR
INS2003 INSPEKTOR
INSPEKTOR
1
CTC Digital Borescope System
CTC Controller Box
®
CT Standard 1.9mm x 1.8-meter Borescope
®
CT Mini 1.2mm x 1.0-meter Borescope
®
®
CT Borescope 1.9mm x 1.0-meter Borescope
CT Digital Borescope 1.9mm x 1.8-meter Replacement
®
CT Digital Borescope 1.2mm x 1.0-meter Replacement
®
CT Digital Borescope 1.9mm x 1.0-meter Replacement
®
INSPEKTOR
®
CTC Flexible Borescope System
CTC Controller
®
(INS7005)
INSPEKTOR
CT Borescope
®
(Prod. #8007)
1.9 mm x 1.8 meters
Advertisement
Table of Contents

Summary of Contents for NCI INSPEKTOR CTC INS7005
- Page 1 CTC Digital Borescope System Includes: INS7005 INSPEKTOR CTC Controller Box ® INS8007 INSPEKTOR CT Standard 1.9mm x 1.8-meter Borescope ® INS8008 INSPEKTOR CT Mini 1.2mm x 1.0-meter Borescope ® INS8009 INSPEKTOR ® CT Borescope 1.9mm x 1.0-meter Borescope INS2001 INSPEKTOR CT Digital Borescope 1.9mm x 1.8-meter Replacement ®...
- Page 2 INSPEKTOR ® CT Mini Borescope INSPEKTOR CT Borescope ® (Prod. # 8008) (Prod. #8009) 1.2 mm x 1.0 meter 1.9 mm x 1.0 meter...
-
Page 3: Table Of Contents
Mounting Instructions Page 11-12 Software Installation Environmental Condition & Power Requirements Page 12 Warranty Page 13 NCI Address The following instructions for use are applicable to the INSPEKTOR CTC DUO Flexible Borescope ® Systems. Including Models: INS7002, INS7003 and INS7005... -
Page 4: Intended Use
Intended Use The INSPEKTOR CTC Digital Borescope Systems are waterproof and are ® patented and designed to work in wet and dry environments. They are used to provide visualization of working channels and lumens in surgical instruments and endoscopes larger than 1.2 mm. The systems allow the technician to inspect the lumens during and after the cleaning process to visually confirm that they are void of foreign material. -
Page 5: Product Description
obstacle could result in damage to the device. If the INSPEKTOR ® Borescope requires significant push force, observe the monitor and attempt to avoid the obstacle by manipulating the flexible scope. 10. Avoid rubbing the scope against sharp edges. This can cause damage to the device. -
Page 6: Inspection Of The Inspektor Ct Borescope
Caution: Turn off the INSPEKTOR CTC DUO Monitor when unplugging either INSPEKTOR borescope or when plugging in a borescope. Turn the monitor on again after exchanging the borescope. Warning Do not submerse the INSPEKTOR ® CTC Box in any fluid. Inspection of the INSPEKTOR CT Borescope ®... - Page 7 reprocessing area. The INSPEKTOR ® CT Borescope should be cleaned in the manner described below to prevent cross contamination of instruments or endoscopes with foreign debris or bioburden. Note: It is recommended that the INSPEKTOR ® CT Borescopes should be quickly wiped between each individual instrument inspection with a water moistened fiber-free cloth to remove any adherent foreign debris.
- Page 8 The INSPEKTOR ® CT Borescope may be sterilized once per month. Compatible Sterilization Methods for the INSPEKTOR ® CT (see below). Cleaning – Clean Side (Pack and Prep) Clean and Disinfection – Begin by cleaning the INSPEKTOR CT ® Borescope fiber.
- Page 9 Caution: If the INSPEKTOR ® CT Borescope is disconnected from the INSPEKTOR ®...
- Page 10 ® Monitor, the INSPEKTOR CT Borescope protective cap must be placed securely on the proximal electronic end of the connector prior to wiping or submersing the INSPEKTOR ® CT Borescope. This is accomplished by lining up the red dots on the connector and the connector cap and pushing until they click together.
-
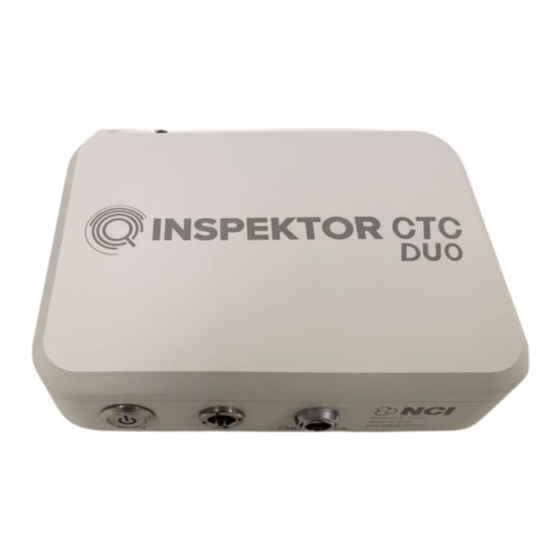
Page 11: Inspektor® Ctc System Set Up
INSPEKTOR ® CTC System Set Up When using the INSPEKTOR CTC System around a wet field, the INSPEKTOR ® CTC must be plugged into a Ground Fault Interrupter (GFI electrical outlet) Push the button to turn the Camera on Camera On/Off Button or off. - Page 12 Remove protective cap, connect supplied HDMI cable HDMI Connection to a monitor with an HDMI input. Allows connection to a computer to capture video and USB micro-B photos if needed. When not in use, always have the 1.2m port USB protective cap installed. Connect to any 120V and 60Hz AC outlet.
-
Page 13: Mounting Instructions
Mounting Instructions Mounting the INSPEKTOR Monitor (product 7005) onto the Wall ® Mount (product 6005): ► Remove the four screws on the posterior of the INSPEKTOR ® CTC Box ► ® Place the Wall Mount on the back and secure it to the INSPEKTOR CTC Box with the four screws in their respective screw holes (follow the Wall Mount Instructions). -
Page 14: Warranty
NCI Inc. at its option, will either repair or replace any components found to be defective or at variance from manufacturer’s specifications within this time at no cost to the purchaser. - Page 15 ® Sterrad and Cidex - are registered trademarks of Advanced Sterilization Products ® ® NCI, an LLC of Thomas Scientific 7125 Northland Terrace N Suite 100 Brooklyn Park, MN 55428 INSPEKTOR - is a registered trademark of NCI, Inc. ®...