Advertisement
Quick Links
Contents
•
1 Introduction
•
2 Hardware Specifications
•
3 Installation
•
4 Upgrading/Downgrading
DD-WRT
•
5 Recovery
•
6 GPIO
•
7 VLAN Detached networks
♦
7.1 Detaching the
SFP+ port
Introduction
Hardware Specifications
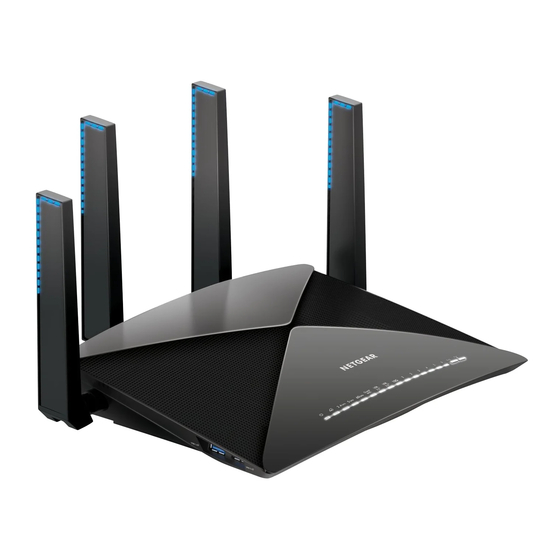
See Netgear R9000 on wikidevi
This router can handle top VPN speeds, as of 2019.
Please note, Wireless-AD (60GHz) support is untested at this time, 2019.
10g interface- supported SFP hardware info:
https://forum.dd-wrt.com/phpBB2/viewtopic.php?p=1230130#1230130
Installation
Download and flash the factory-to-ddwrt.img file:
1.
Authenticate to the router. The original Netgear firmware defaults to IP address 192.168.1.1,
username "admin" and password "password"
2.
Go to the Administration page - then Upgrade (or something similar).
3.
You will see a notice about the file you uploaded being older than the firmware currently on the
router. Click Yes to proceed.
4.
The router will flash DD-WRT. Wait a few minutes (5 min to be safe).
Try logging into DD-WRT at http://192.168.1.1. You should see a screen asking you to create a username and
password.
Contents
Netgear_R9000
1
Advertisement

Summary of Contents for NETGEAR R9000
- Page 1 Installation Download and flash the factory-to-ddwrt.img file: Authenticate to the router. The original Netgear firmware defaults to IP address 192.168.1.1, username "admin" and password "password" Go to the Administration page - then Upgrade (or something similar). You will see a notice about the file you uploaded being older than the firmware currently on the router.
- Page 2 If you want to go back to stock: All you need to do is TFTP the stock firmware back onto the router. Make sure to factory reset dd-wrt on the admin>factory defaults tab. Grab the latest Firmware file from Netgear: https://www.netgear.com/support/product/R9000.aspx#download...
-
Page 3: Gpio Led's
Putting any of the 6 ethernet ports on a separate detached VLAN network is complicated by the fact that there are two internal hardware switches used by R9000 for routing traffic. Creating additional Vlan's on the R9000, right now, has not yet been "figured out" for the 6 ehternet ports. - Page 4 Netgear_R9000 Detaching the SFP+ port To create a 10 gb/sec VLAN, start by setting up the SFP+ port as you would any VAP by navigating to Setup > Networking: Next, under the Port Setup heading, locate the group box called Network Configuration eth0 and unbridge the interface by selecting the Unbridged radio button assigned to Bridge Assignment.
- Page 5 Netgear_R9000 Optionally, you can force DNS redirection if you want the devices on that VLAN to be forced into using a preferred DNS server choice by enabling the Forced DNS Redirection option and entering the DNS server IP in the Optional DNS Target text boxes. Stop here and click Save and Apply Settings at the bottom of the page, in that order.
- Page 6 Also note that the SFP+ modules do get hot. I would change the fan threshold parameters to make sure that your R9000 fans stay on 24/7. They aren't loud and could help keep mobo and CPU speeds in check during the incoming summer months while transferring files at 10 gb/sec in your new VLAN.


