Advertisement
Quick Links
PLEASE - BEFORE RETURNING TO STORE:
Contact Huff y Customer Service.
with any parts or assembly problems you might have!
For Fast Customer Service and email:
www.huff ybikes.com/contact
OR TEL: 1 800 872 2453 (US)
[ CANADA ]
PLEASE - BEFORE RETURNING TO STORE:
Contact Huff y Customer Service.
We are glad to assist you with any parts or assembly problems you might have!
AVANT DE RETOURNER AU MAGASIN :
Communiquez avec le service à la clientèle de Huff y.
volontiers avec tout problème concernant les pièces ou le montage!
For fast customer service in Canada / Pour un service à la clientèle rapide au Canada :
Call / Appelez : 1-800-872-2453
Or Email / Ou Courriel :
Or visit / Ou visitez : :
www.huff ybikes.com/global-contacts
[ MÉXICO ]
ANTES DE DEVOLVER EL PRODUCTO A LA TIENDA:
Comuníquese Con Servicio Al Cliente De Huff y.
Cualquier Parte O Problema De Ensamblado Que Pudiera Tener.
Para obtener Servicio al cliente rápido, visite:
www.huff ybikes.com.mx
Contáctanos por WhatsApp al 222 422 4955
Visita nuestra página de Facebook Huff yMexico
For ASSEMBLY Help:
Aide à l'ASSEMBLAGE :
Ayuda de la ASAMBLEA:
https://www.huff ybikes.
com/global-contacts/
[ USA ]
We are glad to assist you
To Order Parts:
www.huff ybikes.com/parts
Nous vous aiderons
huff ycanada@huff y.com
Nos Complace Ayudarlo Con
O LLAME AL TEL:
800 1 HUFFY 1 (800 1 48339 1)
(Mexico only)
Para comunicarse por correo electrónico:
servicio.mexico@huff y.com
Please REGISTER your Product:
Veuillez ENREGISTRER l'article :
Por favor, REGISTRE su producto:
for current contact information /
pour les informations de contact
actuelles / para obtener la
información de contacto actual
Date Code Label
Date Code Label
EN
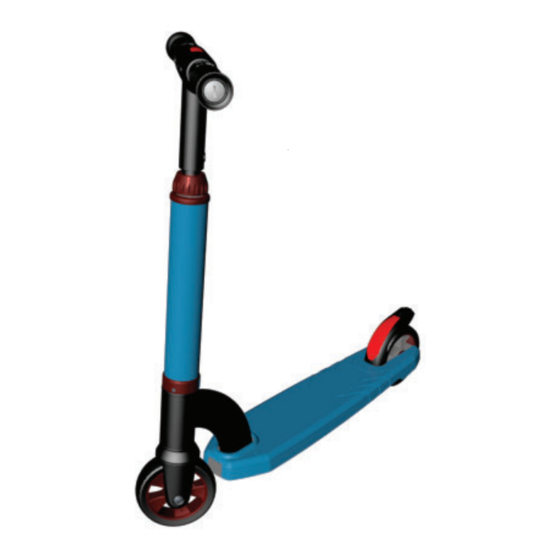
* Styles and
Accessories
may vary
This manual contains important safety assembly o
This manual contains important safety, assembly, operation
and maintenance information.
Please read and fully understand this manual before
operation.
Save this manual for future reference.
Always wear approved helmet and safety equipment when
using this product.
See back page for Customer Service Information
Here
Here
In-Line LED Scoote
In-Line LED Scooters
Owner's Ma
Owner's Manual
(100 - 145 mm)
(100 - 145 mm)
Advertisement

Related Manuals for Huffy In-Line LED Scooters


Summary of Contents for Huffy In-Line LED Scooters
- Page 1 Nos Complace Ayudarlo Con Cualquier Parte O Problema De Ensamblado Que Pudiera Tener. O LLAME AL TEL: Para obtener Servicio al cliente rápido, visite: 800 1 HUFFY 1 (800 1 48339 1) www.huff ybikes.com.mx (Mexico only) Contáctanos por WhatsApp al 222 422 4955 Para comunicarse por correo electrónico:...
- Page 2 Index Limited Warranty - US General: • Modifi ed with the addition of a motor • Ridden by more than one person at a time Part or model specifi cations are subject to change ENGLISH • Rented, sold, or given away without notice.
- Page 3 Parts Assembly Description Description Handlebar T-Handle w/hardware Front Wheel/hardware Lock Collar Stem LED light tube LED Grip End assembly (x3 LR41 (AG3) Fork Assembly w/hardware Battery door/Battery (3xAAA) 10 Bushing Rear Fender/Brake 11 Steer Tube Assembly Rear Wheel/hardware 12 Allen Wrench...
- Page 4 Safety and Warning Information Maintenance This product, like all wheeled vehicles, will provide safe, enjoyable transportation and The scooter should be checked periodically for any loose, broken, or worn parts. Tighten any recreation when used and maintained properly. Like bicycling, skateboarding, and in-line parts that are loose, and replace any worn or broken parts immediately.
- Page 5 Safety and Warning Information - continued Operating and Braking RIDING: The scooter is operated by placing one • Do not push or pull a child riding on the product. foot on the deck and pushing with the other • Use with caution, since skill is required to avoid falls or collisions causing injury to the user foot.
- Page 6 Assembly LED Deck and Batteries Battery Replacement (Turn front wheel to the side as shown): 1. Loosen the battery compartment cover Screws and remove the Cover 2. Insert/Replace Batteries (3 - AAA) in the same position and orientation as originals. 3.
- Page 7 Assembly Assembly MODELS WITH UNASSEMBLED FRONT WHEEL: Remove Shoulder Screws if pre- installed. Place Front Wheel into Fork so that axle holes line up. Install Shoulder Screws fully and securely. Tools Needed: Metric Accessories (various models) STEP 1. Carefully start Threaded Collar onto Threads STEP...
- Page 8 Assembly Assembly STEP - ADJUSTING HANDLEBAR HEIGHT: Light Tube shown removed for clarity. 1. Begin by loosening Lock Collar several turns. 2. Adjust Handlebar height by pushing down Adjust Button on top of Handlebar. 3. Hold down Adjust Button and move Handlebar up or down so that Lock Pin snaps into...