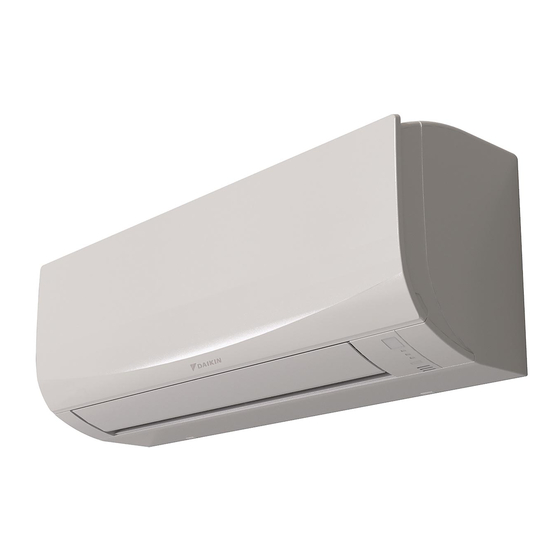
Daikin FTXF20E5V1B Installation Manual
Hide thumbs
Also See for FTXF20E5V1B:
- Installer's reference manual (56 pages) ,
- Operation manual (16 pages)

Related Manuals for Daikin FTXF20E5V1B


Summary of Contents for Daikin FTXF20E5V1B
-
Page 1: Table Of Contents
Installation manual Daikin room air conditioner FTXF20E5V1B FTXF25E5V1B Installation manual FTXF35E5V1B English Daikin room air conditioner FTXF42E5V1B... - Page 2 3P516375-21V...
- Page 3 4P711164-1...
-
Page 4: Table Of Contents
Daikin website (publicly accessible). To pass the pipes through the wall hole........13 ▪ The full set of latest technical data is available on the Daikin To fix the unit on the mounting plate ......... 13 Business Portal (authentication required). - Page 5 ▪ Use flare nuts that are included with the unit. Using different flare nuts may cause refrigerant gas leakage. CAUTION Do NOT open the valves before flaring is complete. This would cause refrigerant gas leakage. FTXF20~42E5V1B Installation manual Daikin room air conditioner 3P650253-7H – 2022.10...
-
Page 6: About The Box
–15°C. ▪ Make sure that the system is earthed properly. ▪ Turn OFF the power supply before servicing. ▪ Install the switch box cover before turning ON the power supply. Installation manual FTXF20~42E5V1B Daikin room air conditioner 3P650253-7H – 2022.10... -
Page 7: Operation Range
3 Disconnect the front panel shaft on the other side in the same manner. WARNING Make sure installation, servicing, maintenance and repair comply with instructions from Daikin and with applicable legislation and are executed ONLY by authorised persons. FTXF20~42E5V1B Installation manual Daikin room air conditioner 3P650253-7H –... -
Page 8: To Re-Install The Front Panel
1 Install the front grille and firmly engage the 3 upper hooks. 2 Install 2 screws back on the front grille. 3 Install the air filter and then mount the front panel. Installation manual FTXF20~42E5V1B Daikin room air conditioner 3P650253-7H – 2022.10... -
Page 9: To Drill A Wall Hole
▪ Ridgid polyvinyl chloride pipe. When connecting a ridgid polyvinyl chloride pipe (nominal Ø13 mm) directly to the drain hose as with embedded piping work, use a field supplied drain socket (nominal Ø13 mm). FTXF20~42E5V1B Installation manual Daikin room air conditioner 3P650253-7H – 2022.10... -
Page 10: Piping Installation
3 Insert the drain hose on the left side and do not forget to tighten it with the fixing screw; otherwise water leakage may occur. Class L1 liquid piping L1 gas piping 20~42 Ø6.4 Ø9.5 Installation manual FTXF20~42E5V1B Daikin room air conditioner 3P650253-7H – 2022.10... -
Page 11: Refrigerant Piping Insulation
200 kPa (2 bar). It is recommended to pressurize to 3000 kPa (30 bar) in order to detect small leaks. 2 Check for leaks by applying the bubble test solution to all connections. FTXF20~42E5V1B Installation manual Daikin room air conditioner 3P650253-7H – 2022.10... -
Page 12: To Perform Vacuum Drying
2 Open the front panel, and then the service cover. Refer to the Installer reference guide for opening procedure. For location of installer reference guide refer "1 About documentation" [ 4 4]. Installation manual FTXF20~42E5V1B Daikin room air conditioner 3P650253-7H – 2022.10... -
Page 13: Finishing The Indoor Unit Installation
1 Shape the refrigerant pipes along the pipe path marking on the 2 user interfaces can be set. mounting plate. 1 Remove the batteries from the user interface. 2 Cut the address jumper. FTXF20~42E5V1B Installation manual Daikin room air conditioner 3P650253-7H – 2022.10... -
Page 14: Commissioning
After cutting with nippers There are NO refrigerant leaks. The correct pipe size is installed and the pipes are properly insulated. Installation manual FTXF20~42E5V1B Daikin room air conditioner 3P650253-7H – 2022.10... -
Page 15: To Perform A Test Run
MUST comply with applicable legislation. Units MUST be treated at a specialised treatment facility for reuse, recycling and recovery. FTXF20~42E5V1B Installation manual Daikin room air conditioner 3P650253-7H – 2022.10... -
Page 16: Technical Data
▪ A subset of the latest technical data is available on the regional Harness Daikin website (publicly accessible). H*P, LED*, V*L Pilot lamp, light emitting diode ▪ The full set of latest technical data is available on the Daikin Light emitting diode (service Business Portal (authentication required). monitor green) HIGH VOLTAGE High voltage 12.1... - Page 17 Diode bridge, Insulated-gate bipolar transistor (IGBT) power module Wireless remote controller Terminal Terminal strip (block) Electronic expansion valve coil Y*R, Y*S Reversing solenoid valve coil Ferrite core ZF, Z*F Noise filter FTXF20~42E5V1B Installation manual Daikin room air conditioner 3P650253-7H – 2022.10...
- Page 20 DAIKIN ISITMA VE SOĞUTMA SİSTEMLERİ SAN.TİC. A.Ş. Gülsuyu Mahallesi, Fevzi Çakmak Caddesi, Burçak Sokak, No:20, 34848 Maltepe İSTANBUL / TÜRKİYE Tel: 0216 453 27 00 Faks: 0216 671 06 00 Çağrı Merkezi: 444 999 0 Web: www.daikin.com.tr 3P650253-7H 2022.10 Verantwortung für Energie und Umwelt...