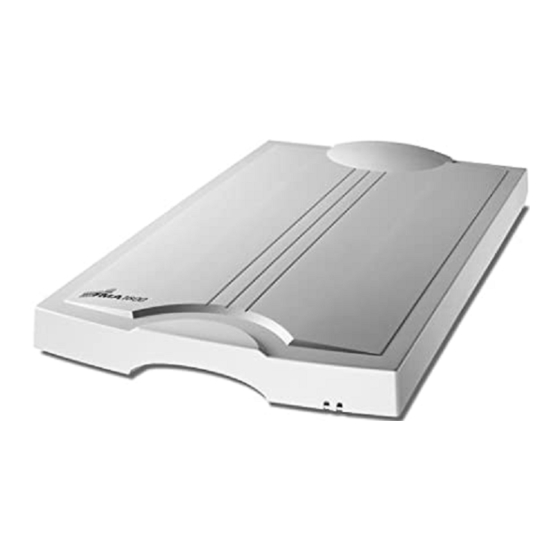

Related Manuals for Microtek TMA 1600


Summary of Contents for Microtek TMA 1600
- Page 2 • Templates (35mm slide, 35mm filmstrip, 6 x 9 cm filmstrip, and 4" x 5" film) • Black plates (one for reflective, one for 6 x 9 cm filmstrip) • Kodak Q-60E1 color target (Transparency) • Documentation- includes Microtek TMA1600 Installing and Getting Started, Unlock card, and other inserts.
- Page 3 : To prevent damage to the TMA1600 moving parts, the TMA1600 carriage is locked into place prior to shipment. You must unlock the carriage before starting to operate the scanner. Failure to do so may damage the TMA1600. To unlock the TMA1600, follow the steps below: 1.
- Page 4 Before you begin using the scanner with the TMA1600, make sure that: • Your scanner is off. (Turn the scanner's power switch to “Off”) • Your scanner is compatible with the TMA1600. • Your scanner has been installed and is working properly. •...
- Page 5 2. Gently lower the TMA1600 down onto the scanner glass surface. 3. Plug the TMA1600's connector into the 15-pin Accessory port at the back panel of the scanner. Secure the connector by tightening the retaining screws. 4. Turn the scanner's power switch to “On,” and wait for the green lights on the scanner and TMA1600's front panel to stop blinking and stay on steady.
- Page 6 When the TMA1600 has been installed successfully, you can scan slides, transparencies, negative film, as well as reflective materials such as photographic or prints. You do not need to remove the TMA1600 to scan reflective materials. To scan various sizes of transparent originals, you will need the correct template that match the film to be scanned together with the black plate.
- Page 7 2. Load the film face down inside the template. The side of the template (which reads “Microtek” logo) should face up. For details on how to load the different sizes of film into the template, refer to other sections of this chapter.
- Page 8 1. Place the template (which the side reads “Microtek” logo should face up) on the scanner glass surface.
- Page 9 The 35mm Filmstrip Template can hold up to two strips at a time. 1. Load the film face down inside the template. Slide the film along the slots of the template until its edge is against the side of the template (indicated by an arrow mark ).
- Page 10 The 6 x 9 cm Filmstrip Template allows you to scan varying sizes of transparencies, including 6 x 4.5 cm, 6 x 6 cm, 6 x 7 cm, and 6 x 9 cm. The maximum number of film that can be loaded depends on the size of your film. (e.g., the 6 x 4.5 cm can hold up to 4 pieces of film, the 6 x 9 cm can hold up to 2 pieces of film) 1.
- Page 11 The 4" x 5" Film Template can hold one piece of 4" x 5" film at a time. 1. Load the film face down inside the template. Slide the film along the slots of the template until its edge is against the inner edge of the template (indicated by an arrow mark ).
- Page 12 The maximum scanning area of X-ray originals is 12" x 16". Follow the steps below to position X-ray originals: 1. Raise the TMA1600, and make sure that nothing is on the scanner glass surface. 2. Place the X-ray original face down on the scanner glass surface. Center the top of the X-ray original along the top ruler on the scanner.
- Page 13 To scan reflective originals, you will need the black plate*. Follow the steps below to position reflective originals: 1. Raise the TMA1600, and make sure that nothing is on the scanner glass surface. 2. Place the reflective original face down on the scanner glass surface. Center the top of the template along the top ruler on the scanner.
- Page 14 Light from the TMA1600 and other ambient light during scanning may result in overexposed images. The black plate is used to shield unwanted light out, ensuring correct exposure and optimal image quality during scanning. 1. The black plate may become dirty over time and with prolonged use. To clean the plate, use a white cotton cloth dipped in some water, and gently wipe the plate surface.
- Page 15 1. Launch ScanWizard Pro from your image editing application. To do this, choose the Import or Acquire command from the File menu of your image editing application, then select ScanWizard Pro. To operate ScanWizard Pro in the stand-alone batch mode in Macintosh systems, go to the Apple menu, and choose the Batch Scan command.
- Page 16 4. Select the Scan Frame tool from the Toolbar in the Preview window, and choose the area to be scanned by dragging a rectangle around it. You will see a flashing frame (marquee) around the selected area. 5. Click the Prescan button to start an overview, and you will see the thumbnail image appear in your Scan Job Queue window.
- Page 17 The Microtek Scanner ICC Profiler (MSP) is a scanner calibration and profiling utility program exclusively designed for Microtek scanners. Used together with the color calibration target, the ICC Profiler determines the color attributes of your scanner accurately, then generates an ICC profile tailored exclusively for the scanner you are using under ScanWizard Pro.
- Page 18 2. Launch the Microtek Scanner ICC calibration program. In Macintosh, locate the Microtek ICC Profile folder, and double-click the ICC Profile icon. In Windows, select the Start menu, Programs, Microtek ScanWizard Pro for Windows, then Microtek Scanner ICC Profiler.
- Page 19 4. Give a file name to save the created ICC profile. For details, refer to the help file of your Scanner ICC Profiler program. 5. When done, click the Close button to exit Scanner ICC Profiler program Once the profile has been produced, follow the steps below to load the profile you just created.
- Page 20 Scanning Modes Color, grayscale, and black & white in a single scanning pass 48-bit color input and output (approx. 281 billion colors) 16-bit grayscale (approx. 65,536 shades of gray) Scanning area Transparent: 12" x 16" (305 x 406 mm) Reflective: 12" x 17" (305 x 431.8 mm) Resolution Optical: 1600 dpi x 3200 dpi Interpolated: 12800 dpi x 12800 dpi...