Advertisement
Quick Links
See pages 3 & 4 of the Owner's Manual for all cautionary warnings.
1. Charger requires 3-prong grounded 120V AC electrical outlet.
2. Keep hands, hair, clothing and jewelry clear of fan blades, belts,
3. Keep the power cord and output cords away from the hood, door
4. Wear safety glasses.
5. Charge battery in a well-ventilated area.
1. If necessary, clean the battery terminals as well as possible. Wear
2. For batteries with removable vent caps, see page 5 of Owner's
1. Attach RED clamp to positive (+)
2. Attach BLACK clamp to negative
3. Then, plug charger into a 120V AC
Get user manuals:
See SafeManuals.com
BATTERY CHARGING
QUICK STEPS
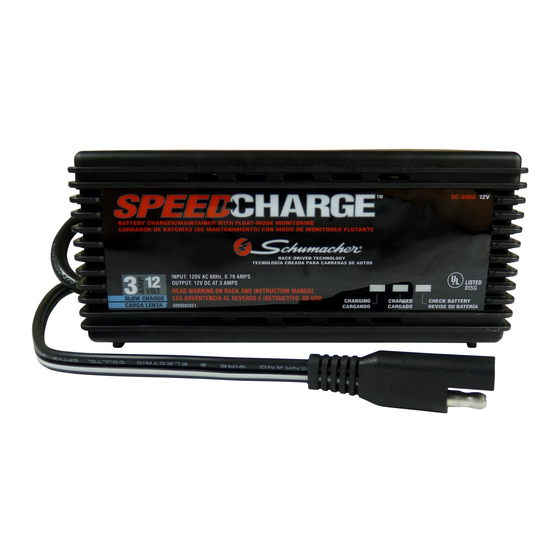
For SpeedCharge
Battery Charger/Maintainer
SAFETY FIRST!
For Safety Warnings, refer to Owner's Manual
Note: A marine (boat) battery installed in a boat
must be removed and charged on shore.
Steps To Take Before Using Your Battery Charger
pulley and other engine parts.
and/or moving engine parts.
Getting Your Battery Ready for Charging
rubber gloves and safety glasses to avoid contact with battery
acid.
Manual for more details.
Connecting Your Battery Charger
battery terminal. Refer to picture.
(Negative Ground System)
(-) ground on an unpainted frame
part or engine block of vehicle.
electrical outlet. Simply reverse
the steps to disconnect.
Model SC-300A
™
00-99-000638/0306
OveR
Advertisement

Summary of Contents for Schumacher Electric SpeedCharge SC-300A
- Page 1 BATTERY CHARGING QUICK STEPS For SpeedCharge Model SC-300A ™ Battery Charger/Maintainer SAFETY FIRST! For Safety Warnings, refer to Owner’s Manual Note: A marine (boat) battery installed in a boat must be removed and charged on shore. Steps To Take Before Using Your Battery Charger See pages 3 &...
- Page 2 Charging Your Battery 1. The amber ChARGING LED will turn on and stay on until the battery is charged. If the ChECK BATTERy LED is on, check for correct cable connections. See page 9 of the Owner’s Manual for more details. 2.


