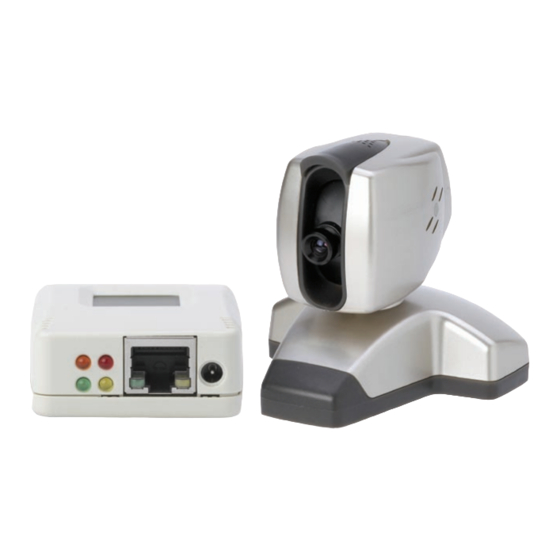
Summary of Contents for Lorex IPSC2230
-
Page 1: Instruction Manual
LOREX MODULE REMOTE ACCESS SETUP GUIDE DLINK DI–624 Instruction Manual English Version1.0 www.lorexcctv.com Copyright © 2005 Strategic Vista International Inc... -
Page 2: Table Of Contents
Step 1: Log into your Router's Administration Server ...4 Step 2: Set up the Static IP address ...5 Step 3: Create Data Path from Internet to Lorex Module...7 Register for Dynamic Domain Name Service (DDNS) ...9 Configure the Lorex Module for DDNS and Password Access ...11 Step 1: Set up the DDNS client...12... -
Page 3: Before You Start
We assume that you already have the camera modules hooked up and working and that you can view video from within your Local Area Network (LAN). If not, please consult the Quick Start guide or the Lorex Manual before you continue with remote access setup. -
Page 4: Configure Your Router To Enable Access From The Internet
Configure your router to enable access from the Internet To view video images remotely across the Internet involves setting up your broadband router, see Figure 1. The example shown here uses the DLink-624 Wireless broadband Router. Step 1: Log into your Router's Administration Server Use a web browser on a computer that is connected to the LAN side of the router to access your broadband router. -
Page 5: Step 2: Set Up The Static Ip Address
'Enabled' radio button. From the DHCP client dropdown list select the entry that corresponds to the Lorex Module and click on the 'clone' button. Click on the Static DHCP 'Enabled' radio button. Then click on the 'Apply' button to save this configuration. -
Page 6: Figure 4: Set Static Ip Address
Ending IP Address). Use the new address in the following setup. If you do re-assign the IP address, remember to also set it in the Lorex Module using the Lorex Utility (see the manual on how to do this). © 2005 Strategic Vista International Inc. -
Page 7: Step 3: Create Data Path From Internet To Lorex Module
Enter the Name (this is your choice) • Enter the Private IP. This must be the same IP address that appears in the LCD of the Lorex Module and/or the static IP set in the previous step. • Set the Protocol Type to 'UDP', •... - Page 8 This will create a data path that the Lorex Player will use to access the video stream and will allow you to view the video images. If you also want to access the Lorex Module using a web browser, then do the following as well:...
-
Page 9: Register For Dynamic Domain Name Service (Ddns)
Register for Dynamic Domain Name Service (DDNS) Why should I register for DDNS Service? Unless you specifically obtain a static external IP address, your broadband Internet address, which is assigned by your service provider, is subject to change on a regular basis. - Page 10 • 12-character MAC number NOTE The MAC address is found on the back label of the IPSC2230 video server MAC (Media Access Control Address) the hardware address that is unique to this product After you select 'Create New Account' you will receive a username and password confimation by e-mail, which you will use in the following steps.
-
Page 11: Configure The Lorex Module For Ddns And Password Access
You will have received an e-mail providing you with the parameters to enter in this part of the setup. The Lorex Module can be configured using the Lorex Utility application or using a web browser. The following description is for the web browser: Bring up a web browser on a PC that is connected to the same LAN as the Lorex Module. -
Page 12: Step 1: Set Up The Ddns Client
The connection that you currently have is suitable for use on a private Local Area Network. If you are concerned that others can get access to your Lorex Module, you must enable password protection as follows: Click on the 'Account Settings' option In the left-hand panel, under 'Basic Settings'. -
Page 13: Figure 9: Account Settings Screen
Select 'Apply’ and close the browser. NOTE The IP Address updates take a few minutes to propagate, so allow about 15 minutes after setting up the Lorex Module's DDNS before attempting to use the system. © 2005 Strategic Vista International Inc. IPSC2230_2260_MANUAL-EN.R1.doc... -
Page 14: Configure The Lorex Player
Configure the Lorex Player The Lorex Player was previously configured for Local Area access by specifying the IP address directly. This section will show you how to set this up so that it can access the video from the Internet as well. -
Page 15: Step 2: Set Up Remote Access From The Internet
In the address field, enter the URL as it is specified in the DDNS setup e-mail. Typically, this will be in the format <MAC>.strategicvista.net. NOTE The MAC address for the IPSC2230 is written on the label of the video server IPSC2230 In the Port field enter '9001'. -
Page 16: Figure 14: Camera Sever Settings
Figure 15: User Name and Password The User Name and Password will be the same as entered in Configure the Lorex Module for DDNS and Password Access, page 11. Click 'Next'. Define the camera, as before, by clicking the 'New' button Click 'Finish'. -
Page 17: Figure 17: Camera Icon
Double-click on the camera icon to start the video. You will be able to view the video as before from anywhere in the world. Figure 17: Camera Icon © 2005 Strategic Vista International Inc. - 17 - IPSC2230_2260_MANUAL-EN.R1.doc... - Page 18 It’s all on the web Product Information User Manuals Quick Start Guides V I S I T w w w . l o r e x c c t v . c o m Strate gic Vista International Inc. Specification Sheets Software Upgrades Firmware Upgrades www.lorexcctv.com...


