Advertisement

Safety instructions

Life-threatening danger from electric shock!
- Should only be installed by a professional electrician!
- To avoid injury, the device should only be connected and installed by a professional electrician.
- Before installing the product, turn off the main power supply.
- Before installing the device, install a circuit breaker (250 V AC, 10 A) type C as specified by EN 60898-1.
- When some types of lamps burn out, it can cause the switch-on current to be high which can permanently damage the detector.
- Follow national regulations and safety instructions.
- All warranties and conditions expire if the device is altered or manipulated in any way.
Follow these instructions to ensure proper and safe functioning of this device.
Information about the device
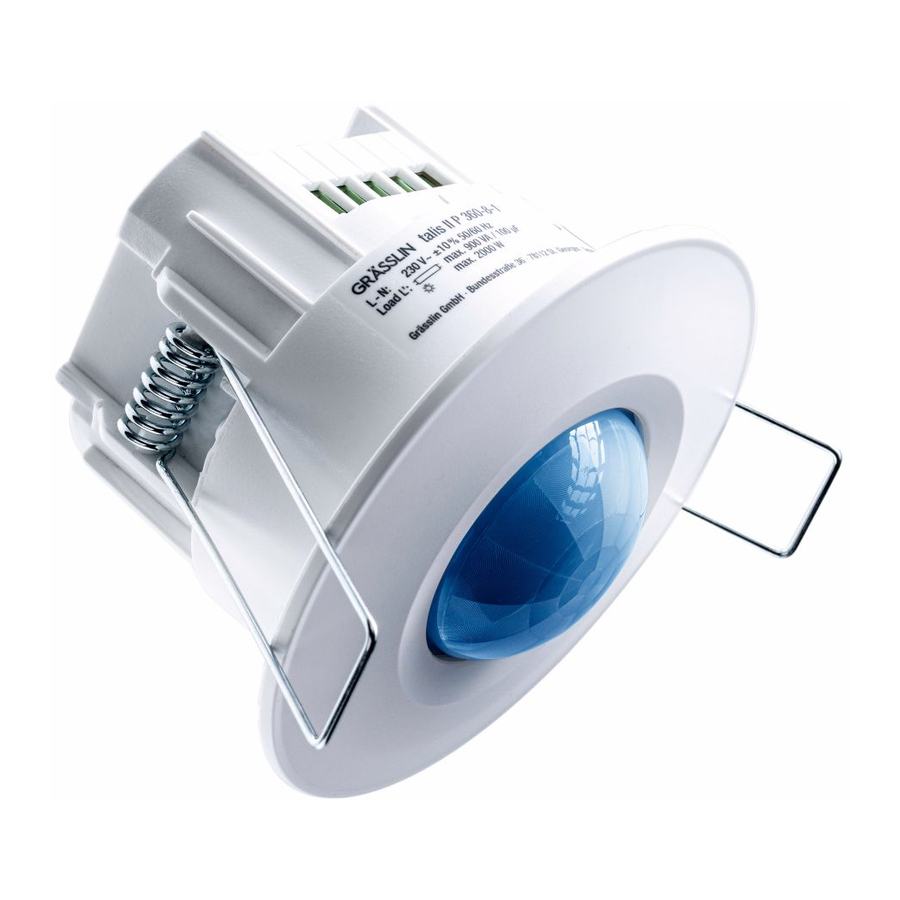
Description
The presence detector uses passive infrared sensors (PIR sensors). It regulates the connected loads according to whether persons are present (movement detection) and according to the ambient brightness. The built-in light sensor continuously measures the strength of daylight and the system compares this against the set lux value.
- The light remains switched on for as long as movement and insufficient daylight are detected.
- After the last movement is detected, the lighting remains switched on for the set run-on time.
- The lighting switches off automatically as soon as sufficient ambient brightness is reached, even if movement is detected during this time.
Intended use
- Suitable for automatic lighting control with presence detection.
- The presence detector can be used inside buildings such as offices, classrooms, working areas or meeting rooms, hotel rooms or sport halls.
- Suitable for ceiling insulation (flush-mounted installation).
Technical data
Dimensions (mm): Ø 80 x 85
Supply voltage: 230 V~ ±10% 50/60 Hz
Switching capacity:
- Incandescent lamp load: max. 2000 W
- Halogen lamp load (AC): max. 1000 W
- Halogen lamp load (LV):
- max. 1000 VA / 600 W (conventional)
- max. 1000 VA / 900 W (electronic)
- Fluorescent lamp load: max. 900 VA / 100 μF
- 25 x (1 x 18 W); 12 x (2 x 18 W);
- 15 x (1 x 36 W); 7 x (2 x 36 W);
- 10 x (1 x 58 W); 5 x (2 x 58 W)
- LED lamp: max. 400 W
- Energy-saving lamp: max. 600 VA / 400 W (incl. CFL and PL lamp)
Energy consumption: < 1 W (in standby mode)
Detection angle: 360°
Detection range: approx. 8 m at an installation height of 2.5 m
Time setting: approx. 5 sec. to 30 min.; ![]() ; Test
; Test
Light level: approx. 10 - ![]() (∞) Lux;
(∞) Lux; ![]() = "teach"
= "teach"
Ambient temperature: 0°C... + 45°C
Protection class: II
Protection type: IP44
Installation and assembly
Dimensions

Location/installation

- Do not install the presence detector close to
- Sources of heat, fan heaters, air conditioning or other devices that can interfere with the sensor).
- Objects with shiny surfaces (such as mirrors)
- Objects that can be moved by the wind (such as curtains, large plants)
- Keep out of direct sunlight.
- The recommended installation height is 2.5 m.
- The distance between the sensor and the seated person should be about 1 m. This ensures the greatest detection reliability.
Connection layout

 Life-threatening danger from electric shock!
Should only be installed by a professional electrician!
FIG. 3A - A lighting device is controlled by a presence detector.
FIG. 3B - The lighting device is turned on for an adjustable time either by the presence detector or the stair timed light switch.
The "TIME" knob needs to be set at ![]() .
.
(a) = button (N.O. type), (b) = lighting device (light), (c) = stair timed light switch
- It may be necessary to use a fuse in the case of noise filters (such as relays, contactors, quenching circuit).
- A maximum of six units can be parallel-connected.
Installation

NOTE: Disconnect the power and secure against being accidentally turned on! For the procedure, see fig. 4.
On-wall mounting

The presence detector can be mounted on the wall using the talis II SM BOX 10 on-wall box.
Adjusting and Setting
Adjusting knobs

Light level LUX (![]() )
)
Use the "LUX" knob to set the level of ambient light.
On TIME (![]() )
)
Use the "TIME" knob to set the length of time after which the lighting device turns off after motion is detected.
Save light level
(![]() mode)
mode)
In order to save a desired light level (10 - 2000 Lux), proceed as follows:
- Set the "LUX" knob to the "
![]() " position when the ambient brightness corresponds to the desired level of light.
" position when the ambient brightness corresponds to the desired level of light. - If the knob is already at the "
![]() " position, turn it to another position (such as "100") for approx. 3 seconds, and then turn it back to the "
" position, turn it to another position (such as "100") for approx. 3 seconds, and then turn it back to the "![]() " position.
" position. - This turns off the connected lighting device.
- The LED on the presence detector starts to flash slowly (training mode active).
- It takes about 25 seconds to save the light level.
- If training has been successful, the lighting device and the LED turn on for 5 seconds, or the LED flashes for 5 seconds and the lighting device is OFF.
- The presence detector switches back to automatic mode (the LED and lighting device are turned off).
More information on our web page: https://www.graesslin.de/en/light-control

Grässlin GmbH
Bundesstraße 36
D-78112 St. Georgen
Germany
Phone: +49 7724 / 933-0
Fax: +49 7724 / 933-240
www.graesslin.de
info@graesslin.de

Documents / Resources
References
![www.graesslin.de]() Lichtsteuerung / Sensorik - Grässlin Zeitschalttechnik GmbH
Lichtsteuerung / Sensorik - Grässlin Zeitschalttechnik GmbH![www.graesslin.de]() Home - Grässlin Zeitschalttechnik GmbH
Home - Grässlin Zeitschalttechnik GmbH![www.graesslin.de]() Lichtsteuerung / Sensorik - Grässlin Zeitschalttechnik GmbH
Lichtsteuerung / Sensorik - Grässlin Zeitschalttechnik GmbH
Download manual
Here you can download full pdf version of manual, it may contain additional safety instructions, warranty information, FCC rules, etc.
Download Grasslin Talis II P 360-8-1 - Presence Detector Manual
Advertisement
Thank you! Your question has been received!

Need Assistance?
Do you have a question about the Grasslin Talis II P 360-8-1 that isn't answered in the manual? Leave your question here.