Omega B2300, B2400, B2500 Blender Manual
- Brochure & specs (4 pages) ,
- Instruction manual (16 pages)
Advertisement
Specifications

Dimensions:
W 9-1/4in x D 8-1/4in x H 22in
W 190mm x D 210mm x H 559mm
Shipping Dimensions:
W14-1/2in x D 12-1/2in x H 22inW
370mm x D 320mm x H 325mm
Shipping Weight:
18 lbs
8.172 kg
Power Requirements:
Volts: 120/240 VAC
Amps: 13/6 A
Hz: 50/60
On Board Circuit Breaker:
120V/10A
Caution & Safeguards
- To protect against risk of electrical shock, do not put motor base in water or other liquid.
- Unplug the power cord from the wall outlet when the unit is notin use, before putting on or taking off parts, and before cleaning other than washing the container.
- Never contact moving parts.
- Do not use outdoors.
- Do not let the power cord hang over edge of table or counter, or touch hot surfaces.
- Keep hands and utensils out of the container while the motor is running to prevent the possibility of severe personal injury and/or damage to the unit. A rubber scraper may be used, but only when the unit is not running.
- The blade is very sharp and requires carefull handling. Never try to remove blade while container is sitting on the motor base. Do not op erate with loose or damaged blades. To reduce the risk of personal in jury, never place blade assembly on motor base without blender container properly attached.
- Always operate with the lid in place.
- NEVER bang the container against a surface to loosen the ingredients. Remove the container from the base and use a rubber spatula to remove thick mixtures from the bottom of your container.
- NEVER shake or rattle a container in use while seated on the motor base.
- NEVER remove the container before the machine has come to a complete stop.
- NEVER start the motor before the container is in place.
- Keep children away when the blender is in use.
The power cord comes equipped with a three-prong (grounding) plug which mates with a standard three-prong wall outlet (Figure A). Please use approved 2 prong adapters (Figure B) when a ground is not available. Do not cut or remove the round grounding prong from the power cord.

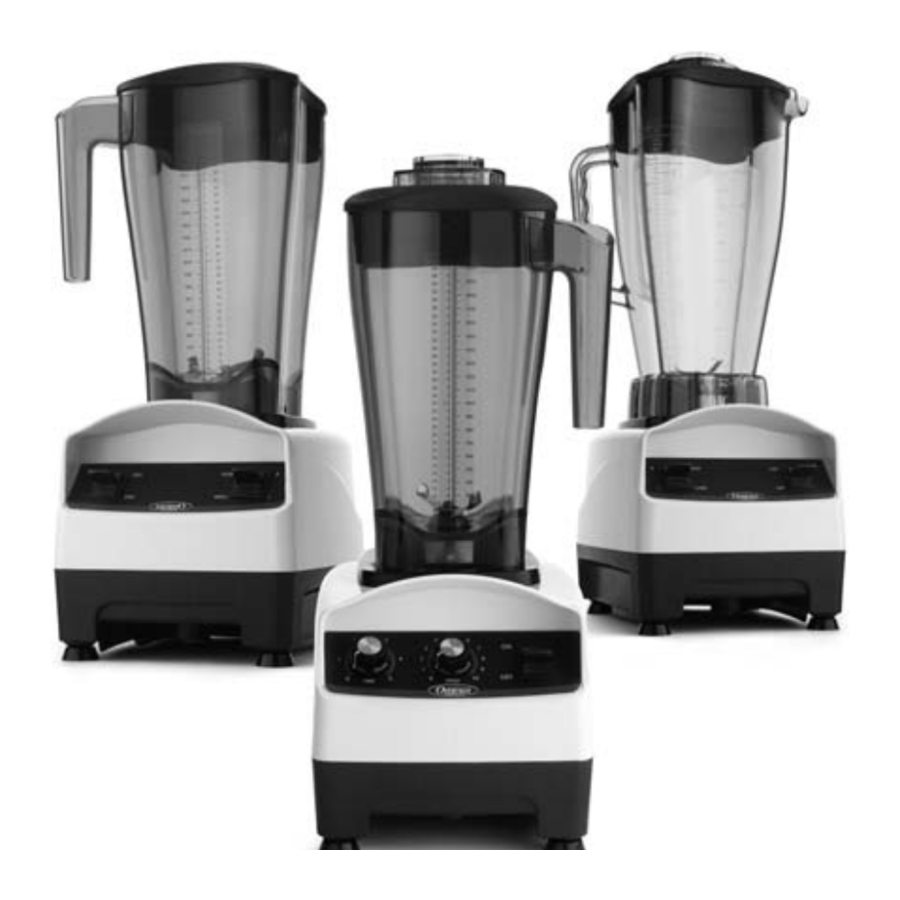
Control Panel Model
| B2300 | B2400 | B2500 |
| High/Low Switch On/Off Switch | On/Off Switch Variable Speed Knob Pulse Switch | On/Off Switch Variable Speed Knob Timer Knob |
Blade Agitator Assembly
Use caution when handling the blade; it is sharp. Use a soft cloth to grab the blade when inserting the blade assembly through the container.
Retainer Nut and Blade Removal
- The retainer nut is easily removed using the disassembling tool (DT). Turn container upside down and insert the disassembling tool on the holes of the nut. Push the tool counterclockwise to loosen nut (Step 1). Once loosened, remove by hand.(Disasembly tool sold separately)
- To release the blade use the other end of the DT while grabbing the gear with backup pliers and turn counterclockwise (Step 2)

Care and Cleaning
Motor Base
- Unplug the power cord.
- Wipe outside surface with a damp soft cloth or sponge, which has been rinsed in a mild solution of liquid dish soap and warm water. NEVER IMMERSE MOTOR BASE IN WATER OR OTHER LIQUID.
- Wipe dry with a clean, soft cloth.
Control Panel
Gently wash the front panel with a soft cloth and low pH balance soap, being careful not to scratch the Display Window.
NOTE: Be sure to wring excess water out of cloth or sponge when cleaning around the controls, drive socket or any electrical part.
Lid
Separate the lid and plug, then wash in warm soapy water. Rinse clean under running water and dry. Reassemble before use.
Container
- To clean: Fill pitcher 1/4 full with warm water and add a couple of drops of dish soap. Return container to motor base and firmly position the two part lid. Run machine for 30 seconds. Empty container. Repeat this step.
Troubleshooting
| Problem | Probable Cause | Probable Solution |
Loud noise from the container |
|
|
Machine starts then shuts off |
|
|
Machine starts then shuts off |
|
|
Parts B2300

| Item# | Part | Description |
| 1 | EJ101-A | Lid plug for 82oz/2500cc (square) |
| EJ101-B | Lid plug for 64oz/2000cc (round) | |
| 2 | EJ102 | Lid for 82oz/2500cc |
| EJ102B | Lid for 64oz/2000cc | |
| 3 | EJ222 | Agitator assembly (cutting unit) |
| 4 | EJ103B-1 | Container 64oz/2000cc |
| EJ103C-1 | Container 82oz/2500cc | |
| 5 | EJ225-S | Heavy duty stainless steel retainer nut |
| 6 | EJ214 | Sound reducing centering pad |
| 7 | EJ202 | Drive socket |
| 8 | EJ204 | Upper housing |
| 9 | EJ219 | Motor rubber washer |
| 10 | EJ220 | Motor |
| 11 | EJ207 | Fan blade |
| 12 | EJ201 | Power supply cord |
| 13 | EJ209 | Rubber feet |
| 14 | EJ206 | Motor cover |
| 15 | EJ205 | Bottom housing |
| 16 | EJ208 | Clamp wire plate |
| 17 | EJ212H | Lbt Pcb |
| 18 | EJ221A | Control plate |
| 20 | EJ210 | On/Off switch |
| 21 | EJ227 | Gasket |
| 22 | EJ104A | Tamper for 64oz/2000cc & 84oz/2500 cc |
| EJ105 | Disassembly tool |
Parts B2400

| Item# | Part | Description |
| 1 | EJ101-A | Lid plug for 82oz/2500cc (square) |
| EJ101-B | Lid plug for 64oz/2000cc (round) | |
| 2 | EJ102 | Lid for 82oz/2500cc |
| EJ102B | Lid for 64oz/2000cc | |
| 3 | EJ222 | Agitator assembly (cutting unit) |
| 4 | EJ103B-1 | Container 64oz/2000cc |
| EJ103C-1 | Container 82oz/2500cc | |
| 5 | EJ225-S | Heavy duty stainless steel retainer nut |
| 6 | EJ214 | Sound reducing centering pad |
| 7 | EJ202 | Drive socket |
| 8 | EJ204 | Upper housing |
| 9 | EJ219 | Motor rubber washer |
| 10 | EJ220 | Motor |
| 11 | EJ207 | Fan blade |
| 12 | EJ201 | Power supply cord |
| 13 | EJ209 | Rubber feet |
| 14 | EJ206 | Motor cover |
| 15 | EJ205 | Bottom housing |
| 16 | EJ208 | Clamp wire plate |
| 17 | EJ212P | Lbt Pcb |
| 19 | EJ221B | Control plate |
| 21 | EJ210-1 | Speed knob |
| 22 | EJ210 | On/Off switch |
| EJ211 | Pulse switch | |
| 23 | EJ227 | Gasket |
| 24 | EJ104A | Tamper for 64oz/2000cc & 82oz/2500cc |
| EJ105 | Disassembly tool |
Parts B2500

| Item# | Part | Description |
| 1 | EJ101-A | Lid plug for 82oz/2500cc (square) |
| EJ101-B | Lid plug for 64oz/2000cc (round) | |
| 2 | EJ102 | Lid for 82oz/2500cc |
| EJ102B | Lid for 64oz/2000cc | |
| 3 | EJ222 | Agitator assembly (cutting unit) |
| 4 | EJ103B-1 | Container 64oz/2000cc |
| EJ103C-1 | Container 82oz/2500cc | |
| 5 | EJ225-S | Heavy duty stainless steel retainer nut |
| 6 | EJ214 | Sound reducing centering pad |
| 7 | EJ202 | Drive socket |
| 8 | EJ204 | Upper housing |
| 9 | EJ219 | Motor rubber washer |
| 10 | EJ220 | Motor |
| 11 | EJ207 | Fan blade |
| 12 | EJ201 | Power supply cord |
| 13 | EJ209 | Rubber feet |
| 14 | EJ206 | Motor cover |
| 15 | EJ205 | Bottom housing |
| 16 | EJ208 | Clamp wire plate |
| 17 | EJ212T | Lbt Pcb |
| 19 | EJ221C | Control Plate |
| 22 | EJ12 | Speed knob |
| 23 | EJ12 | Variable Speed knob |
| 24 | EJ210A | On/Off switch |
| 25 | EJ227 | Gasket |
| 26 | EJ104A | Tamper for 64oz/2000cc & 82oz/2500cc |
| EJ105 | Disassembly tool |
Limited Warranty
Two (2) Year Replacement Domestic
One (1) Year Replacement Commercial
Omega and Asbury Service Warranty & Parts (ASW&P) warrants to the original purchaser of the B2300, B2400 and B2500 and all parts thereof to be free from defects in material and workmanship while under normal use and service for a period of two (2) years from the date of purchase for domestic use and one (1) year form the date of purchase for commercial use. (Warranty registration must be completed and received within 10 days of purchase for warranty activation.) Omega's obligation under this warranty shall be limited to the replacement of the blender base and/or the container assembly. Omega will not be held responsible for spoilage of products, loss of sales or consequential damages. At the time of a warranty claim the customer will be responsible for adequate packaging and the associated shipping charges of the defective product to be delivered to Asbury Service Warranty & Parts service center. ASW&P will cover the cost to replace the defective item including associated shipping costs to return a new replacement product to the customer after satisfactory evaluation of the original. Should the end user require a replacement ahead of the warranty review process the published list price of the item must be secured ahead of shipment. Upon satisfactory evaluation the end user will be credited for the item. In the event a warranty claim is denied, a letter of such will follow. All warranty replacement items are subject to the terms and time limits of the original purchased product. Other conditions and limitations may apply and can be found on the back of the warranty registration card (supplied separately).

Documents / ResourcesDownload manual
Here you can download full pdf version of manual, it may contain additional safety instructions, warranty information, FCC rules, etc.
Advertisement
Thank you! Your question has been received!


Need Assistance?
Do you have a question about the B2300 that isn't answered in the manual? Leave your question here.