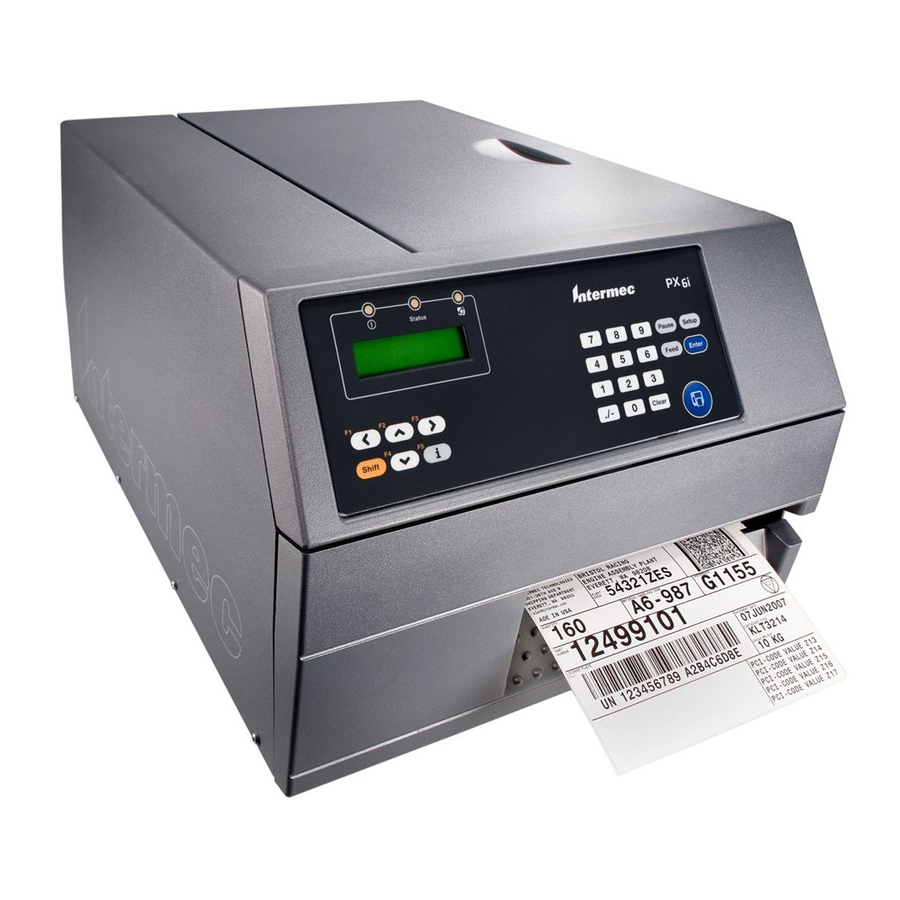
Intermec EasyCoder PX4i Installation Instructions Manual
Hide thumbs
Also See for EasyCoder PX4i:
- Service manual (282 pages) ,
- User manual (204 pages) ,
- Spare parts (48 pages)
Advertisement
Quick Links
Advertisement

Summary of Contents for Intermec EasyCoder PX4i
- Page 1 EasyCoder ® Printer RFID Kit PX4i, PX6i Installation Instructions...
- Page 2 Intermec Technologies Corporation. Information and specifications contained in this document are subject to change without prior notice and do not represent a commitment on the part of Intermec Technologies Corporation. © 2009 by Intermec Technologies Corporation. All rights reserved.
-
Page 3: What You Get
• A PX4i or PX6i printer running Fingerprint v8.76.0 or later or IPL v2.76.0 or later. You can download the latest version of firmware from the Intermec web site at www.intermec.com. • A #T10 and a #T20 Torx screwdriver. •... - Page 4 Installing the RFID Kit The installation described in this section must only be performed by an authorized service technician. Intermec assumes no responsibility for personal injury or damage to the equipment if the installation is performed by an unauthorized person.
- Page 5 2 Remove the eight #T10 Torx screws and remove the left side door. Screw (8 places) 3 Release the lower media guide latch. Lower media guide latch EasyCoder Printer (PX4i and PX6i) RFID Kit Installation Instructions...
- Page 6 4 Carefully remove the lower media guide and upper media guide assembly. Upper and lower media guide assembly 5 Remove the upper media guide from the lower media guide. 6 Route the antenna cable from the RFID lower media guide through the opening in the print engine base.
- Page 7 7 Slide the RFID lower media guide into the printer. Insert the pins on the guide into the holes on the print engine base. RFID lower media guide 8 Snap the RFID lower media guide into place. 9 Insert the upper media guide. 10 On the back of the printer, remove the two screws that secure the cover plate to slot 1 or slot 2, and remove the cover plate.
- Page 8 12 Connect the dual slot I/O cable to the RFID interface board. Use the connector 1 for slot 1 and connector 2 for slot 2. Connector 2 Connector 1 13 Slide the RFID interface board into the printer. 14 Secure the RFID interface board with the two screws you removed in Step 9 or with the two included M3x5 screws.
- Page 9 EasyCoder Printer (PX4i and PX6i) RFID Kit Installation Instructions...
- Page 10 EasyCoder Printer (PX4i and PX6i) RFID Kit Installation Instructions...
- Page 12 Worldwide Headquarters 6001 36th Avenue West Everett, Washington 98203 U.S.A. tel 425.348.2600 fax 425.355.9551 www.intermec.com © 2009 Intermec Technologies Corporation. All rights reserved. EasyCoder Printer (PX4i and PX6i) RFID Kit Installation Instructions *931-060-001* P/N 931-060-001...


