Advertisement
Quick Links
Advertisement

Summary of Contents for Nebula DMS 300-4L
- Page 1 DMS 300-4L Holter ECG Recorder Operator’s Manual...
- Page 2 Table of Contents Page Overview of the Recorder ………………………………………….…….………………….3 Initial Set- Up…………………………………………..…………………………………………...4 The Start/Setting Menu ……………………………………………………………………….8 Removing and Loading the Recorder…………….………………………………..13...
-
Page 3: Recorder
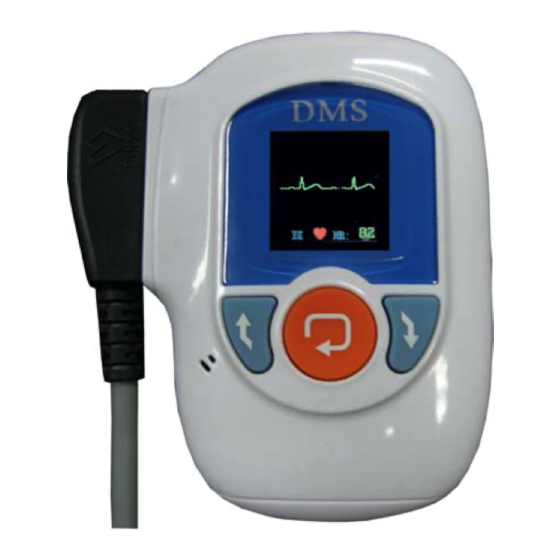
Overview of the DMS 300-4L Holter Recorder Front Rear Screen SD Card (included) ECG Cable (included) Battery Compartment Navigation Buttons Side Bottom Battery Compartment HDMI Port SD Card Slot (for ECG Cable) -
Page 4: Initial Set-Up
Initial Set-Up 1. Please insert a compatible SD card into the recorder as indicated in the picture below. 2. Insert a NEW AAA battery into the recorder. Do not connect any ECG cable at this point. 3. As soon as the battery is inserted, you will see the DMS logo on the LCD screen. - Page 5 This logo will be quickly followed by a message stating “Initializing SD Card”. This indicates that the recorder has recognized the card and has gone through the initial SD card set-up. (Note: If the 300-4L recorder does not detect the presence of an SD card once the battery is inserted, the following error message will be displayed.) (Note: It is very important that a NEW AAA battery is used for each...
- Page 6 4. The recorder will then proceed to display the following message: “Please Insert Patient Cable”. It should be noted that 4-, 5-, 7-, and 10-electrode ECG cables (with HDMI connector) are all compatible with the DMS 300- 4L Holter recorder. 5.
- Page 7 card by removing the card and inserting it into an SD card reader connected to the computer running the CardioScan software. Please refer to the “Removing the Recorder from the Returning Patient and Loading from the Recorder to Your Computer” section below for additional detail.
-
Page 8: The Start/Setting Menu
The Start/Setting Menu 1. As you can see in the picture below, the current recorder settings (On/Off) for “ID_Input”, Respiration (“RESP”), and “Pace Maker” are shown in the Start/Setting screen. These can be changed in the “Setting” menu. The “Lead” input is displayed in yellow. - Page 9 4. Selecting “Start” in the Start/Setting screen will prompt a 10-second countdown “Start Recording” confirmation message. Select “OK” if you are ready to proceed. (Please note that not making any selection in the Start/Setting screen, and allowing the 30- second countdown clock to expire, will have the same effect as selecting “Start”.) 5.
- Page 10 7. Please note that the LCD screen dims after approximately 30 seconds in order to conserve battery life. 8. Pressing the orange “Enter” key at any point will display the patient’s real-time ECG by channel, as well as the patient’s heart rate. The Up and Down arrows can be used to navigate between channels.
- Page 11 11. As pictured below, the recorder will now display various settings selections: “System Setting”, “Time Setting”, “Load Default”, “Version Help”, and “Exit”. Please use the blue Up and Down arrow buttons and orange Enter key to navigate the settings menu. 12.
- Page 12 13. Time Setting: This allows the user to set the appropriate date and time. The 300-4L Holter recorder has an internal time-keeping function regardless of whether a battery is inserted or not. Thus, the user will not have to set the date and time for every patient. It is also important to note that the date and time can be updated automatically using the CardioScan software if the operator chooses to pre-enroll the patient.
-
Page 13: Recorder
Removing the Recorder from the Returning Patient and Loading from the Recorder to Your Computer 1. Upon returning to your office, remove the battery cover from the back of the Holter recorder, and remove the battery. 2. Make sure to discard the battery, since the recorder is designed for one new battery per each recording. - Page 14 reader or cable is connected to the PC. Now click on the “OK” button to load the Holter ECG data. 11. The patient’s data will now be loaded onto the CardioScan program and the software will analyze your data. 12. When the analyzing has finished, you will be prompted, “You may take out the SD card now or disconnect the Holter recorder now”.