Table of Contents
Advertisement
Quick Links
Advertisement
Table of Contents

Summary of Contents for Salton SHC11
- Page 1 INSTRUCTIONS AND WARRANTY MODEL NO. SHC11 SALTON HAIR CLIPPER...
-
Page 2: Important Safeguards
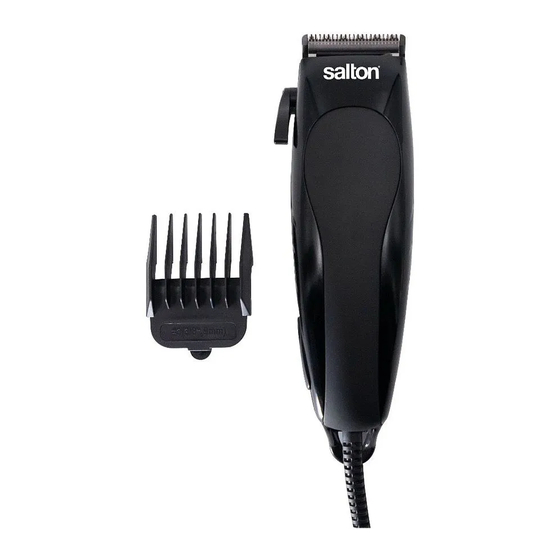
Congratulations on purchasing our Salton Hair Clipper. Each unit is manufactured to ensure safety and reliability. Before using this appliance for the first time, please read the instruction manual carefully and keep it for future reference. FEATURES OF THE SALTON HAIR CLIPPER ... - Page 3 8. Check the power cord and plug regularly for any damage. If the cord or the plug is damaged, it must be replaced by the manufacturer or a qualified person in order to avoid an electrical hazard. 9. Do not use the appliance if it has been dropped or damaged in any way. In case of damage, take the unit in for examination and/or repair by an authorised service agent 10.
-
Page 4: Additional Safeguards
23. Ensure that the switch is in the “Off” position after each use. 24. The manufacturer does not accept responsibility for any damage or injury caused by improper or incorrect use, or for repairs carried out by unauthorised personnel. 25. In case of technical problems, switch off the machine and do not attempt to repair it yourself. - Page 5 Your clippers are carefully examined to ensure that the blades are oiled and aligned at all times. Blades must be realigned if they have been removed for cleaning or replacement. To realign the blades, simply match the upper and bottom blade teeth up, point for point (The end of top blade teeth should be approximately 1.2mm away from the bottom blade).
-
Page 6: Blade Lever
BLADE LEVER The lever is conveniently located near your thumb (if you’re right-handed) so it can easily be adjusted while the clipper is in your hand. The lever adds versatility to your clipper by allowing you to gradually change the closeness of your cut without an attachment comb. - Page 7 If your clipper stops cutting and the above recommendation does not work, your cutting blades are dulled. Replace them with new blades. OPERATING INSTRUCTIONS Before you begin to cut hair: 1. Inspect the clipper, make sure that it is free of oil between the blade teeth and turn the unit on to distribute the oil and to make sure it is running smoothly.
- Page 8 See each combs size on the outside middle surface. To attach a comb, hold it with its teeth upward and slide it onto and along the clipper blade until the front of the comb seats against the clipper blade. ...
- Page 9 STEP 3- SIDE OF THE HEAD Change to one of the shorter combs 3mm or 6mm, trim sideburns, i.e. the hair directly in front of the ears. Then change to one of the longer combs, 9mm or 12mm and continue to cut to the top of the head (see diagram 3).
- Page 10 STEP 5- THE FINISHING TOUCH 1. Finally, use the tape lever without an attachment comp for close trimming around the base of the neck, the sides of the neck and the ears. 2. To produce a clean straight line at the sideburns, reverse the hair clipper by turning the reverse side uppermost (see diagram 7).
-
Page 11: Cleaning And Maintenance
3. To give a ‘flat top’ look, the hair on the top of the head must be cut over the top of a flat comb rather than by using the attachment comb. 4. Use the closer cutting attachment combs to taper the hair down to the decline as desired. -
Page 12: Storing The Appliance
STORING THE APPLIANCE Unplug the unit from the wall outlet and clean all the parts as instructed above. Ensure that all parts are dry before storing. Store the appliance in its box or in a clean, dry place. ... -
Page 13: Changing The Plug
CHANGING THE PLUG Should the need arise to change the fitted plug, follow the instructions below. This unit is designed to operate on the stated current only. Connecting to other power sources may damage the appliance. Connect a three-pin plug as follows: The wires in this mains lead are coloured in accordance with the following code: Green/Yellow = Earth Blue... - Page 14 This will be deducted from any refund paid to the customer. HOME OF LIVING BRANDS (PTY) LTD (JOHANNESBURG) JOHANNESBURG TEL NO. (011) 490-9600 CAPE TOWN TEL NO. (021) 552-5161 DURBAN TEL NO. (031) 792-6000 www.salton.co.za...