Advertisement
Quick Links
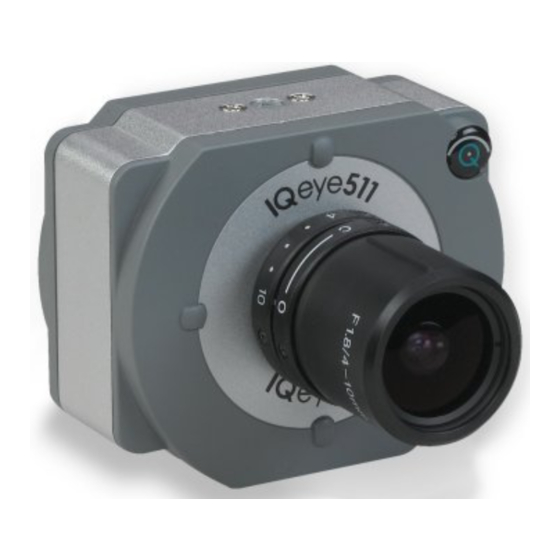
IQeye 510 & 511 Series
1.
Plug the IQeye camera into the network
a. If using PoE, plug the camera into an IEEE 802.3af PoE injector or
switch.
b. If using direct power, connect a 12-24V DC or 24V AC power
supply to the supplied terminal block.
Note: Power supply polarity is not important.
IQ5xx Series Power Options
2.
Adjust field of view and focus
Field of view and focus adjustments on the IQ510 and IQ511
Series cameras can be performed using an analog monitor or a
browser.
a. Using an Analog Monitor
To focus using analog video out, connect a field service monitor
to the "Video Out" (RCA Connector) on the IQ510 or IQ511
camera. The analog video will be available until the first digital
stream is requested via the Ethernet port. IQfocus is provided
to simplify focusing. The overall image will be displayed with the
center of the image digitally zoomed. Adjust the focus ring on the
lens for the best possible focus.
IQ5xx Series RCA Connection
b. Using a Browser
IQeye cameras are configured for DHCP and will have an IP
address assigned if a DHCP server is on the network. If a DHCP
server is not available, the camera IP address will need to be
configured using either IQfinder or IQmanager depending on the
number of cameras being installed.
Quick Install Guide
i. Insert the IQtools CD into the CD drive of the PC. When the
CD starts, run IQfinder either from the CD by clicking "Scan for
IQeye Alliance
IQeye cameras on my network" or by installing IQfinder on
the local PC by selecting "Install IQfinder".
ii. Click "Scan for IQeye cameras on my network" to
find IQeye cameras. The detected cameras will be displayed
in the IQfinder window. Select a camera from the list and click
"Assign IP" to edit the selected camera's network settings.
IQtools CD
iii. The "Assign IP" window allows the IP address, Subnet, and
Gateway of the camera to be changed and alternatively the
camera can be configured for DHCP operation. Click the
"Apply" button after making the desired change.
Note: Changing between DHCP and a static address will require
the camera to be rebooted.
IQfinder - Assign IP Address
Series
™
www.iqeye.com
Advertisement

Related Manuals for Iqinvision IQ510-V3


Summary of Contents for Iqinvision IQ510-V3
- Page 1 IQeye 510 & 511 Series Plug the IQeye camera into the network a. If using PoE, plug the camera into an IEEE 802.3af PoE injector or switch. b. If using direct power, connect a 12-24V DC or 24V AC power supply to the supplied terminal block.
-
Page 2: Additional Configuration
iv. To view a camera, double click a camera entry or highlight a camera in the list and click the “Web Page” button. The “Live” page will be displayed through the default browser (IE recommended). It is also possible to open Internet Explorer and enter the IP address of the IQeye camera in the address field of the browser.