Table of Contents
Advertisement
Advertisement
Table of Contents

Summary of Contents for Talkpod A36-M7B4UV1
- Page 1 Multi-Band Portable Transceiver User Manual...
- Page 2 Thanks for your favor in our product. This manual is helpful for you to quickly know how to use the product. This manual is applicable to the following product: Multi-Band Portable Transceiver...
-
Page 3: Table Of Contents
Contents General information Preface General information Assemble Antenna Thanks for your favor in our product. This manual is helpfulfor you to quickly know how to use the prodcut. Assembling the Belt Clip Preface This manual is applicable to the following product:B3X PMR446 Portable Radio (X may represent 0-9) LED Indicator Disclaimer RF Radiation Information... -
Page 4: Rf Radiation Safety
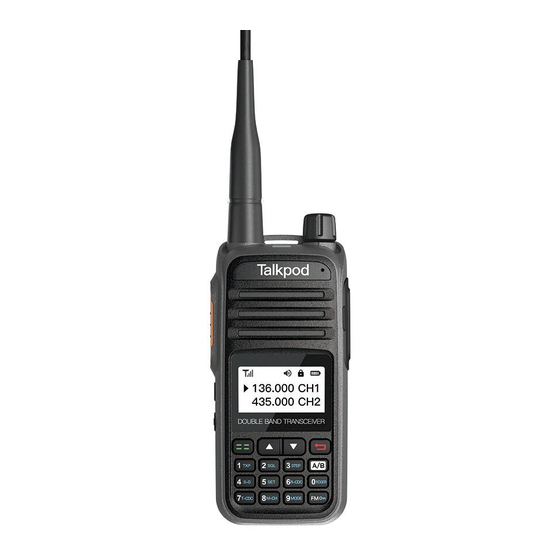
1.Radio Structure RF Radiation Safety Antenna In order to ensure user health, experts from relevant industries including science, engineering, medicine andhealth work with international organizations to develop standards for safe exposure to RF radiation. These standards consist of: SOS Button United States Federal Communications Commission, Code of Federal Regulations;... -
Page 5: Button Details
3. Button Details 4. Specifications 5.Attach Battery 6. Assemble Antenna Icon Name Description Regular Receive Model Name A36-M7B4UV1 A36-M7B4UV2 Receiving sensitivity <0.20uv(12dB SINAD) Squelch sensitivity <0.2uV Green: RX 136-174MHz 136-174MHz LED Light 400-470MHz 245-246MHz Intermodulation Red: TX 65dB anti-interference “Click”... -
Page 6: Assembling The Belt Clip
7. Assembling the Belt Clip 8. LED Indicator 9. Assembling the Accessories 10. Charge the radio “Click” “Click” “Click” Charging Status Blinking Red Unchargeable Waiting to charge.(Either the battery Voltage is too low or the battery temperature is to low or too high to Blinking Orange allow charging.When this condition is LED Status... -
Page 7: Powering On/Off
11. Powering On/Off 12. Button Details 14. Side Buttons 15. PTT Button “Click” “Press” “Press” “Click” According to different models and user habits, side buttons can be set to In different interfaces,press PTT button to make group call,single call, group/member/friend selection,SOS or to broadcast current groups. private call. - Page 8 16. Multi-Band Portable Transceiver menu description Secondary menu Setting instructions Secondary menu Setting instructions Function function Function function None DCS The lower the squelch level, the easier it is to interfere,the higher the level, T-DCS 0,...,9 D023N,...,D754I Standard DCS the worse the sensitivity, and the setting should be moderate 2.50K 5.00K Encryption 1...
- Page 9 Secondary menu Setting instructions Function function Function function Secondary menu Setting instructions Time scanning, the walkie-talkie pauses scanning when it detects a Turn off VOX function, transmitting without PTT pressing. signal, and after staying stopped for about 5 seconds, the walkie-talkie will continue scanning even if the signal is still there.
- Page 10 Secondary menu Setting instructions Secondary menu Setting instructions Function function Function function No DTMF prompt when press key to transmitting DTMF SCAN DCS DTMF prompt when press key to transmitting DTMF DT-ST DTMFST CDCSS SAVE ANI-ST DTMF prompt when automatically transmitting DTM Receiving MODE DTMF prompt when automatically transmitting DTMF and press key to...
- Page 11 Function function Secondary menu Setting instructions Function function Secondary menu Setting instructions Turn off Turn off ANI FUNCTION Turn on Turn on After releasing the PTT, the radio will send a turn-off code to suppress the instant noise of the receiver. A band displays as frequency in channel mode FREQ After releasing the PTT, the radio will send a turn-off code to suppress...
-
Page 12: Product Care
17. Product Care 18. Troubleshooting Do not pierce or scrape the product with any edged Phenomena Analysis Solution instruments or hard objects. The battery may be improperly installed. Remove the battery and reassemble it. The battery power may be used up. Remove or replace the battery. -
Page 13: Optional Accessories
19. Optional Accessories The following items are main optional accessories for the radio. For more information of other accessories, olease consult your local dealer. Note Use the accessories specified by Company only. If not, the Company shall not be liable for any losses or damages arsing out of use of Phenomena Analysis Solution... - Page 14 Headset Hand microphone 2-Wire Earloop with On-MIC PTT Speaker Microphone 2-Wire D-Ring Earphone with On-MIC PTT Speaker Microphone With Volume Control 2-Wire Acoustic Tube with On-MIC PTT Earloop with In-line Microphone Power Adapter Power adapter / 12V2A / GB D-Ring Earphone with In-line Microphone Power adapter / 12V2A / European regulations Acoustic Tube with In-line Microphone Power adapter / 12V2A / British regulations...